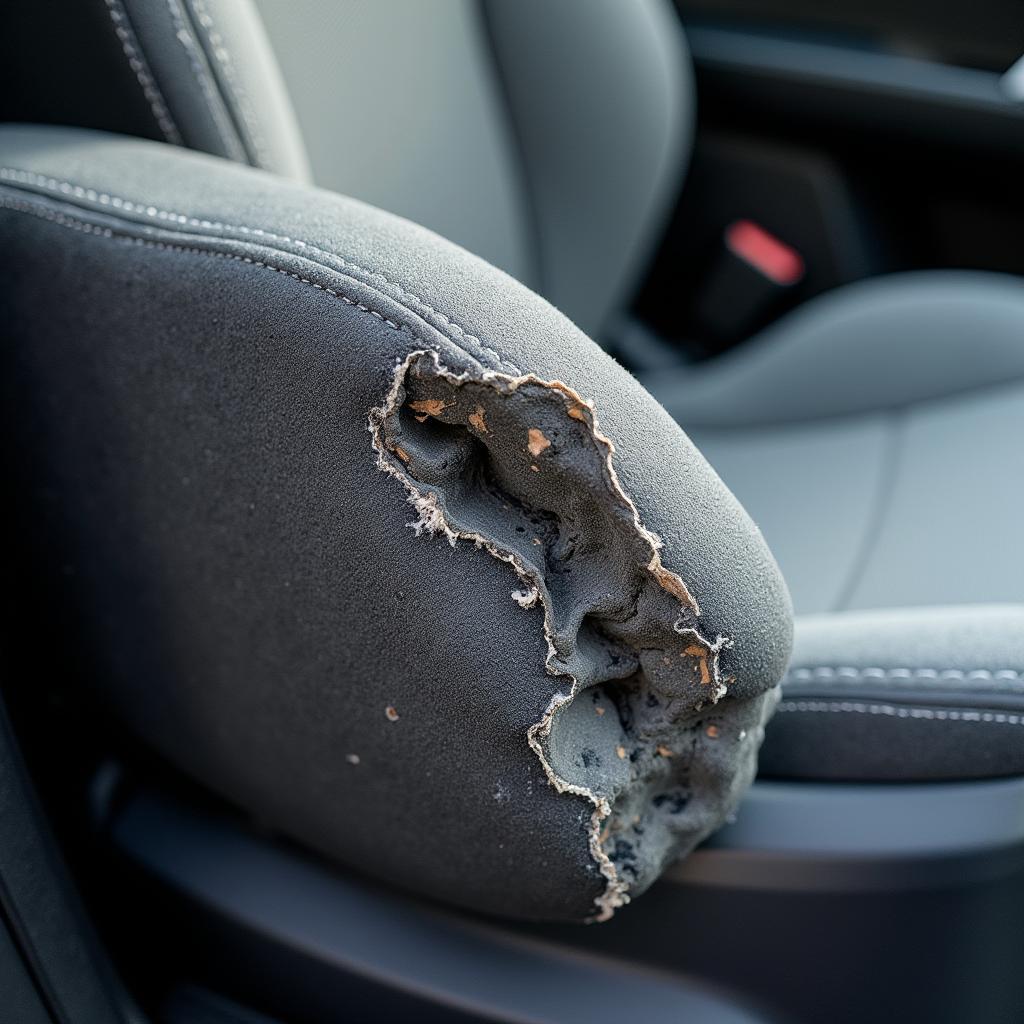
A worn-out car seat can make even short drives uncomfortable. While replacing the entire seat might seem like the easiest solution, repairing the foam rubber can be a more cost-effective way to restore comfort and extend the life of your car seat. This article guides you through the process of how to repair foam rubber in a car seat, helping you save money and reclaim your driving comfort.
Understanding the Importance of Car Seat Foam
Car seat foam plays a crucial role in providing a comfortable and supportive driving experience. It acts as a cushion between your body and the seat frame, absorbing shocks and vibrations from the road. Over time, the foam naturally deteriorates due to constant pressure, body heat, and exposure to sunlight. This deterioration can lead to discomfort, back pain, and an unsightly appearance of your car’s interior.
Assessing the Damage
Before you start repairing the foam rubber in your car seat, you need to assess the extent of the damage.
- Compression: Check if the foam has become compressed and lost its ability to spring back to its original shape.
- Tears or Cracks: Look for any tears, cracks, or holes in the foam.
- Crumbling: Examine if the foam is crumbling or breaking down into smaller pieces.
Gathering the Necessary Materials
Once you’ve assessed the damage, gather the necessary materials for the repair:
- Replacement Foam: High-density foam is recommended for its durability and comfort.
- Adhesive: Choose a strong adhesive specifically designed for use with foam.
- Sharp Utility Knife: This will help you cut and shape the replacement foam accurately.
- Scissors: These are useful for trimming excess fabric or foam.
- Marker or Pen: Use this to mark the foam for cutting.
- Heavy Objects (Books, Weights): These will help compress the foam while the adhesive dries.
Repairing the Foam Rubber
Follow these steps to repair the foam rubber in your car seat:
- Remove the Seat Cover: Carefully remove the seat cover to access the foam underneath.
- Clean the Area: Use a vacuum cleaner and a slightly damp cloth to clean the area around the damaged foam.
- Cut and Shape the Replacement Foam: Using the old foam as a template, cut the new foam to the correct size and shape.
- Apply Adhesive: Apply adhesive to both the replacement foam and the area where it will be placed.
- Secure the New Foam: Firmly press the replacement foam onto the damaged area. Use heavy objects to apply pressure while the adhesive dries.
- Trim Excess Foam or Fabric: Once the adhesive is dry, trim any excess foam or fabric using a sharp utility knife or scissors.
Tips for Successful Repair
- Choose the Right Foam Density: Opt for high-density foam to ensure long-lasting comfort and support.
- Work in a Well-Ventilated Area: Adhesives can emit fumes, so work outside or in a well-ventilated area.
- Test the Adhesive: Always test the adhesive on a scrap piece of foam before applying it to the car seat.
- Allow Sufficient Drying Time: Follow the adhesive manufacturer’s instructions regarding drying time.
Conclusion
Repairing the foam rubber in your car seat is a practical and affordable way to restore comfort and prolong the life of your seats. By following these steps, you can enjoy a more comfortable ride without the expense of replacing the entire car seat.


