

Your car’s paintwork is often the first thing people notice, and even fine scratches can detract from its overall appearance. Those minor blemishes, often picked up from car washes, tight parking spaces, or road debris, can be frustrating for any car owner who takes pride in their vehicle. Fortunately, repairing these fine scratches at home is a very achievable task. With the right techniques and products, you can restore your car’s finish and bring back that showroom shine. This guide will walk you through identifying, repairing, and preventing those annoying fine scratches, ensuring your car always looks its best.
Understanding Car Scratches: Clear Coat, Base Coat, and Primer
Before you grab your tools, it’s crucial to understand the anatomy of your car’s paint and the different types of scratches you might encounter. Modern car paint typically consists of three layers:
1. Clear Coat Scratches: The Surface Level
The clear coat is the outermost layer, a transparent защитный layer designed to protect the color coat beneath from UV rays, weather, and minor abrasions. Fine scratches usually only affect this clear coat. These are the most common type of scratch and are often caused by:
- Improper car washing techniques: Using abrasive sponges or dirty cloths.
- Automatic car washes: Brushes can create swirl marks and fine scratches.
- Branches and bushes: Light contact when driving or parking near vegetation.
- Road debris: Small stones and grit kicked up from the road.
Clear coat scratches are typically shallow and, thankfully, the easiest to repair.
2. Base Coat Scratches: Deeper Damage
If a scratch penetrates through the clear coat layer and reaches the base coat (the layer containing the car’s color), it’s considered a base coat scratch. These are more noticeable and require slightly more attention to repair. Common causes include:
- Deeper scrapes: Contact with shopping carts or other vehicles.
- Larger road debris: Bigger stones or objects hitting the car at speed.
- Vandalism: Keys or sharp objects dragged across the paint.
Repairing base coat scratches requires a slightly different approach than clear coat scratches, often involving touch-up paint.
3. Primer Coat Scratches: The Deepest Scratches
Primer scratches are the most severe type, extending through the clear coat, base coat, and into the primer layer (the undercoat that helps paint adhere to the metal). These deep scratches are usually the result of:
- Accidents: Collisions or significant impacts.
- Severe vandalism: Intentional deep scratching.
Primer scratches are often more challenging to repair at home and may require professional intervention for a flawless finish.
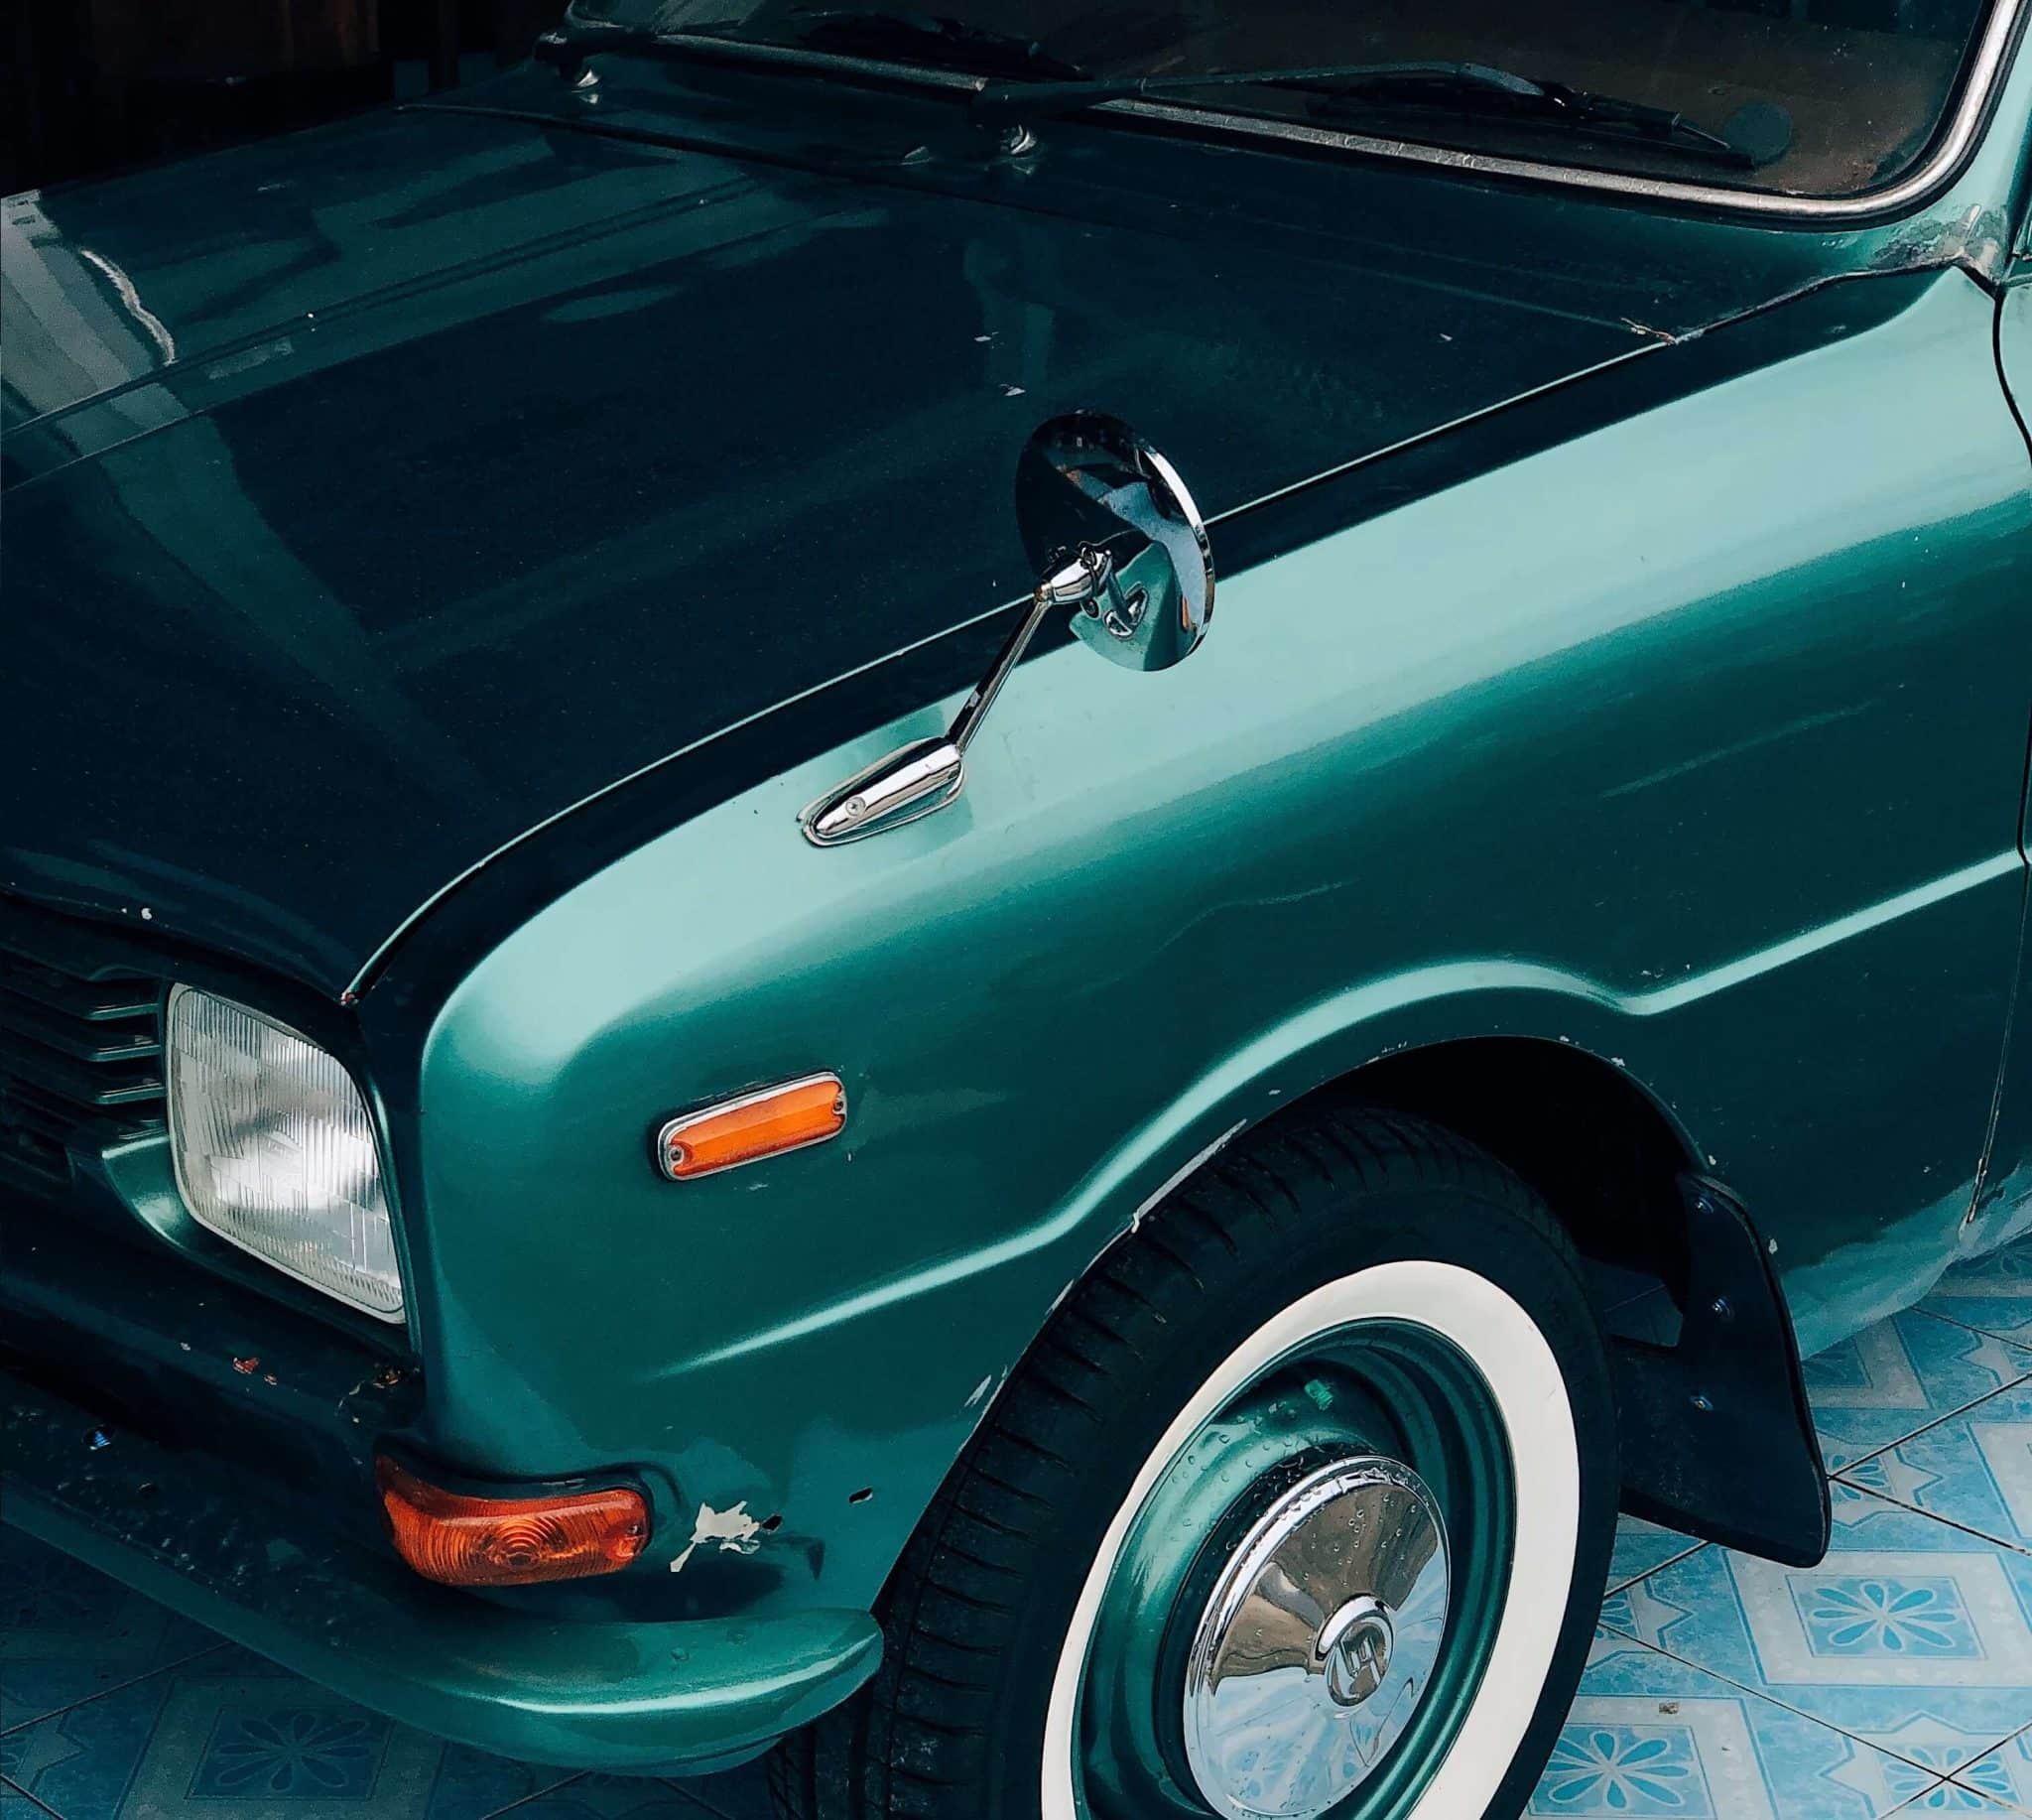 Car Scratch
This image shows a close-up of car scratches, illustrating the kind of paint damage that can occur from everyday use and the importance of understanding scratch types for effective repair.
Identifying Fine Scratches: What Type Are You Dealing With?
Before you start any repair, accurately identifying the scratch type is essential. Here are two simple methods to determine the depth of the scratch:
1. The Fingernail Test:
This is a quick and easy way to assess scratch depth.
- Clean the scratched area: Wipe the area with a clean, dry microfiber cloth to remove any dirt or debris.
- Run your fingernail gently across the scratch: Perpendicular to the scratch direction.
- Feel for resistance:
- If your fingernail doesn’t catch: The scratch is likely only in the clear coat – a fine scratch and the easiest to repair.
- If your fingernail catches slightly: You’re dealing with a base coat scratch.
- If your fingernail catches significantly: The scratch has reached the primer layer and is a deep scratch.
2. The Polish Test:
This method uses car polish to help determine if the scratch is limited to the clear coat.
- Apply car polish: Place a small amount of car polish onto a clean microfiber cloth.
- Rub onto the scratch: Gently rub the polish into the scratched area using circular motions.
- Wipe away excess polish: Use a clean section of the microfiber cloth to remove any excess polish.
- Inspect the scratch:
- If the scratch disappears or significantly reduces: It’s a clear coat scratch, meaning it’s a fine scratch that the polish has effectively filled or removed.
- If the scratch remains visible: You’re likely dealing with a base coat or primer scratch.
For repairing fine scratches on your car, which are typically clear coat scratches, the following steps will be highly effective.
Step-by-Step Guide: Repairing Fine Scratches (Clear Coat Scratches)
Repairing fine scratches is a straightforward DIY process. Here’s what you’ll need and the steps to follow:
Tools and Materials:
- Car wash soap and water: For cleaning the car surface.
- Microfiber cloths: Essential for washing, drying, and applying products without scratching.
- Scratch remover compound: Specifically designed for removing clear coat scratches.
- Car polish: To restore shine and enhance the finish after scratch removal.
- Applicator pads (foam or microfiber): For applying scratch remover and polish.
- Detailing spray (optional): For a final clean and shine boost.
Step 1: Thoroughly Clean the Area
Begin by cleaning the area around the scratch with car wash soap and water. This removes dirt, grime, and any loose particles that could further scratch the paint during the repair process. Rinse thoroughly and dry the area completely with a clean microfiber cloth.
Step 2: Apply Scratch Remover Compound
Apply a small amount of scratch remover compound to a clean applicator pad. Gently rub the compound onto the fine scratch using circular, overlapping motions. Apply light to medium pressure. Work in small sections and continue buffing for a few minutes. The mild abrasives in the scratch remover will work to level out the clear coat, minimizing or eliminating the fine scratch.
Step 3: Buff and Wipe Clean
Using a clean microfiber cloth, buff away any excess scratch remover residue. Inspect the area to see if the fine scratch has been removed or significantly reduced. You may need to repeat step 2 for deeper clear coat scratches, applying a bit more pressure and working the compound for a longer duration.
Step 4: Apply Car Polish for Shine
After removing the scratch, or once you’re satisfied with the improvement, it’s time to polish the area. Apply a small amount of car polish to a clean applicator pad. Buff the polished area using circular motions, similar to how you applied the scratch remover. Car polish will refine the finish, restore gloss, and remove any micro-scratches or haze left by the scratch remover.
Step 5: Final Wipe Down
Wipe away any polish residue with a clean microfiber cloth. For an extra layer of shine and protection, you can apply a detailing spray or car wax to the repaired area. This step will enhance the gloss and help protect the repaired spot from future fine scratches.
Repairing Base Coat and Primer Scratches: When Fine Scratch Repair Isn’t Enough
While the above method is excellent for fine scratches, base coat and primer scratches require a more involved approach, often including touch-up paint to restore the color layer. These repairs are beyond the scope of fine scratch repair, but here’s a brief overview:
- Base Coat Scratches: Require careful cleaning, application of touch-up paint to fill the scratch to the level of the surrounding paint, followed by leveling (wet sanding), rubbing compound, and polishing.
- Primer Scratches: Often necessitate professional repair. DIY attempts involve thorough cleaning, rust treatment (if bare metal is exposed), primer application, color-matched touch-up paint application in thin layers, leveling, rubbing compound, and polishing.
Note: For deeper scratches, especially primer scratches, consider seeking professional car detailing or body shop services to ensure a proper and lasting repair.
Preventing Fine Scratches: Protecting Your Car’s Paint
Prevention is always better than cure. Here are essential tips to minimize the occurrence of fine scratches on your car and keep its paintwork in top condition:
1. Regular and Proper Car Washing:
- Use the two-bucket method: One bucket for soapy water and one for rinsing your wash mitt. This prevents dirt from being dragged back onto the car surface.
- Use high-quality car wash soap: Formulated to be gentle on car paint.
- Use microfiber wash mitts and drying towels: Microfiber is soft and minimizes scratching.
- Wash in a shaded area: To prevent soap from drying too quickly and causing water spots.
2. Avoid Automatic Car Washes with Brushes:
Opt for touchless car washes or hand washing whenever possible. Brushes in automatic car washes can be abrasive and are a common cause of swirl marks and fine scratches.
3. Wax Your Car Regularly:
Apply a quality car wax or sealant every few months. Wax provides a protective layer over the clear coat, making it more resistant to scratches and environmental damage.
4. Park Strategically:
- Park away from shopping carts: In parking lots, choose spaces away from cart return areas.
- Avoid parking under trees or bushes: Branches and falling debris can scratch the paint.
- Utilize garages or carports: Covered parking protects your car from the elements and reduces the risk of scratches.
5. Use a Car Cover:
If you frequently park outdoors, especially in exposed areas, a car cover can provide excellent protection against scratches from wind-blown debris, dust, and accidental contact.
Final Thoughts on Fine Scratch Repair
Repairing fine scratches on your car is a rewarding DIY task that can significantly improve your vehicle’s appearance. By understanding the types of scratches, correctly identifying fine scratches, and following the steps outlined in this guide, you can effectively remove these blemishes and maintain a showroom finish. Regular car care and preventative measures will further minimize the occurrence of fine scratches, ensuring your car always looks its best and retains its value. While deeper scratches may require professional help, tackling fine scratches yourself is a great way to take pride in your car’s upkeep and save money on detailing services.