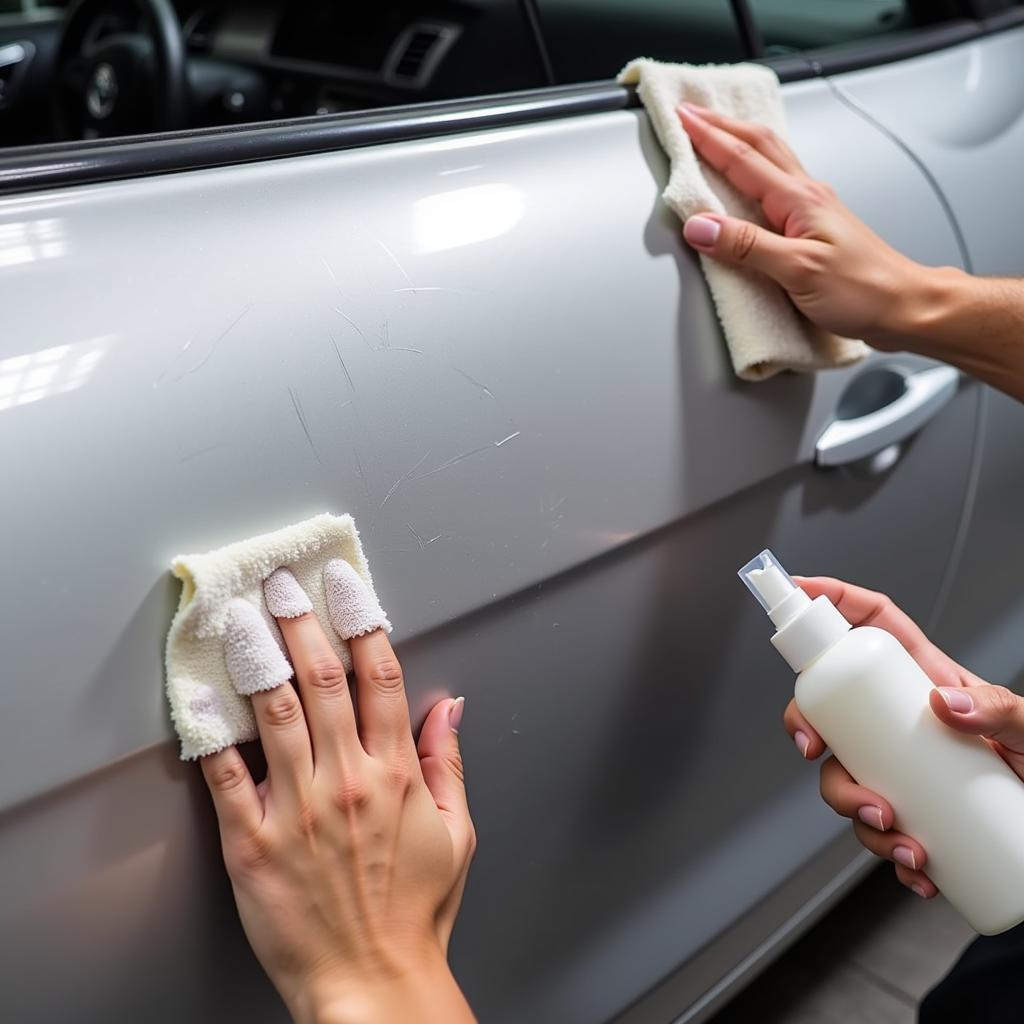
Deep scratches on your car’s paint can be an eyesore, diminishing its aesthetic appeal and potentially even impacting its resale value. Knowing how to repair a deep scratch on car paint can save you a significant amount of money compared to professional repairs, and it’s a skill that every car owner can benefit from. This guide provides a step-by-step approach, demystifying the process and empowering you to tackle those unsightly blemishes yourself.
Repairing a deep scratch on your car paint might seem daunting, but with the right approach and a little patience, you can achieve professional-looking results. This guide will walk you through the various methods for fixing those deeper scratches, from assessing the damage to applying the final touches. We’ll cover the necessary tools, materials, and techniques to help you restore your car’s finish to its former glory. Let’s get started! You can learn more detailed methods on how to repair deep scratches on car paint.
Assessing the Scratch Depth
The first step in how to repair deep scratch on car paint is determining the extent of the damage. Is it a light scratch that only affects the clear coat, or has it penetrated down to the primer or even the bare metal? This assessment will dictate the repair method. A simple scratch remover might suffice for minor imperfections, while deeper scratches require more involved techniques. Run your fingernail across the scratch. If your nail catches, it’s likely a deep scratch requiring more than just a polish.
Gathering Your Supplies
Once you’ve assessed the depth, gather your supplies. For deep scratches, you’ll need items like sandpaper (various grits), primer, touch-up paint, clear coat, rubbing compound, polishing compound, microfiber cloths, masking tape, and a few other essential tools. Having everything prepared beforehand will streamline the process. You can research the best products for best car paint deep scratch repair.
Cleaning and Preparing the Area
Clean the scratched area thoroughly with car wash soap and water, then dry it completely. This removes any dirt or debris that could interfere with the repair process and ensures a smooth, clean surface for the repair materials to adhere to. Use masking tape to protect the surrounding paint from accidental sanding or overspray.
Sanding the Scratch
For deep scratches that have penetrated through the clear coat, sanding is necessary. Start with a coarser grit sandpaper (e.g., 1500-grit) and gradually move to finer grits (e.g., 2000-grit, then 3000-grit) to smooth out the area and feather the edges of the surrounding paint. This creates a smooth transition and prevents a noticeable ridge after the repair.
Applying Primer (If Necessary)
If the scratch has reached the bare metal, apply a thin coat of automotive primer to the exposed area. This prevents rust and provides a better surface for the touch-up paint to adhere to. Allow the primer to dry completely before moving on to the next step. Learn more on how to repair deep car paint scratches.
Applying Touch-Up Paint
Apply thin coats of touch-up paint that matches your car’s color to the scratched area, allowing each coat to dry before applying the next. It’s better to apply multiple thin coats than one thick coat to prevent runs and ensure even coverage.
Applying Clear Coat
Once the touch-up paint is dry, apply a few thin coats of clear coat, allowing each coat to dry thoroughly. This protects the touch-up paint and helps blend the repair with the surrounding paint.
Compounding and Polishing
After the clear coat has dried for at least 24 hours, use rubbing compound followed by polishing compound to remove any imperfections and blend the repaired area seamlessly with the original paint. This is a crucial step for achieving a professional-looking finish. Find out more detailed instructions from eastwood how to repair deep scratched paint on a car.
Final Touches and Waxing
Once you’re satisfied with the results, apply a coat of wax to the entire area to protect the paint and give it a glossy finish. This completes the repair process.
Knowing how to repair a deep scratch on car paint can empower you to maintain your vehicle’s appearance and protect its value. While professional repairs might be necessary for extensive damage, mastering these techniques allows you to tackle minor to moderate scratches effectively.
FAQ
-
How long does the entire repair process take? It depends on the severity of the scratch and drying times, but typically a few hours to a day.
-
Can I use any type of touch-up paint? No, it’s crucial to use touch-up paint specifically designed for your car’s make, model, and year to ensure a perfect color match.
-
What if the scratch is too deep for DIY repair? Very deep scratches that expose significant amounts of metal may require professional attention.
-
What’s the estimated deep paint car scratch repair cost? DIY repairs can cost significantly less than professional repairs, potentially saving you hundreds of dollars.
-
Can I repair a scratch on a plastic bumper? The process is similar, but you may need specific products designed for plastic bumpers.
-
What if I don’t have experience with car repairs? Start with minor scratches and practice your technique. Many online resources and videos can guide you.
-
Where can I find the correct touch-up paint code for my car? You can typically find it on a sticker inside the driver’s side doorjamb or in your owner’s manual.
Need more help? Explore our other articles on car scratch repair and maintenance. For personalized assistance, contact us via WhatsApp: +1(641)206-8880 or Email: [email protected]. Our 24/7 customer service team is ready to assist you.


