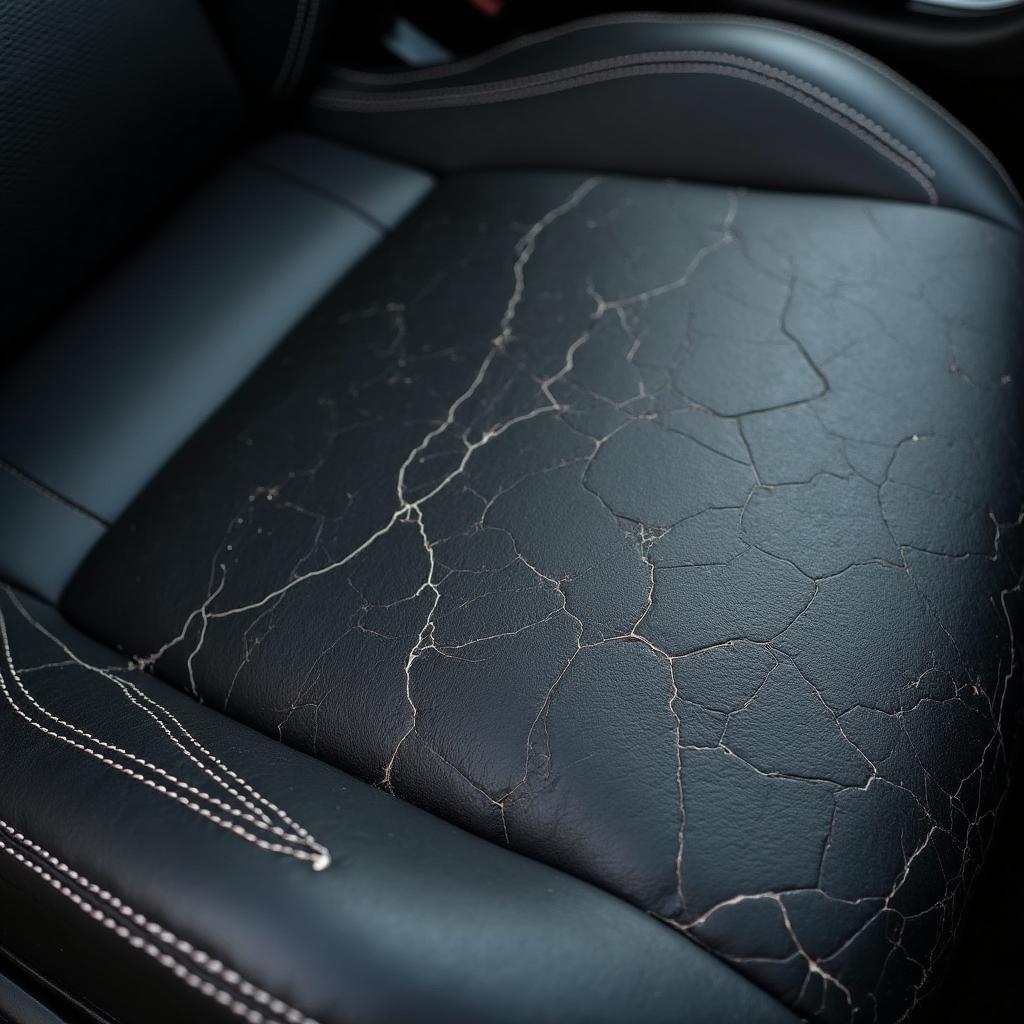
Leather car seats exude luxury and class, but they’re not immune to wear and tear. Over time, factors like sunlight, heat, and regular use can leave your leather seats looking cracked, faded, and worn. But before you consider replacing them, there’s good news: learning how to repair damaged leather car seats is possible and often more affordable than you think.
Understanding the Damage
The first step to effective leather car seat repair is identifying the type of damage.
- Cracks: These are often thin, spiderweb-like lines indicating the leather’s lost moisture and flexibility.
- Scratches: Light surface scratches might only affect the color, while deeper ones can expose the underlying material.
- Tears: These are more severe and require patching or professional attention.
- Fading: Prolonged sun exposure can cause the leather’s color to fade, giving it a dull appearance.
DIY Leather Car Seat Repair: A Step-by-Step Guide
For minor cracks, scratches, and fading, you can restore your leather car seats with a DIY approach. Here’s how:
1. Clean the Area: Use a dedicated leather cleaner or a mild soap solution and a microfiber cloth to thoroughly clean the damaged area.
2. Repair Cracks and Scratches: Apply a leather filler to cracks and deeper scratches using a palette knife. Let it dry completely, then sand it down for a smooth, even finish.
3. Apply Leather Dye (If Necessary): If the damage is significant or the leather has faded, apply a matching leather dye to restore its original color.
4. Condition the Leather: Once the dye dries, apply a high-quality leather conditioner to rehydrate the leather and protect it from further damage.
When to Call a Professional
While DIY repairs are effective for minor damage, more severe issues, like large tears or deep cuts, require professional expertise. Attempting to fix these yourself could worsen the damage.
If you’re unsure about tackling the repair yourself, it’s always best to consult with a professional car upholstery specialist. They have the experience, tools, and materials to ensure a high-quality and long-lasting repair.
Preventing Future Damage
Preventing future damage is just as crucial as knowing how to repair damaged leather car seats. Here are some preventative measures:
- Regular Cleaning: Clean your leather seats regularly using a dedicated leather cleaner to remove dirt and grime that can cause premature wear and tear.
- UV Protection: Park your car in the shade or use a windshield sunshade to minimize sun damage and prevent fading.
- Conditioning: Regularly condition your leather seats to keep them hydrated, supple, and less susceptible to cracking.
FAQs
Q: Can I use regular household cleaners on my leather car seats?
A: No, it’s best to avoid using harsh household cleaners, as they can strip the leather’s natural oils, leading to drying and cracking.
Q: How often should I condition my leather car seats?
A: Ideally, you should condition your leather car seats every three months or as needed, depending on your climate and the amount of wear and tear they receive.
Q: Can I repair a tear in my leather car seat myself?
A: While small tears can potentially be repaired with DIY kits, larger tears are best left to professional upholsterers for the best results.
For more detailed guides on specific leather car seat repair issues, check out our other helpful resources:
Keep Your Leather Looking Its Best
By following these tips and tricks on how to repair damaged leather car seats and incorporating preventative measures into your routine, you can keep your car’s interior looking its best for years to come. Remember, addressing damage early and maintaining your leather properly are key to preserving its luxurious appeal and value.
Still need help? Don’t hesitate to reach out to our expert team via WhatsApp at +1(641)206-8880 or email us at [email protected] for 24/7 support.


