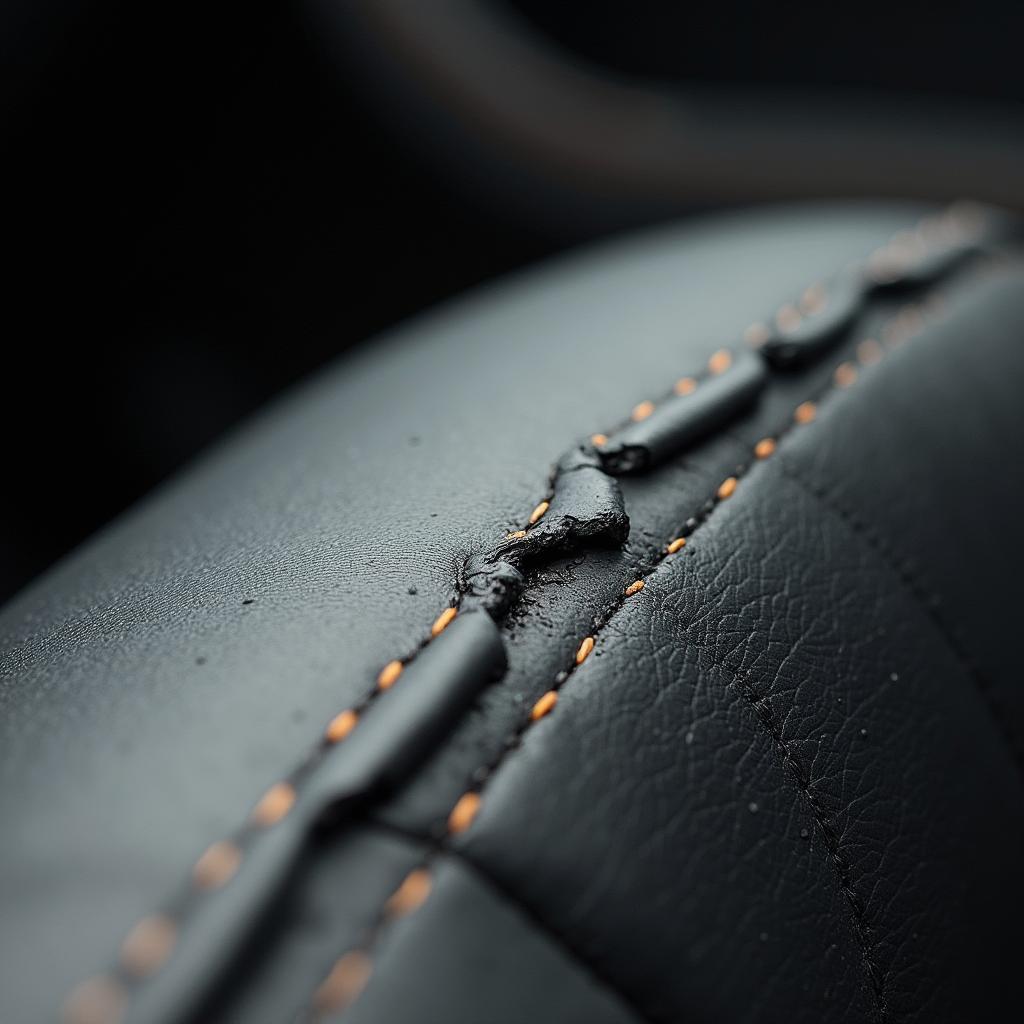
Discovering a cut in your leather car seat can be disheartening. Leather, while durable, is susceptible to damage from sharp objects, rough use, and even sun exposure. But before you panic, rest assured that repairing a cut leather car seat is often achievable without professional help. This guide provides you with all the information you need to confidently tackle this common car interior issue.
Assessing the Damage: What You’re Up Against
Before diving into the repair process, it’s crucial to assess the severity of the cut.
- Minor Cuts and Scratches: These are surface-level damages that haven’t penetrated the leather deeply. They can often be addressed with simple solutions like leather fillers or repair kits.
- Deep Cuts and Tears: These require more attention and may involve patching or stitching, along with the use of leather adhesives.
Gathering Your Repair Arsenal: Essential Tools and Materials
Having the right tools and materials is crucial for a successful repair. Here’s what you’ll generally need:
- Leather Cleaner: Use a dedicated leather cleaner to thoroughly clean the area around the cut, removing dirt, grime, and any conditioner residue.
- Leather Filler: For minor cuts and scratches, a leather filler helps to level the surface and create a smooth base for the repair compound.
- Leather Repair Compound: This is the core element used to fill and bond the cut edges together. Opt for a high-quality compound that matches your leather’s color and grain.
- Colorant Kit: If the cut is deep or the repair compound doesn’t perfectly match your leather color, a colorant kit helps blend the repair seamlessly.
- Applicator Tools: Spatulas, palette knives, or even toothpicks can help apply the filler and compound precisely.
- Grain Paper: Used to imprint a realistic leather grain onto the repaired area.
- Heat Gun or Hair Dryer: Helps to activate and set the repair compound and colorant.
How to Repair a Cut in Leather Car Seat: Step-by-Step Guide
Follow these steps to effectively repair a cut in your leather car seat:
-
Clean the Area: Use a leather cleaner and a microfiber cloth to thoroughly clean the cut and the surrounding area. Allow it to dry completely.
-
Assess and Trim: If the cut has loose fibers or uneven edges, carefully trim them with sharp scissors or a precision knife.
-
Apply Leather Filler (if necessary): For minor cuts, apply a small amount of leather filler to the cut using a spatula. Ensure it’s evenly spread and level with the surrounding surface. Let it dry completely.
-
Apply Leather Repair Compound: Using a spatula or a toothpick, carefully apply the leather repair compound to the cut, pressing it in gently to fill the gap.
-
Match the Texture: If using grain paper, place it over the wet repair compound and apply gentle pressure. This will imprint a leather-like texture onto the compound.
-
Heat and Dry: Use a heat gun or hairdryer on a low setting to speed up the drying process of the repair compound. Be careful not to overheat the leather.
-
Apply Colorant (if needed): If the color match isn’t perfect, use a leather colorant kit to blend the repaired area with the surrounding leather. Apply thin coats, allowing each layer to dry completely.
-
Apply Leather Conditioner: Once the repair is completely dry and the colorant has set, apply a leather conditioner to the entire seat to restore its suppleness and protect the repaired area.
Tips from a Car Repair Expert
“Remember, patience is key when repairing leather. Allow ample drying time between each step for optimal results,” advises John Miller, a seasoned car repair expert with over 20 years of experience. “Also, always test your chosen products on a hidden area of the seat first to ensure color compatibility and avoid unwanted surprises.”
FAQs: Addressing Common Queries
Q: Can I use super glue to repair a cut in my leather car seat?
A: While super glue might seem like a quick fix, it’s not recommended for leather car seat repair. It can create a rigid bond that may crack or peel over time, and it doesn’t offer the flexibility and durability of specialized leather repair compounds.
Q: How can I prevent future cuts in my leather car seats?
A: Use seat covers for added protection, be mindful of sharp objects, and regularly clean and condition your leather seats to keep them supple and less prone to damage.
Q: When should I consider seeking professional help for a leather car seat repair?
A: If the cut is extensive, involves complex stitching, or you’re uncomfortable tackling the repair yourself, it’s best to consult a professional automotive upholstery specialist.
Conclusion: Restore Your Car’s Interior with Confidence
Repairing a cut leather car seat might seem daunting at first, but with the right approach and a little patience, it’s an achievable DIY project. By following this comprehensive guide, you can effectively address those unsightly cuts and restore your car’s interior to its former glory. Remember, maintaining your car’s interior not only enhances its aesthetic appeal but also contributes to its overall value.
If you need further assistance or have specific questions related to car diagnostics and repairs, don’t hesitate to reach out to our expert team. Contact us via WhatsApp at +1(641)206-8880 or email us at [email protected]. We’re available 24/7 to provide guidance and support.


