A cracked car bumper is an eyesore. It’s also a common problem. Thankfully, depending on the severity of the damage, you may be able to repair it yourself. This can save you a significant amount of money compared to professional repairs or bumper replacement.
This guide will walk you through the steps for repairing a cracked plastic car bumper. We’ll cover everything from assessing the damage to achieving a smooth, professional-looking finish.
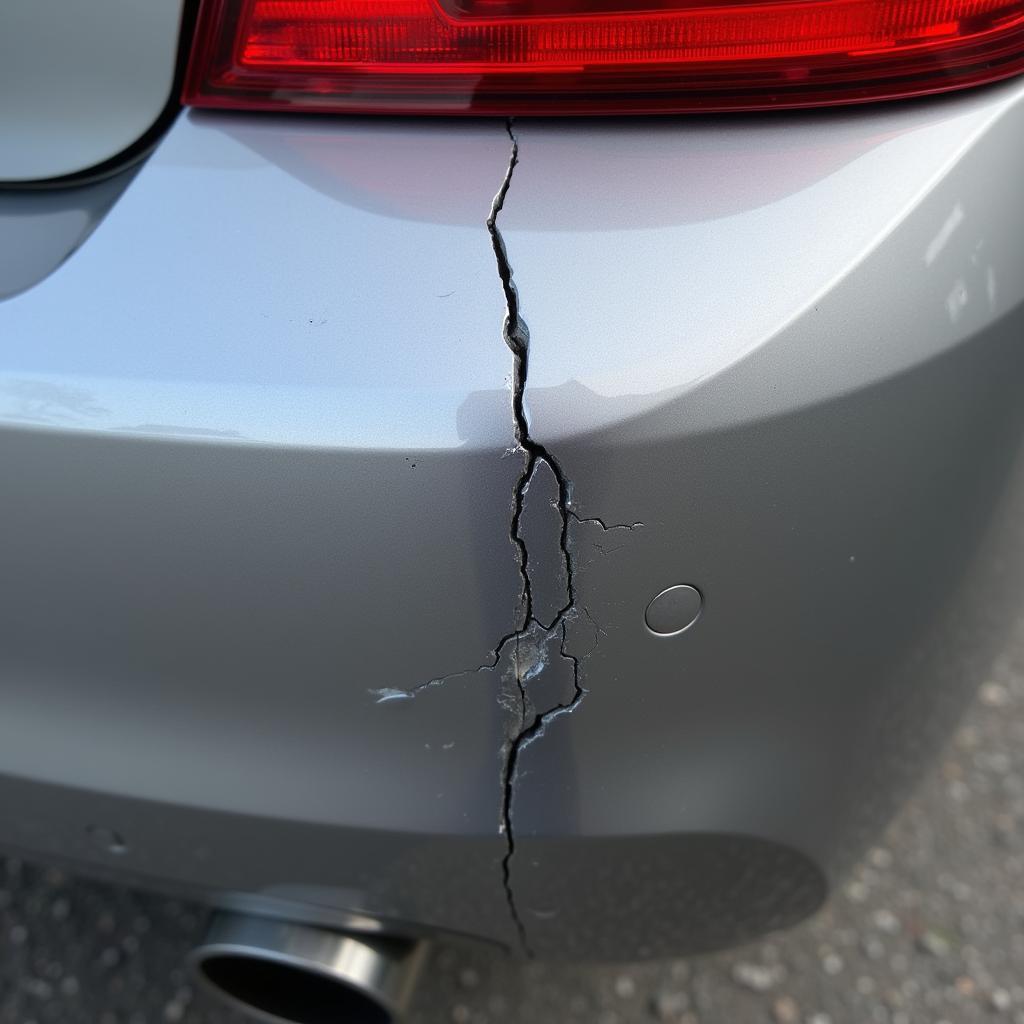
Assessing the Damage: How Bad is the Crack?
Before you gather your tools and materials, you need to determine if the crack is repairable using DIY methods.
Minor cracks and scratches are usually fixable at home. However, large cracks with significant chunks missing or damage extending to the bumper’s mounting points may require professional intervention.
Tools and Materials You’ll Need:
Here is a list of what you’ll need to successfully repair your cracked bumper:
- Cleaning supplies: Soap and water, rubbing alcohol, microfiber cloth
- Sandpaper: 80-grit, 180-grit, 220-grit, 400-grit
- Plastic repair kit: This typically includes a plastic epoxy, hardener, and reinforcing mesh
- Putty knife or spreader: For applying the plastic filler
- Heat gun or hairdryer: To help cure the filler (optional)
- Primer: Specifically designed for plastics
- Automotive paint: Choose a color-matched paint for a seamless finish
- Clear coat: For protection and a glossy shine
- Painters tape and masking paper: To protect surrounding areas
Step-by-Step Guide to Repairing a Cracked Plastic Car Bumper
1. Clean the Area Thoroughly
Start by washing the damaged area with soap and water. Ensure all dirt, grease, and debris are removed. Once dry, use rubbing alcohol to clean the surface around the crack. This helps the repair materials adhere properly.
2. Sand the Damaged Area
Using 80-grit sandpaper, roughen the surface of the crack and the surrounding area (about two inches around the crack). This creates better adhesion for the plastic filler. Gradually move to finer grits (180-grit, 220-grit) until you achieve a smooth, even surface.
3. Prepare the Plastic Repair Kit
Follow the manufacturer’s instructions on your chosen plastic repair kit. Typically, you’ll need to mix a small amount of plastic epoxy with the hardener.
4. Apply the Plastic Filler
Using a putty knife or spreader, apply the mixed plastic filler to the crack. Press it firmly into the crack, ensuring it fills the entire depth. If your kit includes a reinforcing mesh, apply it over the crack before applying the filler. This helps add strength to the repair.
5. Smooth Out the Filler
Remove any excess filler and smooth the surface with the spreader. Aim for a slightly raised repair area, as it will be sanded down later.
6. Allow the Filler to Cure
The curing time varies depending on the product used. Refer to the manufacturer’s instructions for drying time. You can use a heat gun or hairdryer to speed up the process.
7. Sand the Repaired Area
Once the filler is fully cured, sand the area smooth using 220-grit sandpaper. Gradually move to finer grits (up to 400-grit) to achieve a perfectly smooth finish.
8. Clean and Mask the Area
After sanding, clean the area thoroughly to remove any dust particles. Use painter’s tape and masking paper to protect the surrounding areas from paint overspray.
9. Prime the Repaired Area
Apply a thin, even coat of primer specifically designed for plastics. This helps the paint adhere better and provides a more durable finish. Allow the primer to dry completely before moving on to painting.
10. Paint the Repaired Area
Shake your chosen automotive paint well and apply several thin coats, allowing each coat to dry thoroughly between applications. Ensure you achieve good coverage to match the surrounding bumper color.
11. Apply Clear Coat
For a glossy finish and added protection, apply 2-3 thin coats of clear coat, allowing each layer to dry completely between applications.
12. Remove Masking and Let it Dry
Once the clear coat has dried, remove the painter’s tape and masking paper. Allow the repair to dry and cure completely before driving your car.
Tips from a Pro:
-
John Smith, a seasoned auto body specialist, emphasizes the importance of patience: “Rushing the process, especially the sanding and drying stages, will compromise the final outcome. Remember, multiple thin coats are always better than one thick coat.”
-
He also suggests investing in a high-quality plastic repair kit: “A good kit will have the right type of epoxy and hardener for a strong and lasting repair. Don’t skimp on this – it will show in the final result.”
Conclusion
Repairing a cracked plastic car bumper can seem intimidating at first. However, by following these steps and taking your time, you can achieve professional-looking results and restore your bumper to its former glory.
Remember to carefully assess the damage before beginning the repair and don’t hesitate to consult a professional if the crack is too severe.
FAQs
Q: Can I use superglue to fix a cracked car bumper?
A: While superglue might seem like a quick fix, it’s not recommended for car bumpers. It doesn’t bond well with plastic and can crack under stress, leading to a repeat repair.
Q: How long does it take for the plastic filler to cure?
A: Curing time varies depending on the product you choose. Always refer to the manufacturer’s instructions. It can range from a few hours to a full 24 hours for complete curing.
Q: Can I wash my car after repairing the bumper?
A: It’s best to wait at least 24-48 hours after the final clear coat has dried before washing your car. This allows the repair to fully cure and prevents any damage to the fresh paint.
Need help with your car repair? Contact our 24/7 support team via WhatsApp: +1(641)206-8880, Email: cardiagtechworkshop@gmail.com.