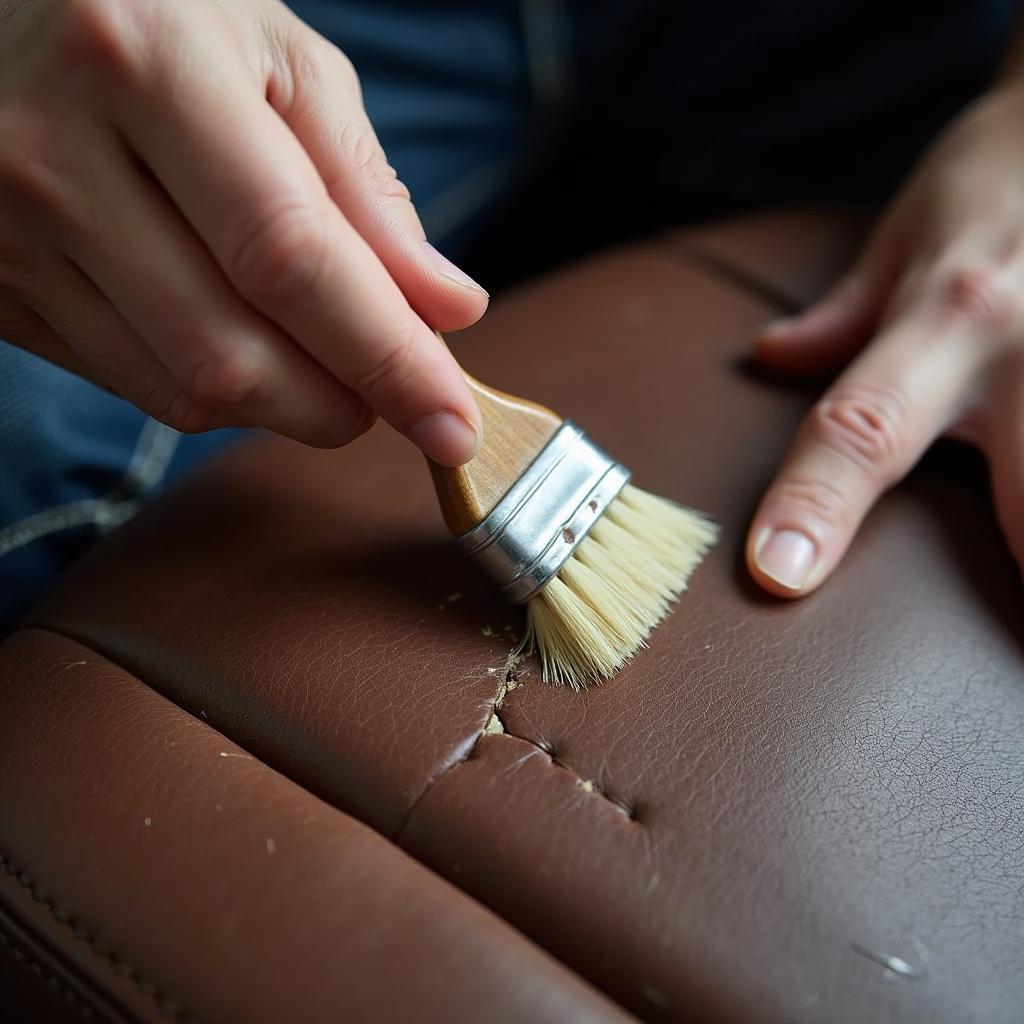
Cracked leather car seats are an unsightly problem that many car owners face. They detract from the interior’s appearance and can even impact the car’s resale value. The good news is that you can often repair cracked leather car seats yourself with the right materials and a little patience.
Understanding Why Leather Car Seats Crack
Before diving into the repair process, it’s essential to understand what causes those unsightly cracks in the first place. Leather, while durable, is still susceptible to damage from:
- Sunlight: Prolonged exposure to the sun’s UV rays dries out the leather, making it brittle and prone to cracking.
- Heat: Excessive heat, like that inside a closed car on a hot day, amplifies the drying effects of sunlight.
- Cold: Extremely cold temperatures can also dry out leather, leading to cracks over time.
- Lack of Conditioning: Leather requires regular conditioning to replenish its natural oils, which keep it supple. Without proper care, it can dry out and crack.
- Wear and Tear: Frequent use, especially friction from getting in and out of the car, can wear down the leather’s protective coating, leading to cracking.
Assessing the Damage
Not all cracks are created equal. Before you start any repairs, it’s essential to assess the severity of the damage to your leather car seats:
- Minor Cracks and Scratches: These are superficial and mostly affect the leather’s surface. They can often be addressed with simple cleaning and conditioning.
- Deep Cracks: These penetrate deeper into the leather and require more intensive repair methods.
- Tears and Holes: These are severe forms of damage and may require professional intervention or even seat cover replacement.
DIY Repair for Cracked Leather Car Seats
For minor to moderate cracks, you can often repair your leather car seats at home. Here’s a step-by-step guide:
1. Gather Your Supplies
- Leather cleaner
- Leather conditioner
- Soft-bristled brush
- Leather filler compound (if cracks are deep)
- Colorant kit (if desired)
- Applicator sponges or brushes
- Microfiber cloths
- Masking tape
2. Clean the Affected Area
Use a leather cleaner and a soft-bristled brush to remove dirt, grime, and debris from the cracks and surrounding areas.
3. Apply Leather Filler (If Needed)
If the cracks are deep, use a leather filler compound. Apply it to the cracks, pressing it in with a flexible putty knife or your fingers. Allow it to dry completely according to the manufacturer’s instructions.
4. Sand and Smooth (If Applicable)
If you used a leather filler, lightly sand the area with fine-grit sandpaper to create a smooth, even surface.
5. Clean Again
After sanding, clean the area once more to remove any dust or residue.
6. Apply Leather Colorant (Optional)
If you want to restore the leather’s original color or if the cracks are very noticeable, use a leather colorant kit. Follow the kit’s instructions carefully, applying thin, even coats.
7. Condition the Leather
Once the colorant is dry (if used), apply a high-quality leather conditioner to the entire seat surface. Conditioning helps restore the leather’s moisture and prevent future cracking.
8. Enjoy Your Refreshed Seats!
When to Call a Professional
While DIY repairs can work wonders for minor to moderate cracks, there are instances when it’s best to seek professional help:
- Severe Damage: If the leather is ripped, torn, or has extensive damage, a professional upholsterer can assess whether repair or replacement is necessary.
- Uncertainty: If you’re unsure about the repair process or uncomfortable tackling it yourself, a professional can ensure a quality result.
- High-End Vehicles: For luxury cars with delicate leather, it’s often best to entrust repairs to experts who specialize in high-end materials.
Preventing Future Cracks
Prevention is always better than cure. Here are some tips to keep your leather car seats looking their best and prevent future cracking:
- Regular Cleaning: Clean your leather seats every few weeks with a leather cleaner to remove dirt and grime.
- Conditioning: Use a leather conditioner every few months, or more frequently in harsh climates, to keep the leather supple.
- Sun Protection: Park in the shade whenever possible, and consider using a windshield sunshade to protect your seats from UV rays.
- Seat Covers: While not the most stylish option, seat covers can provide an extra layer of protection against wear and tear, spills, and sun damage.
FAQs
Can I use any leather cleaner and conditioner on my car seats?
It’s best to use products specifically designed for automotive leather. These are formulated to handle the unique demands of car interiors.
How often should I condition my leather seats?
Ideally, condition your seats every three months. However, if you live in a hot climate or your car is frequently exposed to the sun, you may need to condition them more often.
Can I dye my leather seats a different color?
Yes, you can use leather dye kits to change the color of your seats. However, this is a more involved process than simply repairing cracks, and it’s essential to choose a high-quality dye kit and follow the instructions carefully.
How can I prevent my leather seats from getting too hot in the summer?
Park in the shade, use a windshield sunshade, and crack the windows slightly for ventilation.
My leather seats are starting to feel sticky. What should I do?
Sticky leather is often a sign of product build-up. Clean your seats thoroughly with a leather cleaner and avoid using excessive amounts of conditioner.
Need more help with your car repairs? Contact us via WhatsApp: +1(641)206-8880 or email: [email protected]. Our team is available 24/7 to assist you.


