Fiberglass, or Glass Reinforced Plastic (GRP), is a composite material renowned for its strength and versatility. From streamlining airplanes to forming durable car bodies, fiberglass has become integral to modern vehicle manufacturing. However, despite its robust nature, fiberglass car parts are still susceptible to cracks from impacts, stress, or age. Fortunately, repairing these cracks is a manageable DIY task, saving you time and money compared to professional body shop visits. This guide provides a comprehensive, step-by-step approach to effectively repair cracked fiberglass on your car, ensuring a strong and aesthetically pleasing result.
Before we begin the repair process, understanding safety precautions is paramount when working with fiberglass.
Safety First When Repairing Fiberglass
Fiberglass, while useful, can pose some health risks if handled improperly. It’s crucial to protect yourself from the fine glass particles and strands that can be released during sanding and repair. Always prioritize safety by wearing the following protective gear:
- Respirator or Face Mask: Inhaling fiberglass particles can irritate your respiratory system. A respirator or a properly fitted face mask will prevent you from breathing in these harmful particles.
- Gloves: Fiberglass strands can cause skin irritation and cuts. Wearing gloves will protect your hands from direct contact with the material and epoxy resins.
- Eye Protection: Safety glasses or goggles are essential to shield your eyes from fiberglass dust and debris.
By taking these simple safety measures, you can ensure a safe and comfortable DIY fiberglass repair experience.
Materials and Tools You’ll Need for Fiberglass Car Repair
Having the right tools and materials at hand will streamline the repair process and contribute to a professional finish. Here’s a list of what you’ll need to repair cracked fiberglass car parts:
- Drill and Small Drill Bit: For drilling stop holes at the ends of the crack.
- Rotary Tool or Utility Knife: To widen the crack slightly for better epoxy penetration.
- Dry Rag or Tack Cloth: For cleaning the repair area.
- Fiberglass Epoxy Resin and Hardener: The primary bonding agent for fiberglass repair. Ensure it’s specifically designed for fiberglass.
- Plastic Applicator or Mixing Sticks: For mixing and applying the epoxy resin.
- Sandpaper (various grits): Start with coarser grits to smooth the epoxy and progressively use finer grits for a smooth finish.
- Mixing Cups: For accurately mixing the epoxy resin and hardener.
- Optional: Gel Coat Enamel (color-matched): For a more seamless and less noticeable repair, especially on visible car body parts.
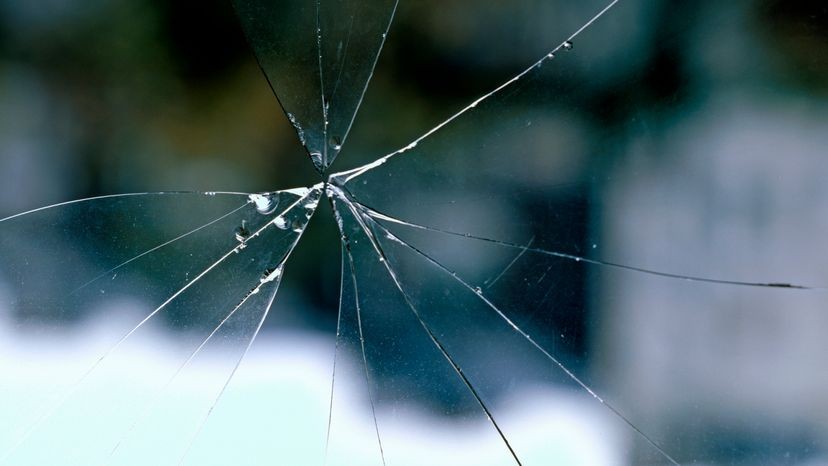
 A crack in a fiberglass window.
Step-by-Step Guide to Repairing Cracked Fiberglass on Your Car
Now, let’s move on to the practical steps to repair that cracked fiberglass. Follow these instructions carefully for the best results:
Step 1: Drill Stop Holes to Prevent Crack Propagation
The first crucial step is to prevent the crack from spreading further. At each end of the visible crack, drill a small hole using your drill and a tiny drill bit. These “stop holes” relieve stress and prevent the crack from extending beyond its current length.
Step 2: Widen the Crack for Epoxy Application
Examine the crack closely. If it’s a very thin, hairline crack, you’ll need to widen it slightly. Use a rotary tool or a utility knife to carefully widen the crack just a bit. This allows the epoxy resin to penetrate deeper into the crack and create a stronger bond. Be careful not to remove excessive material; just a slight widening is sufficient.
Step 3: Thoroughly Clean the Repair Area
A clean and dry surface is essential for proper epoxy adhesion. Use a dry rag or a tack cloth to thoroughly wipe the crack and the surrounding area. Remove any dirt, dust, grease, or loose fiberglass particles. Ensure the area is completely dry before proceeding to the next step.
Step 4: Fill the Crack with Fiberglass Epoxy Resin
Now, it’s time to mix and apply the fiberglass epoxy resin. Carefully follow the manufacturer’s instructions for mixing the resin and hardener in the correct proportions. Once mixed, use a plastic applicator or mixing stick to apply a generous amount of epoxy resin into the widened crack. Make sure to completely fill the crack, ensuring the epoxy penetrates all crevices. It’s better to slightly overfill than underfill at this stage.
Step 5: Allow to Cure, Sand, and Smooth
Let the epoxy resin cure completely according to the manufacturer’s instructions, typically around 24 hours. Once the epoxy is fully cured and hardened, use sandpaper to smooth the repaired area. Start with a coarser grit sandpaper to remove excess epoxy and level the surface. Gradually move to finer grits to achieve a smooth, even finish that blends with the surrounding fiberglass.
Optional: Apply Gel Coat for a Seamless Finish
For a truly professional and less noticeable repair, especially on visible parts of your car’s body, consider applying a colored gel coat enamel. You can often obtain a small amount of color-matched gel coat from an auto body shop. Apply the gel coat over the repaired area after sanding, following the product instructions. This will help to conceal the repair and restore the original color and sheen of the fiberglass.
Conclusion: DIY Fiberglass Car Crack Repair is Achievable
Repairing cracked fiberglass on your car is a straightforward process that can be accomplished at home with the right tools and a bit of patience. By following these steps and prioritizing safety, you can effectively repair cracks, restore the integrity of your fiberglass car parts, and maintain the appearance of your vehicle. This DIY approach not only saves you money but also provides the satisfaction of handling car maintenance yourself.
