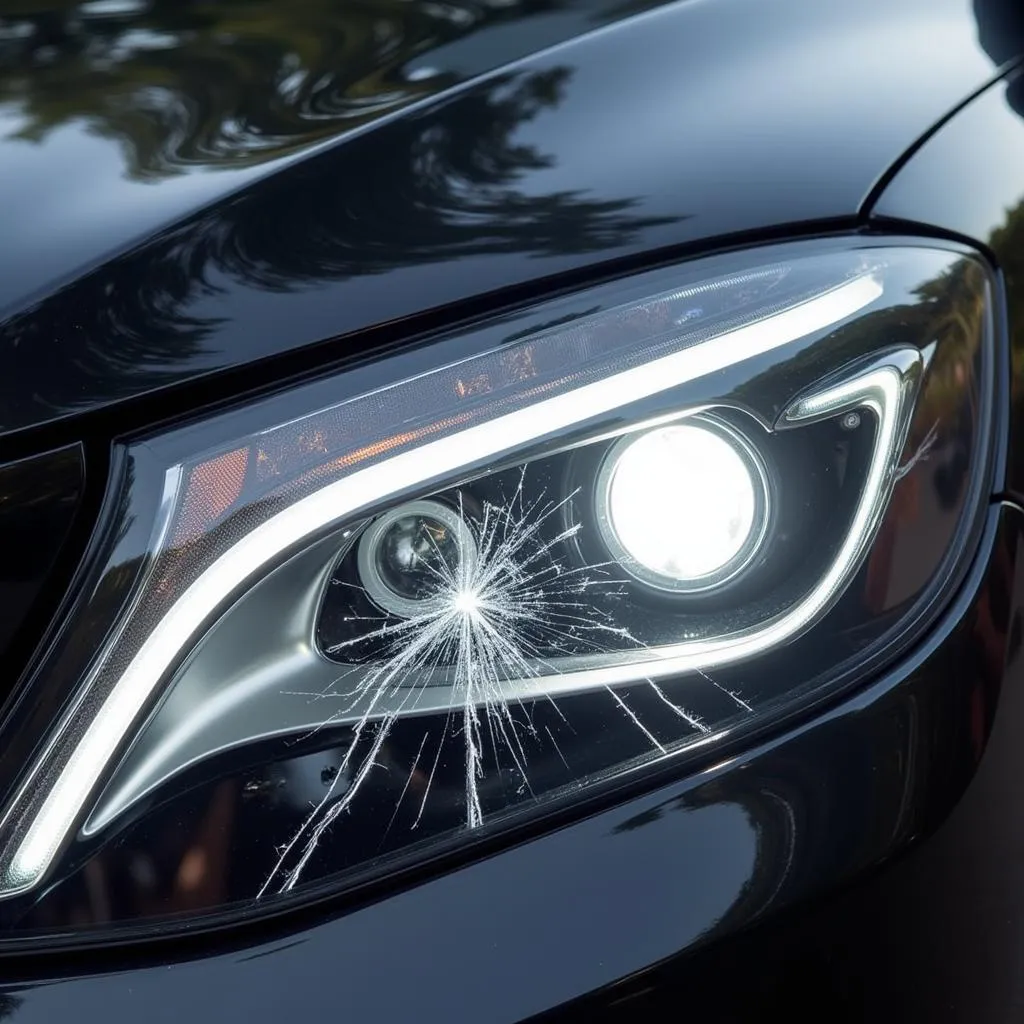
A cracked car light is a common issue that can be caused by various factors, from minor fender benders to harsh weather conditions. Ignoring it isn’t an option – it not only impacts your vehicle’s aesthetics but also poses a safety risk, affecting visibility at night and signaling capabilities. Luckily, you can often repair a cracked car light yourself with a bit of guidance. This guide provides a step-by-step approach to help you tackle this problem head-on.
Understanding the Damage: Is it a Repair or Replace Situation?
Before you grab the tools, it’s crucial to assess the damage to your car light. Minor cracks on the lens might be repairable, while extensive damage or cracks on the light housing often necessitate a replacement.
Repairing a Cracked Car Light Lens: A Step-by-Step Guide
If you’re dealing with minor cracks on your car light lens, here’s how to repair them:
-
Gather Your Supplies: You’ll need:
- Car light repair kit (available online or at auto parts stores)
- Masking tape
- Clean microfiber cloths
- Rubbing alcohol
- UV curing lamp (often included in repair kits)
-
Clean the Area: Thoroughly clean the cracked area with soap and water, ensuring no dirt or debris remains. Use rubbing alcohol for a final wipe to remove any lingering residue.
-
Mask Off the Damage: Apply masking tape around the cracked area, leaving the crack itself exposed. This step helps protect the surrounding paint from the repair resin.
-
Apply the Repair Resin: Carefully follow the instructions provided with your car light repair kit. Typically, you’ll need to apply a small amount of resin to the crack, ensuring it fills the crevice entirely.
-
Remove Air Bubbles (if any): Some repair resins might form air bubbles. Gently press on the resin with a clean cloth to remove any trapped air.
-
Cure the Resin: Use a UV curing lamp (if provided in the kit) or expose the repaired area to direct sunlight for the time recommended in the kit’s instructions. This process hardens the resin, creating a seal.
-
Remove the Masking Tape: Carefully peel off the masking tape.
-
Polish the Lens: For a smooth and clear finish, use a polishing compound (often included in repair kits) to polish the repaired area.
When to Call in the Pros
While DIY car light repair can be effective for minor cracks, certain situations call for professional intervention:
- Extensive Damage: If the cracks are large, deep, or extend to the edges of the lens, a professional repair or replacement might be necessary.
- Damage to the Housing: Cracks on the light housing itself compromise the light’s structural integrity and should be addressed by a mechanic.
- Electrical Issues: If your car light is malfunctioning due to electrical problems, it’s best to leave the repairs to an auto electrician.
FAQs
Q: Can I use superglue to repair a cracked car light?
A: While tempting, using superglue is not recommended. It doesn’t adhere well to polycarbonate, the material used for most car light lenses, and can yellow or crack over time.
Q: How much does it cost to replace a car light?
A: The cost varies depending on your car make and model. It’s best to contact a dealership or mechanic for an accurate quote.
Q: Can a cracked car light lead to a ticket?
A: Yes, a cracked car light can lead to a traffic ticket as it can affect your visibility and signaling capabilities, posing a safety hazard.
Need More Help?
For expert advice and assistance with car light repairs, car light lens repair, or replacements, don’t hesitate to contact us via WhatsApp at +1(641)206-8880 or email us at [email protected]. Our team is available 24/7 to answer your questions and provide reliable car repair solutions.


