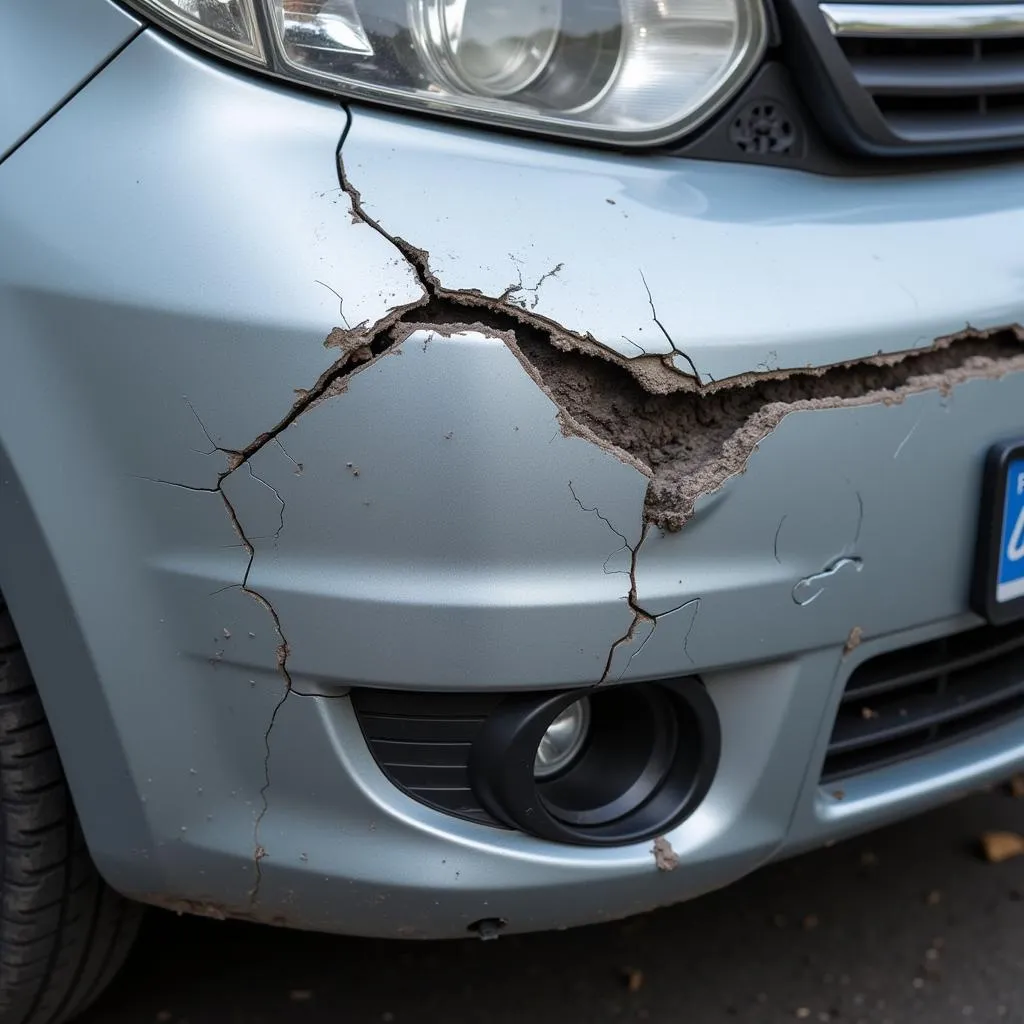
Fixing a cracked car bumper might seem daunting, but with the right approach and a bit of patience, it’s a manageable DIY project. This guide will walk you through the steps to repair that unsightly crack and get your car looking its best again.
Assessing the Damage and Gathering Your Supplies
Before diving into the repair, it’s crucial to evaluate the extent of the damage. Is it a hairline crack, or is the bumper significantly damaged? The severity will dictate the best course of action.
For minor cracks, you’ll need:
- Cleaning Supplies: Soap, water, microfiber cloth, rubbing alcohol
- Sandpaper: Variety of grits (e.g., 180, 320, 400)
- Plastic Repair Kit: This typically includes epoxy, hardener, fiberglass mesh, and spreader
- Body Filler (Optional): For larger cracks or dents
- Primer and Paint: Matched to your car’s color code
Step-by-Step Guide to Repairing Your Bumper
Follow these steps to effectively repair your cracked car bumper:
-
Clean the Area: Thoroughly wash the bumper with soap and water, ensuring all dirt and debris are removed. Use rubbing alcohol to clean the area around the crack.
-
Sand the Surface: Begin with coarser grit sandpaper (180) to roughen the surface around the crack, creating better adhesion for the repair material. Gradually move to finer grits (320, 400) for a smooth finish.
-
Prepare the Repair Kit: Following the manufacturer’s instructions, mix the epoxy and hardener components of your plastic repair kit.
-
Apply the Repair Material: Carefully apply the epoxy mixture to the crack, ensuring it fills the entire crevice. If using fiberglass mesh for reinforcement, embed it into the epoxy while it’s still wet.
-
Allow to Cure: Let the epoxy cure completely according to the manufacturer’s recommendations. This usually takes several hours.
-
Sand and Shape: Once cured, use sandpaper to smooth out any excess epoxy and create a seamless blend with the surrounding bumper surface.
-
Apply Body Filler (If Necessary): For larger cracks or dents, apply body filler following the product instructions. Sand it down after it dries for a flush surface.
-
Prime and Paint: Apply primer to the repaired area, allowing it to dry thoroughly. Then, apply several thin coats of paint that match your car’s color, allowing sufficient drying time between coats.
-
Finishing Touches: For a professional finish, consider applying a clear coat to protect the paint and add shine.
Professional vs. DIY Repair: What’s Right for You?
While DIY car bumper repair can save you money, it’s essential to consider the extent of the damage and your comfort level with repairs. For severe damage, or if you’re unsure about the process, seeking professional car bumper repair is advisable.
Conclusion
Repairing a crack in your car bumper is achievable with the right guidance and a little effort. By following the steps outlined above, you can restore your bumper’s appearance and potentially save on costly professional repairs. Remember to prioritize safety and always refer to your repair kit’s specific instructions for best results. If you are in the London area and need assistance, feel free to contact us for a car bumper repair quote.


