A torn car seat seam can make your car’s interior look worn and detract from its overall appeal. Fortunately, repairing a cloth car seat seam is often a manageable DIY project. Whether it’s a small rip or a larger separation, this guide will walk you through how to repair cloth car seat seam effectively and restore your car’s interior. This article provides a comprehensive guide to fixing those pesky tears and restoring your car’s interior to its former glory.
Repairing a cloth car seat seam doesn’t have to be daunting. With the right tools and a bit of patience, you can achieve professional-looking results. We’ll cover everything from identifying the damage to choosing the correct repair method and ensuring a long-lasting fix. So, let’s dive in and learn how to repair cloth car seat seam like a pro!
Assessing the Damage and Gathering Your Supplies
Before you begin the repair, carefully examine the damaged seam. Determine the length and depth of the tear. This will help you determine the best approach for the repair. For small rips, a simple needle and thread repair might suffice. However, larger tears might require patching or even professional upholstery repair. You’ll need a few essential tools: heavy-duty thread that matches the car seat fabric, a curved upholstery needle, scissors, and a seam ripper (optional). For larger repairs, consider using an iron-on patch.
For particularly stubborn or complex tears, consider if repairing a hole in a leather car seat might require similar techniques.
How to Repair Cloth Car Seat Seam with a Needle and Thread
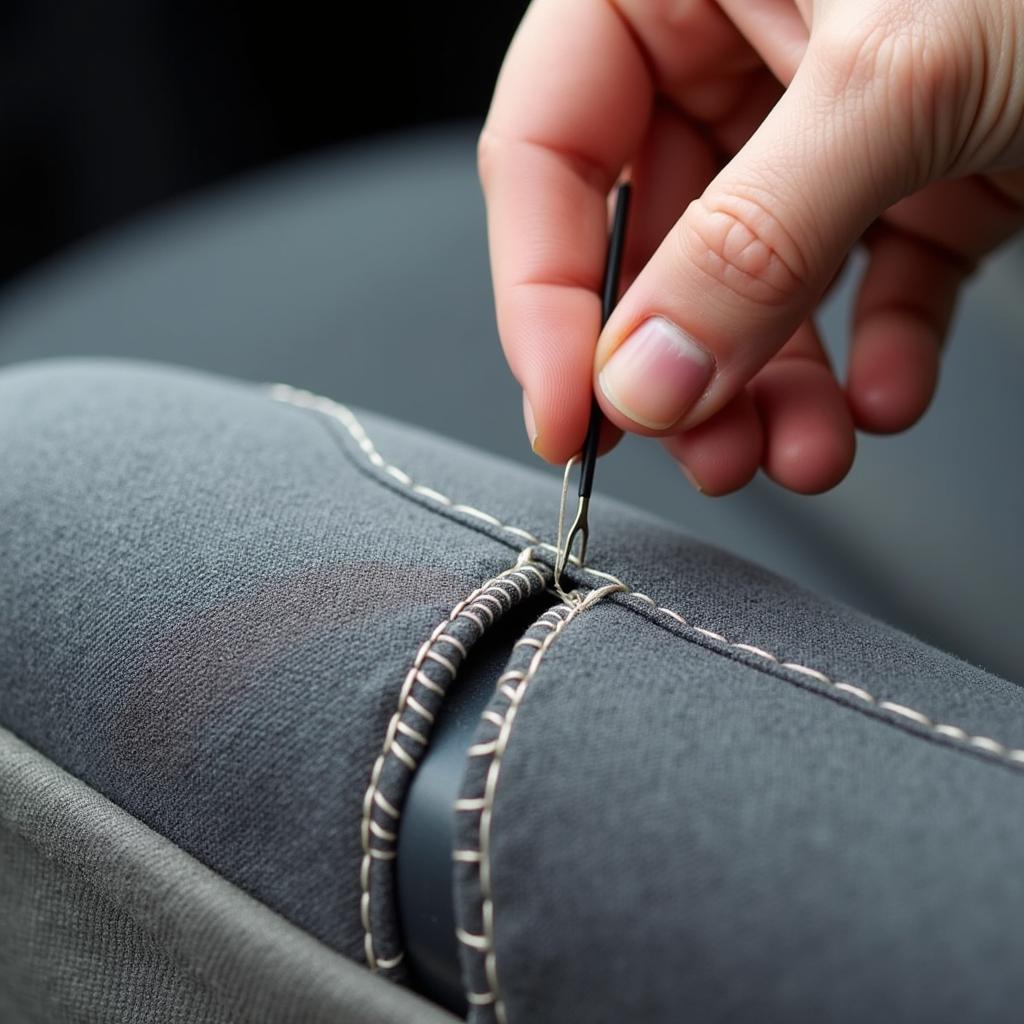
This method is ideal for small tears and frayed seams. First, thread your needle with the heavy-duty thread, ensuring you have a comfortable length to work with. Starting from the inside of the seam, carefully begin stitching along the original seam line. Use small, even stitches to close the gap. Knot the thread securely at both ends to prevent unraveling.
If you’re uncertain about the stitching process, learning how to repair a vinyl car seat can provide valuable insights into working with different materials.
Tips for a Smooth Stitching Process
- Use a thimble to protect your finger while pushing the needle through the fabric.
- Keep the stitches tight and consistent for a professional look.
- For extra strength, double up the thread.
- If the fabric is frayed, trim the loose threads before stitching.
How to Repair Larger Tears with an Iron-on Patch
For more significant tears, an iron-on patch provides a robust solution. First, choose a patch that closely matches the fabric’s color and texture. Cut the patch to a size slightly larger than the tear. Following the manufacturer’s instructions, carefully iron the patch onto the damaged area. Ensure the patch adheres firmly to the fabric. This method is generally easier and quicker than stitching, providing a durable repair. Remember, understanding how to repair cigarette burn in fabric car seat can also assist with this method.
Are you considering vinyl repair for other parts of your car? Check out our guide on how to repair a vinyl car seat.
Maintaining Your Repaired Car Seat Seam
After repairing the seam, take steps to maintain its integrity. Avoid placing heavy objects on the repaired area. Regularly clean the car seats to prevent dirt and grime from weakening the threads or the patch. By taking these precautions, you can ensure your repair lasts for a long time. If you’re interested in leather care, we have a great resource on car leather seat repair cream black ebay.
Conclusion
Repairing a cloth car seat seam is a straightforward process that can significantly improve your car’s interior. By following the steps outlined above, you can restore your car seats to their former glory and save money on costly upholstery repairs. So grab your tools and tackle that torn seam with confidence! Now you know how to repair cloth car seat seam.
FAQ
- What type of thread should I use to repair a cloth car seat seam?
Use heavy-duty upholstery thread that matches the car seat fabric’s color. - Can I use super glue instead of stitching?
Super glue is not recommended as it can make the fabric stiff and prone to cracking. - What should I do if the tear is too large to repair myself?
Consult a professional upholstery specialist for larger or more complex tears. - How can I prevent future tears in my car seats?
Avoid placing sharp objects on the seats and be careful when entering and exiting the vehicle. - Where can I buy the necessary repair supplies?
Most auto parts stores and craft stores carry upholstery repair kits. - How long does the repair typically take?
Depending on the size of the tear, the repair can take anywhere from 30 minutes to a couple of hours. - Is it necessary to use a curved upholstery needle?
A curved needle makes it easier to navigate the tight spaces and curves of the car seat.
Common Scenarios:
- Frayed Seam: A common issue, often caused by friction. A simple restitching is usually sufficient.
- Small Rip: Can be easily fixed with a needle and thread, following the original seam line.
- Large Tear: Might require patching or professional repair, especially if it involves multiple layers of fabric.
- Seam Separation: Indicates a weakened thread. Restitching with stronger thread is crucial.
Further Exploration:
Interested in learning more about car seat repair? Check out our other helpful articles:
- How to repair a hole in vinyl car seat
Need More Help?
Contact us via WhatsApp: +1(641)206-8880 or Email: cardiagtechworkshop@gmail.com. Our 24/7 customer support team is ready to assist you.


