
As car owners, we understand the importance of keeping our vehicles in pristine condition. Paint Protection Film (PPF), often referred to as clear bra, is a fantastic investment for safeguarding your car’s paintwork from the daily onslaught of road debris and environmental hazards. However, even with the robust protection of PPF, damages can occur. Knowing how to repair clear bra on car yourself can be a game-changer, saving you both time and money compared to professional repairs. This comprehensive guide will equip you with the knowledge and step-by-step instructions to tackle minor clear bra repairs effectively, ensuring your car continues to look its best.
Understanding Clear Bra (PPF)
Before diving into the repair process, it’s crucial to understand what clear bra is and how it functions. This knowledge will help you approach repairs with the right mindset and techniques.
What is Clear Bra/PPF?
Clear bra, or Paint Protection Film (PPF), is a virtually invisible urethane film applied to the painted surfaces of your vehicle. Its primary purpose is to act as a shield against a variety of threats, including:
- Scratches and Scuffs: From minor brushes with branches to accidental key scratches.
- Stone Chips: Caused by gravel and road debris kicked up while driving.
- Bug Splatter and Bird Droppings: Which can be corrosive to paint over time.
- Road Salts and Chemicals: Especially harmful in winter conditions.
- UV Rays: Preventing paint fading and oxidation.
PPF is designed to be durable and, in many cases, self-healing, meaning minor surface scratches can disappear with heat. However, more significant damage requires intervention to maintain its protective properties and aesthetic appeal.
Types of PPF Available
The market offers various types of PPF, each with unique characteristics and benefits. Understanding these differences is important, especially when choosing a repair kit or seeking professional advice. Common types include:
- Clear PPF: The most common type, offering transparent protection without altering the vehicle’s original paint color. It comes in various finishes, including glossy and matte.
- Matte PPF: Designed for vehicles with matte paint finishes, preserving the non-reflective look while providing protection. It can also be used to give a matte appearance to glossy paint.
- Colored PPF: Available in a range of colors, allowing for both protection and a change in vehicle appearance.
- Self-Healing PPF: Incorporates a top coat that can heal minor scratches and swirl marks with heat from the sun or warm water.
When you repair clear bra on car, ensure your repair materials are compatible with the specific type of PPF installed on your vehicle for optimal results and seamless integration.
Common Types of Damage to PPF
Despite its robust nature, clear bra is not impervious to damage. Everyday driving and environmental factors can lead to various types of wear and tear. Understanding common damage types will help you assess the severity and choose the appropriate repair method. Common damages include:
- Scratches: Surface-level marks that can often be self-healed with heat.
- Scuffs: Slightly more pronounced than scratches, often caused by abrasions.
- Tears: Rips in the film, usually caused by sharp objects or significant impacts.
- Punctures: Holes in the film, typically from stones or debris.
- Edge Lifting: Where the edges of the PPF start to peel away from the car’s surface.
- Yellowing or Staining: Discoloration over time, often due to UV exposure or contaminants.
Minor scratches and scuffs are often easily addressed with DIY methods, while tears, punctures, and significant edge lifting might require more extensive repairs or professional intervention.
Essential Tools and Materials for Clear Bra Repair
To effectively repair clear bra on car, having the right tools and materials is paramount. A well-prepared toolkit will ensure a smooth and successful repair process, leading to professional-looking results.
Clear Bra Repair Kit
A specialized clear bra repair kit is your first essential item. These kits are specifically designed to address common damages and typically include:
- Adhesive: A specialized bonding agent formulated for PPF, ensuring strong adhesion between the patch and the existing film.
- Film Patches: Pre-cut pieces of PPF that match common types and finishes. Having matching patches is crucial for a seamless repair.
- Squeegee: A soft, flexible squeegee is used to smooth out patches, remove air bubbles, and ensure proper adhesion without scratching the film.
- Installation Liquid (Slip Solution): A solution, often a mixture of water and a mild soap, used to aid in positioning the patch and achieving a bubble-free application. It allows the patch to be repositioned before the adhesive sets.
When selecting a clear bra repair kit, verify its compatibility with your PPF type (glossy, matte, etc.) to guarantee the best possible repair.
Additional Tools You’ll Need
Beyond the repair kit, several other readily available tools and materials will be necessary for a successful clear bra repair:
- Microfiber Cloths: Essential for cleaning the damaged area, wiping away excess adhesive, and ensuring a lint-free surface. Use high-quality, non-abrasive microfiber cloths to avoid scratching the PPF or paint.
- Mild Soap and Water Solution: A gentle cleaning solution to remove dirt, grime, and contaminants from the damaged area. Use a pH-neutral soap to avoid damaging the PPF or paint.
- Heat Gun or Hairdryer: A heat source is needed for two main purposes:
- Self-Healing: For minor scratches and scuffs on self-healing PPF.
- Patch Application: To soften the patch and facilitate better adhesion, especially on curved surfaces.
A hairdryer can work, but a heat gun provides more controlled and concentrated heat.
- Razor Blade or Film Cutting Tool: A sharp, precise tool for carefully lifting the edge of damaged PPF if removal is necessary, or for trimming excess patch material. Use a fresh blade to ensure clean cuts and prevent tearing.
- Painter’s Tape (Optional): Useful for masking off the area surrounding the damage, protecting the surrounding PPF and paint from accidental adhesive application or scratches during the repair process.
- Gloves: Disposable gloves are important to keep your hands clean and prevent fingerprints on the adhesive side of the patch and the cleaned PPF surface. They also protect your skin from the adhesive.
Having all these tools and materials prepared before you start the repair process will ensure efficiency and a professional outcome when you repair clear bra on car.
Step-by-Step Guide to Repairing Your Clear Bra
Now that you understand clear bra and have gathered your tools, let’s delve into the step-by-step process of how to repair clear bra on car. The repair method will depend on the type and severity of the damage.
Assessing the Damage: Is DIY Repair Possible?
Before you begin, carefully assess the damage to determine if a DIY repair is feasible and appropriate.
Minor vs. Major Damage
Distinguishing between minor and major damage is key to deciding whether to proceed with a DIY repair or seek professional help.
- Minor Damage: Typically includes surface scratches, light scuffs, and very small, shallow punctures. These are often superficial and don’t penetrate deeply into the film. Minor damage is usually repairable at home.
- Major Damage: Encompasses deep scratches that go through the PPF, significant tears, large punctures, extensive edge lifting, or yellowing/staining across a large area. Major damage might compromise the underlying paint protection and often requires professional replacement.
When to DIY vs. When to Seek Professional Help
Consider these guidelines when deciding whether to repair clear bra on car yourself or consult a professional:
- DIY Repair is Suitable If:
- The damage is minor (surface scratches, light scuffs, very small punctures).
- You are comfortable with DIY tasks and have the necessary tools.
- The damaged area is small and easily accessible.
- Seek Professional Help If:
- The damage is major (deep tears, large punctures, extensive damage).
- You are unsure about the repair process or lack confidence.
- The damaged area is large or in a complex location.
- You want to ensure the repair is flawless and maintain any existing PPF warranty.
If in doubt, it’s always best to err on the side of caution and consult a professional clear bra installer or detailer.
Preparing the Damaged Area for Repair
Proper preparation is crucial for any successful repair. A clean and well-prepared surface ensures optimal adhesion and a seamless finish when you repair clear bra on car.
Cleaning the Area
- Rinse: Begin by rinsing the damaged area with clean water to remove loose dirt and debris.
- Wash: Apply a mild soap and water solution to a microfiber cloth and gently wash the damaged area and a small surrounding area.
- Rinse Again: Rinse thoroughly with clean water to remove all soap residue.
- Dry: Dry the area completely with a clean, dry microfiber cloth. Ensure no moisture remains before proceeding.
- Inspect: Inspect the area closely to ensure it is completely clean and free of any remaining dirt or contaminants.
Protecting the Surrounding Area
Using painter’s tape to mask off the area around the damage is a good practice, especially for larger repairs or when using adhesive.
- Apply Tape: Apply painter’s tape around the perimeter of the damaged area, creating a clean boundary for your repair work.
- Press Firmly: Ensure the tape is firmly adhered to the PPF to prevent adhesive from seeping underneath.
Gathering Your Tools
Before starting the actual repair, ensure you have all your tools and materials within easy reach:
- Clear bra repair kit
- Microfiber cloths
- Soap and water solution (if needed for further cleaning)
- Heat gun or hairdryer
- Razor blade or film cutting tool
- Painter’s tape (if used)
- Gloves
Repairing Minor Clear Bra Damage
For minor damages like scratches and scuffs, often the self-healing properties of PPF can be activated with heat. For slightly more pronounced minor damage, patching might be necessary.
Fixing Scratches and Scuffs
For surface scratches and scuffs on self-healing PPF:
- Clean: Ensure the area is clean and dry as described in the preparation steps.
- Apply Heat: Use a heat gun or hairdryer on a low to medium setting. Hold the heat source a few inches away from the damaged area and move it in a sweeping motion. Avoid overheating in one spot.
- Observe: As you apply heat, you should see the scratches and scuffs start to disappear as the self-healing properties activate.
- Cool Down: Allow the area to cool naturally.
- Inspect: Once cooled, inspect the area to see if the scratches have disappeared. Repeat the heating process if necessary, but be cautious not to overheat the PPF.
Repairing Small Tears and Punctures
For small tears and punctures that are not self-healing:
- Clean and Prepare: Clean and thoroughly dry the damaged area following the preparation steps.
- Cut Patch: Select a film patch from your repair kit that is slightly larger than the damaged area. Trim the patch to a suitable size and shape, rounding the corners to prevent lifting.
- Apply Installation Liquid: Lightly mist the damaged area and the adhesive side of the patch with installation liquid.
- Position Patch: Carefully position the patch over the damage, using the slip from the installation liquid to adjust its placement.
- Squeegee: Use the squeegee to gently push out air bubbles and excess installation liquid, working from the center outwards. Apply firm, even pressure.
- Dry: Allow the patch to dry completely. Drying time may vary depending on the adhesive and environmental conditions.
- Inspect and Trim: Once dry, inspect the repair. If there is any excess patch material extending beyond the damaged area, carefully trim it with a razor blade or film cutting tool. Be extremely cautious not to cut into the car’s paint.
Repairing Major Clear Bra Damage (Replacing a Section)
For major damage like large tears or punctures, or significant edge lifting, replacing the damaged section of PPF might be necessary. This process is more involved and requires patience and precision.
Removing Damaged Clear Bra
- Heat the Area: Use a heat gun or hairdryer to gently warm the damaged PPF and the surrounding area. This softens the adhesive and makes removal easier. Be careful not to overheat the paint.
- Lift an Edge: Using a razor blade or film cutting tool, carefully lift an edge of the damaged PPF. Start at a corner or edge of the damage.
- Peel Off Slowly: Gently peel the damaged PPF away from the car’s surface. Apply heat as needed to keep the adhesive soft and prevent tearing. Pull slowly and steadily at a shallow angle.
- Clean Adhesive Residue: Once the damaged PPF is removed, clean any remaining adhesive residue from the paint surface. You can use a dedicated adhesive remover or isopropyl alcohol, but test in an inconspicuous area first to ensure it doesn’t harm the paint. Clean the area again with soap and water and dry thoroughly.
Installing New Clear Bra Section
- Cut New Section: Cut a new piece of PPF from a roll or use a larger patch from a kit, making sure it is slightly larger than the area you removed.
- Prepare the Surface: Ensure the area where you will apply the new PPF is meticulously clean, dry, and free of any residue.
- Apply Installation Liquid: Generously spray the cleaned paint surface and the adhesive side of the new PPF section with installation liquid.
- Position New Section: Carefully position the new PPF section over the cleaned area. The installation liquid will allow you to slide and adjust its position.
- Squeegee Application: Use the squeegee to apply the new PPF section. Start from the center and work outwards, using firm, overlapping strokes to remove air bubbles and excess liquid.
- Trim Excess: Once the PPF is smoothly applied, trim any excess material around the edges using a sharp razor blade or film cutting tool. Follow the contours of the panel and be extremely careful not to cut into the car’s paint.
- Final Squeegee and Dry: Do a final squeegee pass to ensure complete adhesion and remove any remaining liquid. Allow the new section to dry and cure completely, which may take several hours depending on the product and conditions.
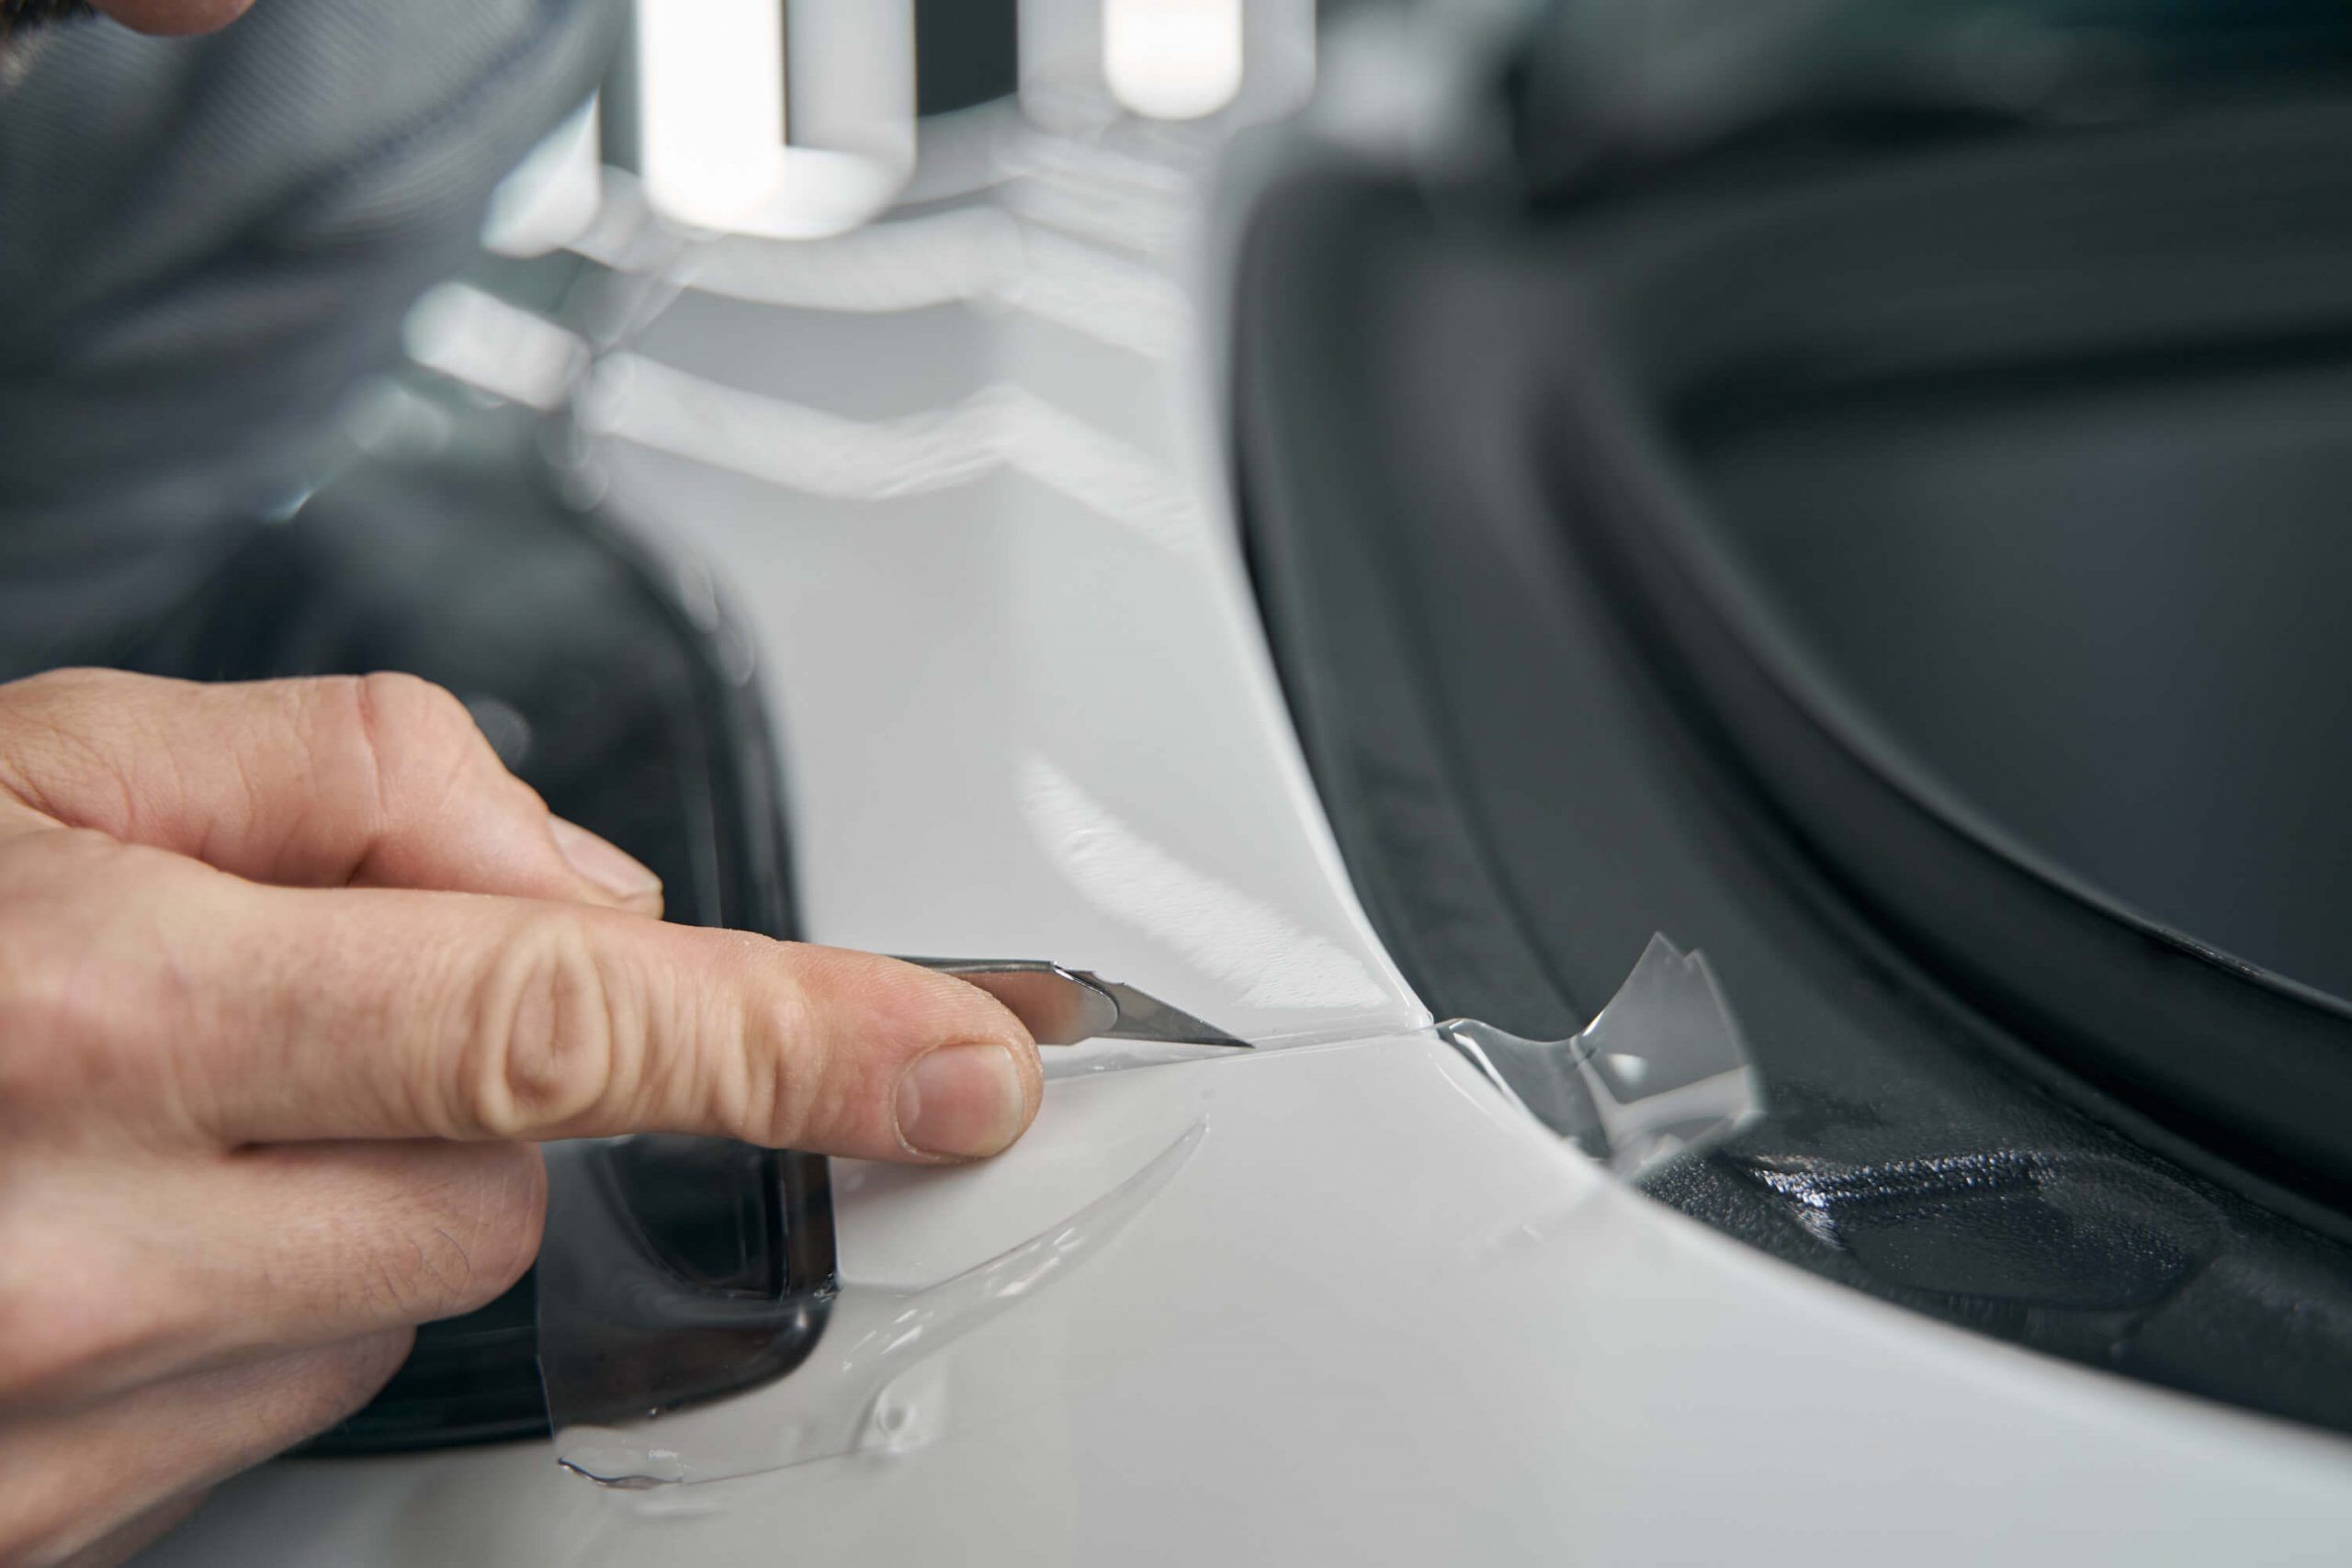 Alt text: Skilled technician carefully removes excess clear bra film from a car panel using a squeegee, ensuring a smooth and precise application during paint protection film installation.
Post-Repair Care and Maintenance for Clear Bra
Once you repair clear bra on car, proper aftercare and regular maintenance are crucial to prolong the lifespan of your PPF and maintain its protective and aesthetic qualities.
Regular Cleaning
- Gentle Washing: Wash your car regularly, including the PPF-protected areas, using a mild soap and water solution and a soft microfiber wash mitt.
- Avoid Abrasives: Never use abrasive cleaners, brushes, or scrub pads on PPF, as these can scratch or damage the film.
- Rinse Thoroughly: After washing, rinse thoroughly with clean water to remove all soap residue.
- Dry Carefully: Dry the PPF surfaces with a clean, soft microfiber drying towel.
Tips for Longevity
- Avoid Harsh Chemicals: Keep harsh chemicals, solvents, and strong detergents away from your PPF.
- Promptly Remove Contaminants: Remove bug splatter, bird droppings, and tree sap as soon as possible using PPF-safe cleaners.
- Regular Inspection: Periodically inspect your PPF for any signs of damage, edge lifting, or wear and tear. Address minor issues promptly to prevent them from worsening.
- Consider PPF Sealants or Waxes: Some PPF manufacturers recommend or offer specific sealants or waxes designed to enhance the film’s gloss and longevity. Check your PPF manufacturer’s recommendations.
- Park in Shade: Whenever possible, park your car in shaded areas or use a car cover to minimize prolonged exposure to direct sunlight and UV radiation, which can contribute to yellowing over time.
When Professional Clear Bra Repair is Necessary
While DIY repairs can handle many minor issues, there are situations where seeking professional clear bra repair services is the most prudent course of action. Knowing when to call in the experts will help protect your investment and ensure optimal results.
Situations Requiring Professional Help
- Extensive Damage: If your clear bra has suffered extensive damage, such as large tears, significant punctures, or widespread edge lifting, professional replacement is usually necessary to maintain consistent protection and appearance.
- Damage in Complex Areas: Repairs in complex areas with curves or intricate shapes can be challenging for DIYers. Professionals have the experience and tools to handle these areas effectively.
- Uncertainty or Lack of Experience: If you are uncomfortable with the DIY repair process or lack experience working with PPF, seeking professional help is advisable to avoid further damage or a suboptimal repair.
- Warranty Concerns: If your PPF is still under warranty, DIY repairs might void the warranty. Check your warranty terms and consult with the installer or manufacturer before attempting any repairs yourself.
- Yellowing or Staining: While some minor staining might be addressed, significant yellowing or staining often indicates degradation of the PPF material itself, requiring professional replacement.
Finding a Reputable Clear Bra Repair Service
If professional repair or replacement is needed, choosing a reputable service provider is crucial. Look for companies that demonstrate:
- Expertise and Certification: Ensure the technicians are certified and experienced in PPF installation and repair.
- Quality Materials: Inquire about the type and quality of PPF materials they use for replacements. They should use high-quality films that match or exceed the original PPF in terms of performance and durability.
- Positive Reviews and Reputation: Check online reviews and testimonials to gauge customer satisfaction and the company’s reputation for quality work.
- Comprehensive Services: A reputable provider should offer a range of services, including damage assessment, repair, replacement, and potentially maintenance advice.
- Warranty on Work: Inquire if they offer any warranty on their repair or replacement work, providing peace of mind and assurance of quality.
By understanding how to repair clear bra on car for minor damages and knowing when to seek professional help for more significant issues, you can effectively maintain your vehicle’s paint protection and ensure it remains looking its best for years to come.