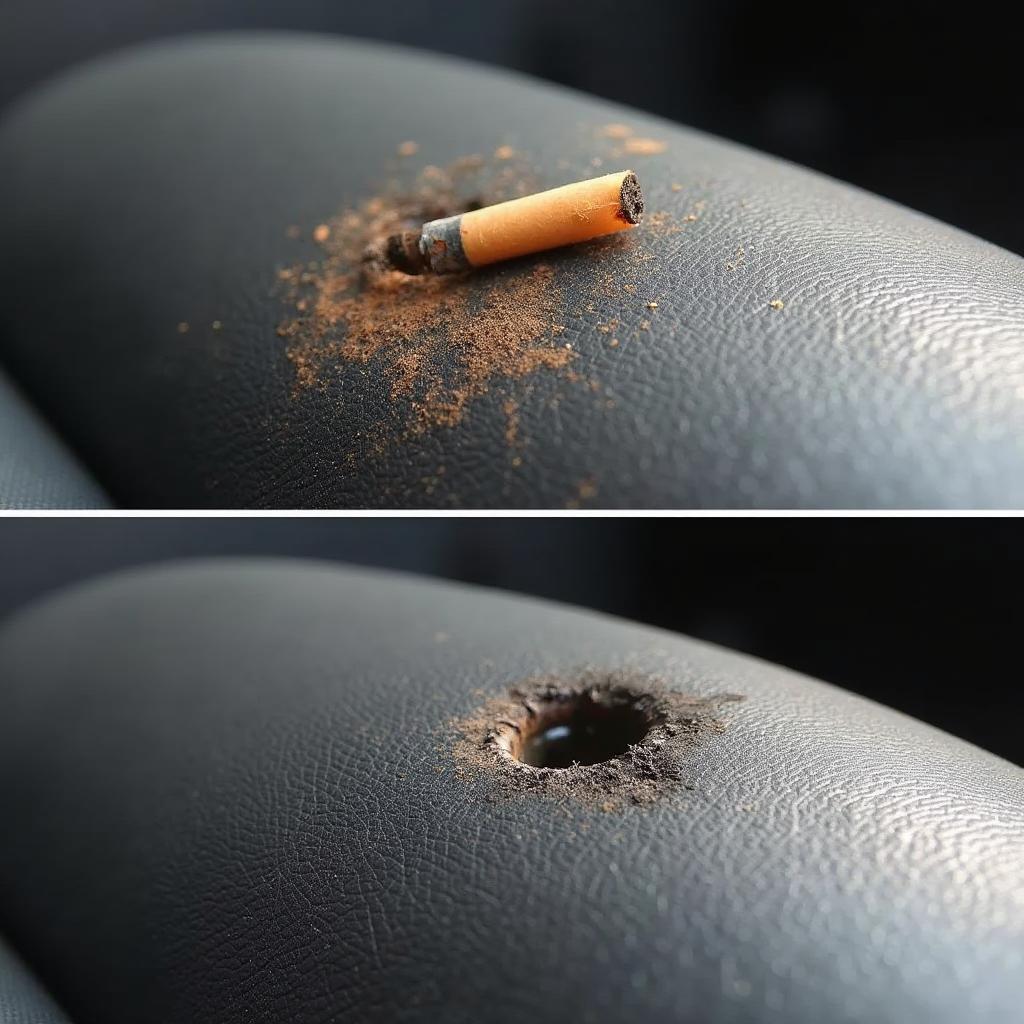
Discovering a cigarette burn in your car’s vinyl seat can be frustrating. But before you panic, know that repairing these minor blemishes is often easier than you think. This comprehensive guide will walk you through the steps to restore your vinyl car seat and make that unsightly burn a thing of the past.
Assessing the Damage: What You’re Dealing With
Before you start gathering materials, it’s crucial to assess the severity of the cigarette burn.
- Minor Burns: These are surface-level burns that haven’t completely penetrated the vinyl. They usually appear as light brown or black marks and can often be repaired using simple techniques.
- Deep Burns: These burns have gone through the vinyl’s top layer, creating a hole or significant damage. Repairing deep burns requires a more involved approach and might involve patching or filling the damaged area.
Gathering Your Tools and Materials
Once you’ve determined the extent of the damage, it’s time to gather the necessary tools and materials. Here’s a list of items you’ll need for most cigarette burn repairs:
- Cleaning Supplies: Isopropyl alcohol, microfiber cloths, mild soap and water solution.
- Repair Materials: Leather or vinyl repair kit (depending on your seat material), fine-grit sandpaper (400-600 grit), heat gun or hairdryer.
- Finishing Touches: Leather or vinyl conditioner, soft bristle brush.
Step-by-Step Guide to Repairing a Cigarette Burn in Vinyl Car Seat
Follow these steps to effectively repair a cigarette burn on your vinyl car seat:
- Clean the Area: Thoroughly clean the affected area with isopropyl alcohol and a microfiber cloth to remove dirt, debris, and any loose material around the burn. This ensures a clean surface for the repair materials to adhere to.
- Sand the Burn: If you’re dealing with a minor burn, lightly sand the area with fine-grit sandpaper to smooth out the edges and create a better surface for the repair compound to bond. Be gentle to avoid damaging the surrounding vinyl.
- Apply the Repair Compound: Using a small spatula or the applicator provided in your repair kit, carefully apply the vinyl repair compound to the burn. Ensure the compound fills the entire damaged area and slightly overlaps the surrounding vinyl for a seamless finish.
- Heat and Texture: Once the compound is applied, use a heat gun or hairdryer on a low setting to heat the area gently. This helps the compound to cure and blend seamlessly with the surrounding vinyl. While the compound is still warm, use a textured grain pad (often provided in repair kits) to match the texture of your car seat’s vinyl.
- Clean and Condition: Allow the repair compound to dry and cure completely according to the manufacturer’s instructions. Afterward, clean the area again with a damp cloth to remove any residue. Finally, apply a leather or vinyl conditioner to the entire seat to restore its suppleness and protect the repaired area.
Can You Repair a Cigarette Burn in a Car Seat Yourself?
Absolutely! Repairing a cigarette burn in a vinyl car seat is often a manageable DIY project. With the right tools, materials, and a bit of patience, you can achieve professional-looking results and save on costly repairs.
When to Seek Professional Help
While minor cigarette burns are usually repairable at home, there are instances where seeking professional help is recommended. If the burn has created a large hole, severely damaged the underlying foam, or if you’re uncomfortable with the repair process, it’s best to consult an experienced automotive upholstery specialist.
Preventing Future Cigarette Burns
Prevention is always better than cure. Here are some tips to avoid future cigarette burns in your car:
- Designated Smoking Area: If you or your passengers smoke, designate a specific area outside the vehicle for smoking.
- Ashtrays: Ensure your car is equipped with functional ashtrays and encourage passengers to use them.
- Cautionary Reminders: Remind passengers to be mindful of cigarettes and avoid smoking inside the vehicle.
Conclusion
Repairing a cigarette burn in your vinyl car seat doesn’t have to be a daunting task. With the right approach and information, you can restore your car’s interior and make those unsightly burns a distant memory. Remember to assess the damage, gather the necessary materials, and follow the step-by-step guide provided. And if you’re ever unsure, don’t hesitate to seek professional assistance. With a little effort, you can keep your car’s interior looking its best for years to come.
FAQ
Q: Can I use superglue to fix a cigarette burn in my car seat?
A: While it might seem like a quick fix, using superglue is not recommended. Superglue is not flexible and can crack and discolor over time, making the damage more noticeable.
Q: How long does the repair compound take to dry?
A: Drying time varies depending on the specific product used. Refer to the manufacturer’s instructions on the repair kit for accurate drying and curing times.
Q: Can I still repair a cigarette burn if it’s old?
A: Yes, you can still attempt to repair an old cigarette burn. However, the success rate might depend on the severity and age of the damage.
Q: How can I prevent my car from smelling like cigarettes?
A: Regularly cleaning your car’s interior, using air fresheners, and leaving windows open for ventilation can help eliminate cigarette odor. You can also try using a specialized odor eliminator designed for car interiors.
Do you have other questions regarding car seat repair or other car maintenance issues? Check out these helpful resources:
For immediate assistance and expert advice, don’t hesitate to reach out to our team of car repair specialists. Contact us via WhatsApp: +1(641)206-8880 or Email: [email protected]. We are available 24/7 to address your queries and provide the best solutions for your car repair needs.


