A damaged or worn-out car window rubber seal can be a real nuisance, letting in wind noise, rain, and even dust. But before you rush to the mechanic, you might be able to tackle this repair yourself. This guide will walk you through the process of assessing the damage, choosing the right repair method, and sealing your car window like a pro.
Understanding Your Car Window Rubber Seal
Car window rubber seals, also known as weatherstripping, are essential components that create a tight barrier between your car door and window. This barrier keeps the elements out, ensures a smooth window operation, and contributes to your car’s insulation.
There are different types of seals in a car door, each serving a specific purpose:
- Window run channel: This seal guides the window glass as it moves up and down.
- Outer belt weatherstripping: Located on the exterior, it prevents water and debris from entering the door.
- Inner belt weatherstripping: Positioned inside the door panel, it minimizes wind noise and prevents leaks.
Assessing the Damage
Before you start repairing, you need to determine the extent of the damage. Here are some signs to look out for:
- Visual inspection: Check for cracks, tears, or missing pieces in the rubber seal.
- Water leaks: Wet carpets or water droplets inside the door after rain can indicate a leak.
- Wind noise: Excessive wind noise at highway speeds might point to a failing seal.
- Difficulty rolling windows: A stiff window that’s hard to roll up or down could mean the seal needs attention.
Repairing Your Car Window Rubber Seal: A Step-by-Step Guide
The repair method you choose will depend on the severity of the damage.
1. Cleaning the Rubber Seal
Start by thoroughly cleaning the rubber seal and the surrounding area with a mild detergent and water. This will remove dirt, debris, and any mold growth, ensuring a good surface for repair.
2. Minor Damage: Rubber Seal Conditioner
For minor cracks and dryness, a rubber conditioner can do wonders.
- Apply the conditioner liberally to the rubber seal, working it into the cracks.
- Let it sit for the recommended time (check the product instructions).
- Wipe off any excess conditioner.
Expert Tip: Regularly conditioning your rubber seals can prevent future damage and prolong their lifespan.
“Think of rubber seal conditioner like sunscreen for your car’s weatherstripping,” says John Davis, a seasoned mechanic with 20 years of experience. “Just like sunscreen protects your skin from the sun’s harmful rays, conditioner prevents drying, cracking, and premature aging of the rubber.”
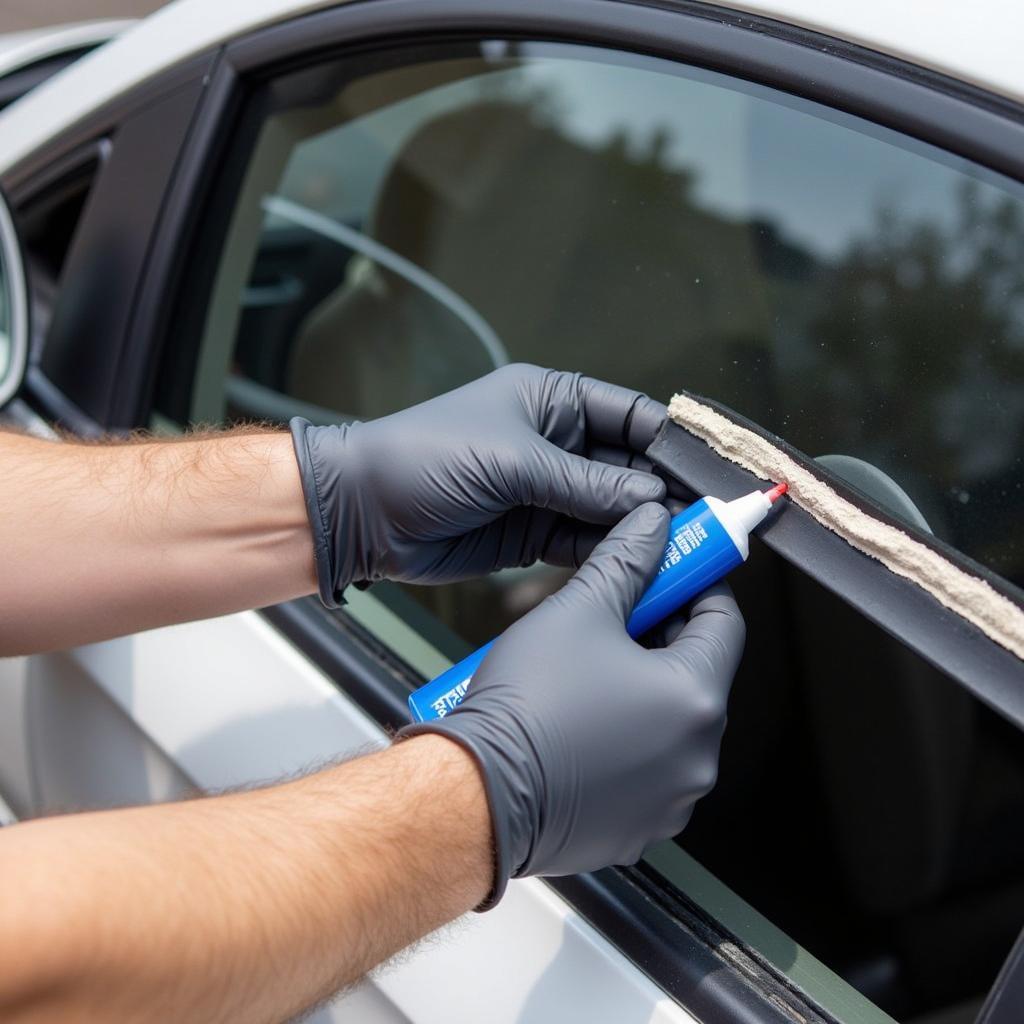
3. Moderate Damage: Rubber Seal Adhesive
For larger tears or gaps, you’ll need a rubber seal adhesive.
- Choose an adhesive specifically designed for automotive rubber.
- Apply the adhesive to both sides of the tear or gap.
- Press the rubber firmly together and hold for the time specified in the instructions.
4. Extensive Damage: Replacing the Rubber Seal
If the damage is too extensive or the seal is severely deformed, replacement is your best bet.
- Purchase a replacement seal that matches your car’s make, model, and year.
- Carefully remove the old seal, starting from one corner. You might need a special tool to pry it loose.
- Clean the area where the old seal was attached.
- Install the new seal, starting from one end and working your way along, ensuring it sits properly in the channel.
 Applying Rubber Seal Adhesive to a Car Window
Preventing Future Damage
Prevention is always better than cure. Here are some tips to keep your car window rubber seals in top shape:
- Regular Cleaning: Clean your seals every time you wash your car.
- Conditioning: Use a rubber conditioner every few months, especially during extreme weather conditions.
- Avoid Harsh Chemicals: Don’t use harsh chemicals or abrasive cleaners on your rubber seals.
- Park in the Shade: Prolonged exposure to direct sunlight can damage the rubber over time.
Conclusion
Repairing your car window rubber seal might seem like a daunting task, but with a little patience and the right approach, you can save yourself a trip to the mechanic and keep your car protected from the elements. Remember to assess the damage properly, choose the appropriate repair method, and don’t hesitate to seek professional help if needed. By taking care of your car’s seals, you’ll ensure a smoother, quieter, and drier ride for years to come.
FAQs
Q: How often should I replace my car window rubber seals?
A: While there’s no set timeframe, it’s generally recommended to inspect them every year and consider replacement if you notice significant wear and tear.
Q: Can I use household silicone sealant to repair car window seals?
A: It’s best to avoid using household silicone as it’s not designed for automotive rubber and might not provide a lasting seal.
Q: My car window makes a squeaking noise when I roll it down. Is it a seal problem?
A: It could be a sign of a dry or damaged seal, but it’s best to have it checked by a mechanic to rule out other potential issues.
Q: Can I drive my car with a damaged window seal?
A: While it’s not advisable to drive with a severely damaged seal, especially in rainy conditions, minor damage can usually wait until you can repair it.
Q: Where can I find the right replacement seal for my car?
A: Auto parts stores, dealerships, and online retailers are good places to find replacement seals that match your car’s specifications.
Still Have Questions?
For more specific guidance on car window rubber seal repair or any other car repair needs, feel free to reach out to our team of experts. We’re available 24/7 to assist you via WhatsApp at +1(641)206-8880 or email at [email protected].
For more information on repairing car window rubber seals, car window rubber seal repair in Mesa, or Blueshine car window rubber door seal repair kits, please visit our website. You can also find a helpful guide on how to repair a car window rubber seal on our blog.

