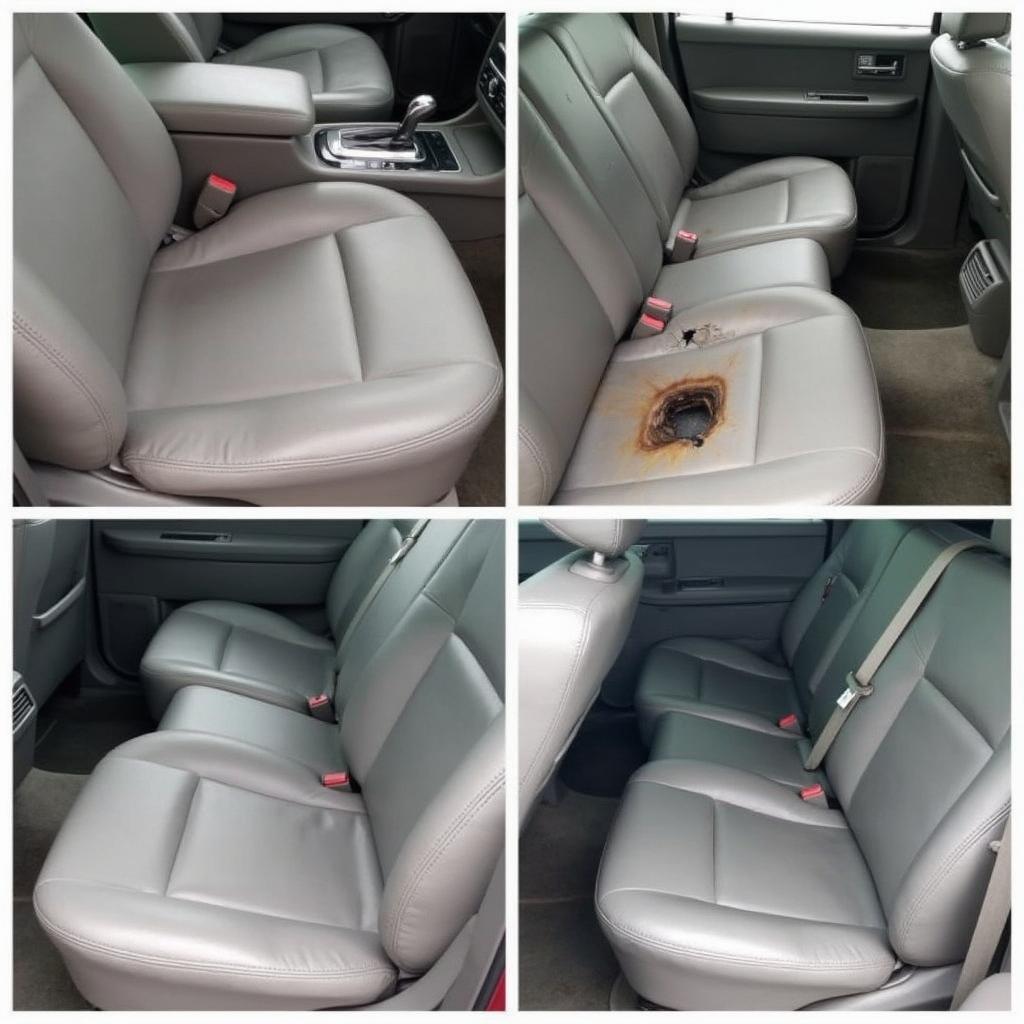
Vinyl seats are a popular choice for car owners because they’re durable, easy to clean, and relatively inexpensive. However, over time, vinyl seats can crack, fade, and become damaged.
This comprehensive guide will walk you through the steps on how to repair car vinyl seats, from minor scuffs to more significant repairs, helping you restore their look and prolong their lifespan.
Assessing the Damage: What’s the Issue?
Before diving into the repair process, it’s crucial to identify the type and extent of the damage to your vinyl car seats.
- Cracks and Tears: These are common issues caused by wear and tear, sun damage, or sharp objects.
- Fading and Discoloration: Prolonged exposure to sunlight can cause the vinyl to lose its color and vibrancy.
- Stains and Spills: Food, drinks, and other substances can leave stubborn stains on vinyl seats.
- Burns and Holes: Cigarettes, lighters, or even hot objects can create unsightly burns or holes.
Gathering Your Supplies: The Right Tools for the Job
Having the correct tools and materials is essential for effective vinyl seat repair. Depending on the damage, you’ll need some or all of the following:
- Cleaning Supplies: Mild soap, warm water, a microfiber cloth, and a soft-bristled brush will help clean the area before repair.
- Vinyl Repair Kit: These kits are readily available online or at auto parts stores and typically include a vinyl filler, adhesive, color matching guide, and various grain papers.
- Heat Gun or Hair Dryer: Heat helps to soften the vinyl, making it easier to apply the filler and blend repairs.
- Scissors and Utility Knife: These are handy for trimming excess vinyl filler and preparing patches.
- Masking Tape and Plastic Sheeting: These will protect the surrounding areas of your car’s interior during the repair process.
Step-by-Step Guide: How to Repair Car Vinyl Seats
Now, let’s get down to the nitty-gritty of how to repair your car’s vinyl seats.
1. Cleaning the Area
Thoroughly clean the damaged area with mild soap and warm water, ensuring it’s free from dirt, grime, and debris. Allow the area to dry completely before proceeding.
2. Preparing the Vinyl
If dealing with cracks or tears, use fine-grit sandpaper to gently roughen the edges of the damaged area. This will create a better surface for the vinyl filler to adhere to.
3. Applying Vinyl Filler
Using a putty knife or your finger, carefully apply the vinyl filler to the damaged area, pressing it firmly into the crack or tear. Overfill the area slightly to allow for shrinkage during drying.
4. Blending and Texturing
Use a heat gun or hair dryer on a low setting to soften the filler. While the filler is still warm, use the grain paper provided in your vinyl repair kit to match the texture of the surrounding vinyl.
5. Color Matching
If your repair kit includes a color-matching guide, follow the instructions carefully to mix the appropriate color for your vinyl. Apply the colorant to the repaired area, blending it seamlessly with the surrounding vinyl.
6. Drying and Curing
Allow the repaired area to dry and cure completely according to the instructions on your vinyl repair kit. This usually takes 24-48 hours.
Prolonging the Life of Your Vinyl Seats
Prevention is always better than cure. Here are a few tips to keep your vinyl seats looking their best for years to come:
- Regular Cleaning: Wipe down your vinyl seats regularly with a damp cloth and mild soap to prevent dirt and grime buildup.
- UV Protection: Park your car in the shade or use a sunshade to protect your vinyl seats from harmful UV rays.
- Conditioning: Use a vinyl conditioner every few months to keep the material supple and prevent cracking.
- Avoid Sharp Objects: Be mindful of sharp objects that could puncture or tear your vinyl seats.
Conclusion
Repairing car vinyl seats is an achievable DIY project that can save you money and keep your car’s interior looking its best. By following the steps outlined in this guide and taking preventative measures, you can enjoy beautiful and long-lasting vinyl seats for years to come. If you find yourself facing more complex vinyl repairs or prefer professional assistance, don’t hesitate to reach out to experienced auto upholsterers in your area.
FAQs
1. Can I repair large tears in my vinyl car seats?
While small to medium-sized tears can be repaired using a vinyl repair kit, large tears might require professional attention or even seat cover replacement.
2. How do I prevent my vinyl seats from becoming sticky after cleaning?
Avoid using harsh chemicals or silicone-based products on your vinyl seats as they can leave a sticky residue. Stick to mild soap and water for cleaning.
3. My vinyl seats are severely faded. Can I restore their original color?
While vinyl repair kits can help to improve the appearance of faded seats, completely restoring the original color might be challenging. Consider using seat covers if the fading is extensive.
4. How long does it take for vinyl repair filler to dry completely?
The drying time for vinyl filler varies depending on the product used, but it usually takes between 24 to 48 hours for a complete cure.
5. Can I use a regular iron instead of a heat gun for vinyl repair?
It’s not recommended to use a regular iron as the high heat can damage the vinyl. A heat gun or hair dryer on a low setting offers better control and gentler heat.
Need help with your car diagnostics? Feel free to reach out to us on WhatsApp: +1(641)206-8880 or email us at cardiagtechworkshop@gmail.com. Our team of experts is available 24/7 to assist you. For more information on car maintenance and repair, check out our other informative articles on how to repair vinyl car seats with cracks, how to repair cracked vinyl car seat, and how to repair cracks in vinyl car seats.


