Car tail lights are essential for safety, letting other drivers see you, especially in low-light conditions. Malfunctioning tail lights not only pose a safety hazard but can also result in hefty fines. This comprehensive guide will take you through the steps of how to repair car tail lights, helping you get back on the road safely and legally.
Understanding the Problem: Why are My Tail Lights Not Working?
Before diving into repairs, it’s crucial to identify the root cause of the issue. Tail light problems can stem from various factors, ranging from simple bulb failures to more complex electrical issues. Here are some common culprits:
- Burnt-out bulbs: This is the most common reason for tail light failure. Like any other bulb, tail light bulbs have a limited lifespan and will eventually burn out.
- Blown fuse: A blown fuse in your car’s electrical system can interrupt power supply to your tail lights.
- Faulty wiring: Over time, the wiring connected to your tail lights can become worn, corroded, or damaged, leading to electrical problems.
- Damaged sockets: The sockets that hold the bulbs can also corrode or get damaged, preventing the bulb from making a proper connection.
- Water damage: Moisture intrusion in the tail light housing can cause electrical shorts and damage components.
Gathering the Necessary Tools and Materials
Having the right tools and materials on hand will make the repair process much smoother. Here’s a checklist:
- Replacement bulbs (check your owner’s manual for the correct type): It’s always a good idea to have spare bulbs handy.
- Screwdriver set: You’ll likely need both Phillips and flathead screwdrivers.
- Socket wrench or pliers (if necessary): For removing stubborn bulbs or connectors.
- Electrical tape: For insulating and securing wiring connections.
- Protective gloves and eyewear: To protect your hands and eyes during the repair.
- Multimeter (optional but recommended): For testing circuits and fuses.
- Owner’s manual: Refer to your car’s manual for specific instructions and diagrams.
Step-by-Step Guide to Repairing Car Tail Lights
Now that you have a basic understanding of the problem and the necessary tools, let’s dive into the repair process.
1. Safety First: Disconnect the Battery
Before working on any electrical components in your car, always disconnect the negative (-) terminal of your car battery. This will prevent accidental shorts and potential electrical shocks.
2. Locate the Tail Light Assembly
Open your car’s trunk or rear hatch to access the back of the tail light assembly. You’ll find it behind a protective cover on the left and right sides of your vehicle. Refer to your owner’s manual if you have trouble locating it.
3. Access the Bulbs
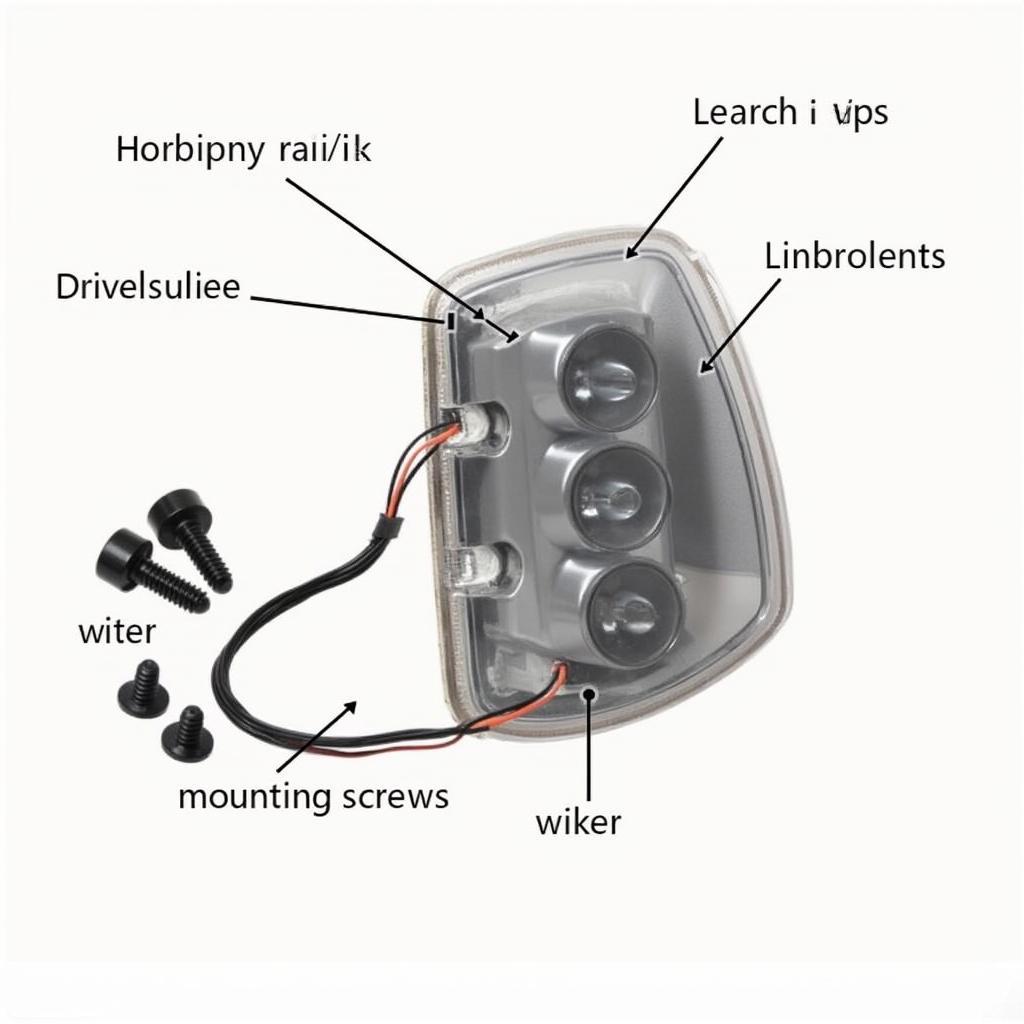
Depending on your car model, you might need to remove screws or release clips to detach the tail light assembly from the vehicle. Once you’ve accessed the back of the assembly, carefully disconnect the wiring harness that’s connected to it.
4. Inspect the Bulbs and Wiring
With the assembly removed, you can now inspect the bulbs for any signs of damage. If a bulb is burnt out, you’ll see a broken filament inside. Also, check the wiring harness and sockets for any signs of corrosion, damage, or loose connections.
5. Replace the Bulbs (If Necessary)
If you find a burnt-out bulb, grip it firmly and twist it counterclockwise to remove it from the socket. Insert the new bulb into the socket and twist it clockwise to secure it.
6. Check the Fuses
If the bulbs are not the issue, it’s time to check your car’s fuses. Refer to your owner’s manual to locate the fuse box and identify the fuse associated with your tail lights. Use a multimeter or visually inspect the fuse for any signs of a break or burn. If the fuse is blown, replace it with a new one of the same amperage.
7. Address Wiring and Socket Issues
If you notice any damage to the wiring or sockets, it’s best to consult a qualified mechanic, especially if you’re not comfortable working with electrical components.
8. Reassemble and Test
Once you’ve addressed the issue, carefully reassemble the tail light assembly, connect the wiring harness, and reattach the assembly to your vehicle. Reconnect the negative battery terminal and turn on your headlights to check if your tail lights are functioning correctly.
When to Seek Professional Help
While this guide covers basic tail light repairs, certain situations warrant professional assistance:
- You suspect complex electrical issues.
- You’re uncomfortable working with electrical components.
- The tail light assembly itself is damaged and needs replacement.
For expert advice and reliable car repair services, consider these resources:
- Car Cigarette Lighter Plug Repair: car cigarette lighter plug repair
- Repair Car Head Lights in Toledo: repair car head lights in toledo
- Busy Bee Lawn Care Landscape Lighting and Sprinkler Repair: busy bee lawn care landscape lighting and sprinkler repair
Conclusion
Maintaining your car’s tail lights is crucial for your safety and the safety of others on the road. By following these steps and understanding the common causes of tail light problems, you can often diagnose and repair minor issues yourself. However, don’t hesitate to seek professional help if you encounter more complex problems or if you’re unsure about handling any part of the repair process.
Remember, regular maintenance and prompt repairs can save you time, money, and potential headaches down the road.


