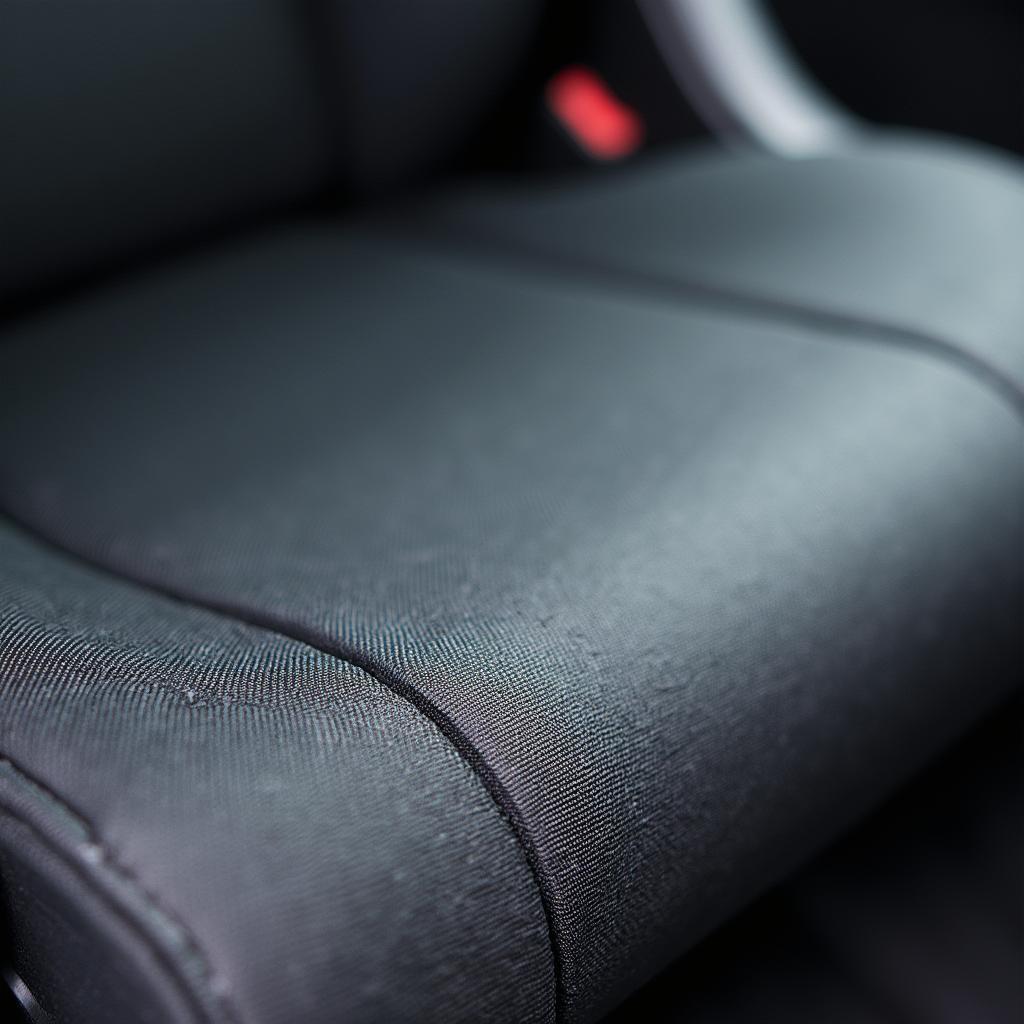
Discovering a tear in your car seat can be disheartening. Whether it’s from wear and tear, a sharp object, or an unfortunate accident, a torn car seat can detract from the overall appearance of your vehicle’s interior and even impact its resale value. Fortunately, you don’t always have to spend a fortune on professional repairs. This comprehensive guide will explore various DIY methods for how to repair a car seat tear, providing you with the knowledge and confidence to tackle this common issue.
Assessing the Damage: What Type of Tear Are We Dealing With?
Before diving into repair methods, it’s crucial to assess the type and severity of the tear. This will determine the most appropriate course of action. Common types of car seat tears include:
- Small punctures or holes: These are often caused by sharp objects and are relatively straightforward to fix.
- Linear tears or rips: These can occur from wear and tear, especially along seams or where the fabric stretches.
- Burn holes: Cigarettes are often the culprit, creating unsightly damage that might seem irreparable.
- Tears on leather seats: Leather, while durable, can tear, requiring specialized repair techniques.
DIY Repair Methods: From Quick Fixes to More Involved Solutions
Depending on the type of tear, you can choose from a variety of DIY repair methods. Here’s a closer look at some popular options:
1. Using a Patch Kit: Ideal for Small Tears and Holes
Car seat repair patch kits are readily available online and at auto parts stores. These kits usually contain adhesive patches, a color-matching solution, and an application tool. They are best suited for small tears and punctures.
Here’s how to use a patch kit:
- Clean the area around the tear thoroughly.
- Cut the adhesive patch to size, ensuring it’s slightly larger than the tear.
- Apply the patch carefully, pressing firmly to secure it in place.
- Use the color-matching solution if needed to blend the patch seamlessly.
Note: Patch kits might not be suitable for larger tears or tears along seams where the fabric flexes frequently.
2. Sewing: A Durable Option for Linear Tears
If you’re comfortable with basic sewing, you can repair linear tears using a curved needle and heavy-duty thread that matches your car’s upholstery.
Follow these steps:
- Clean the area around the tear.
- Thread the needle and tie a knot at the end.
- Carefully stitch the torn edges together, working from the inside of the tear outwards.
- Tie off the thread securely at the end.
Tip: For added durability, use a liquid seam sealant along the stitched seam after sewing.
3. Liquid Leather Repair Kits: Addressing Tears in Leather Seats
Leather repair kits are specifically designed to fix tears, scratches, and burns on leather car seats.
Here’s how they work:
- Clean the damaged area with the provided cleaner.
- Apply the liquid leather filler to the tear, using a palette knife to smooth it out.
- Allow the filler to dry completely.
- Use the provided colorant to match the repaired area to the surrounding leather.
4. Professional Upholstery Repair: When DIY Isn’t Enough
For extensive damage, such as large tears, tears along seams, or damage to delicate materials, seeking professional upholstery repair is recommended. Professionals have the expertise, tools, and materials to ensure a seamless and long-lasting repair.
Preventing Future Tears: Proactive Measures
While repairs can be effective, prevention is always better than cure. Here are some tips to prevent future car seat tears:
- Be mindful of sharp objects: Avoid placing sharp objects like keys, pens, or tools on your car seats.
- Protect your seats from pets: Use pet seat covers to prevent scratches and tears from your furry friends.
- Address spills immediately: Spills can seep into the fabric and weaken it over time, making it more prone to tearing.
- Regularly clean and condition your seats: This helps maintain the integrity of the material and prevents premature wear and tear.
FAQs: Addressing Common Concerns
Q: Can I use superglue to fix a car seat tear?
A: While superglue might seem like a quick fix, it’s not recommended for car seat repairs. Superglue dries rigidly and can make the fabric around the tear brittle, leading to further damage.
Q: How much does professional car seat repair cost?
A: The cost of professional repair varies depending on the severity of the damage, the type of material, and the location. Minor repairs can range from $50 to $150, while more extensive damage might cost several hundred dollars.
Q: Can I repair a cigarette burn in my car seat?
A: Yes, minor cigarette burns can often be repaired using specialized kits or by a professional upholstery repair shop. Check out our in-depth guide on how to repair a cigarette burn in a car seat for step-by-step instructions and helpful tips.
Conclusion: Restoring Your Car’s Interior
A torn car seat doesn’t have to be a permanent blemish on your vehicle’s interior. By understanding the different repair methods and following the appropriate steps, you can effectively address this common issue. Remember to assess the damage carefully, choose the right repair solution, and prioritize preventative measures to keep your car seats looking their best for years to come.
For those interested in exploring the costs associated with professional car seat repair, our guide on how much to repair a torn front seat of car offers valuable insights.
Need personalized advice or assistance with your car seat repair? Reach out to us via WhatsApp at +1(641)206-8880 or email us at [email protected]. Our dedicated team is available 24/7 to answer your questions and provide expert guidance.


