A torn or ripped car seat seam can be an eyesore and even affect the safety of your vehicle. Fortunately, repairing a car seat seam is a manageable DIY project that can save you the cost of professional upholstery repair. This comprehensive guide will provide you with all the information you need to know on how to repair car seat seam like a pro.
Assessing the Damage
Before you begin, it’s crucial to assess the extent of the damage to your car seat seam. Examine the tear carefully to determine its size and location. Minor seam separations can often be easily repaired with a simple needle and thread, while larger tears or those in high-stress areas may require more advanced techniques or professional intervention.
Gathering Your Materials
Once you’ve assessed the damage, you’ll need to gather the necessary materials. Here’s a list of what you’ll need:
- Upholstery thread: Choose a heavy-duty thread that matches the color of your car seat.
- Curved upholstery needle: This type of needle is specifically designed for sewing through thick materials like car upholstery.
- Scissors: Sharp scissors are essential for clean cuts.
- Seam ripper: Use this tool to carefully remove any loose threads or stitching.
- Fabric adhesive (optional): This can be helpful for securing loose fabric edges before stitching.
- Leather filler (optional): If you have a leather car seat, you may need leather filler to repair any cracks or holes.
Repairing the Seam
Follow these steps to repair your car seat seam:
-
Prepare the area: Clean the area around the seam with a damp cloth to remove any dirt or debris.
-
Remove loose threads: Use the seam ripper to carefully remove any loose threads or stitching around the tear.
-
Align the edges: Carefully align the edges of the torn seam, ensuring a smooth and even surface. If necessary, use fabric adhesive to temporarily hold the edges in place.
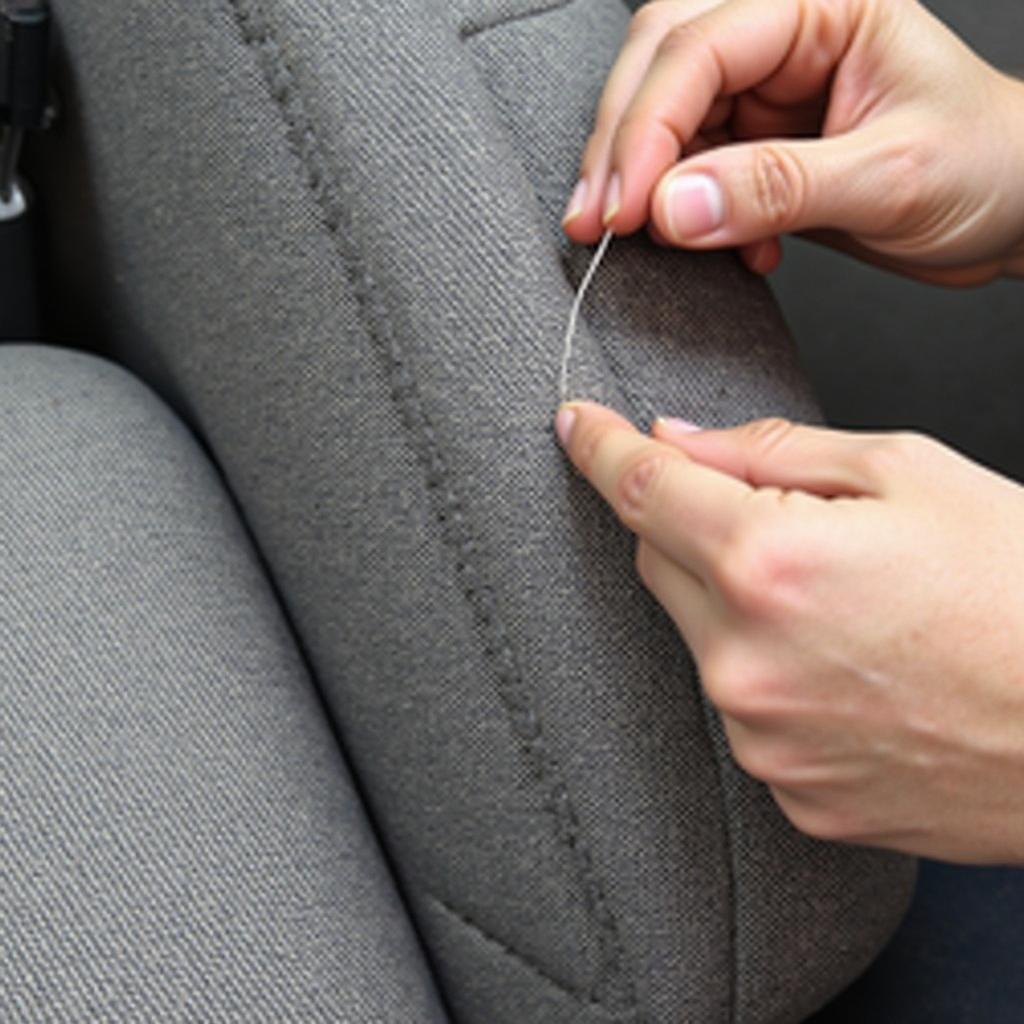
 Car Seat Seam Repair Using Upholstery Thread and Needle
-
Thread the needle: Cut a length of upholstery thread about 18-24 inches long and thread it through the curved upholstery needle. Tie a knot at the end of the thread.
-
Begin stitching: Starting from the inside of the seam, insert the needle through the fabric and pull it all the way through. Continue stitching along the length of the tear, using a straight stitch or a backstitch for added strength.
-
Knot the thread: Once you reach the end of the tear, knot the thread securely on the inside of the seam.
-
Inspect your work: After completing the repair, inspect your work to ensure that the seam is securely sewn and that there are no loose threads.
Tips for a Professional Finish
- Use a thimble: A thimble can protect your finger and provide extra leverage when pushing the needle through thick fabric.
- Take your time: Don’t rush the process. Sewing slowly and carefully will result in a neater and more durable repair.
- Practice on scrap fabric: If you’re unsure about your sewing skills, practice on a scrap piece of fabric first.
When to Seek Professional Help
While repairing a car seat seam is often a manageable DIY task, there are instances when it’s best to seek professional help. If the tear is extensive, located in a high-stress area, or involves complex upholstery work, it’s advisable to consult a qualified automotive upholstery specialist. They have the expertise and tools to handle more complicated repairs and can ensure a seamless and long-lasting result.
how to repair seam in leather car seat
Preventing Future Seam Damage
Once you’ve successfully repaired your car seat seam, it’s essential to take steps to prevent future damage. Here are a few tips:
- Avoid overloading your car seats: Excessive weight can put stress on the seams and lead to tears.
- Be careful when entering and exiting your vehicle: Avoid sliding across the seats, which can cause friction and wear on the seams.
- Clean your car seats regularly: Dirt and debris can accumulate in the seams and contribute to wear and tear.
- Condition leather seats: Leather seats require regular conditioning to keep them supple and prevent cracking.
how to repair a cigarette burn in leather car seat
Conclusion
Repairing a car seat seam is an achievable DIY project that can save you money and restore the appearance and functionality of your car’s interior. By following the steps outlined in this guide and exercising patience and precision, you can achieve professional-looking results. However, if you encounter a complex tear or lack confidence in your sewing abilities, don’t hesitate to seek assistance from a qualified automotive upholstery professional.
Remember, a well-maintained car interior enhances both the aesthetic appeal and the value of your vehicle. By addressing car seat seam repairs promptly and adopting preventive measures, you can ensure a comfortable and enjoyable driving experience for years to come.


