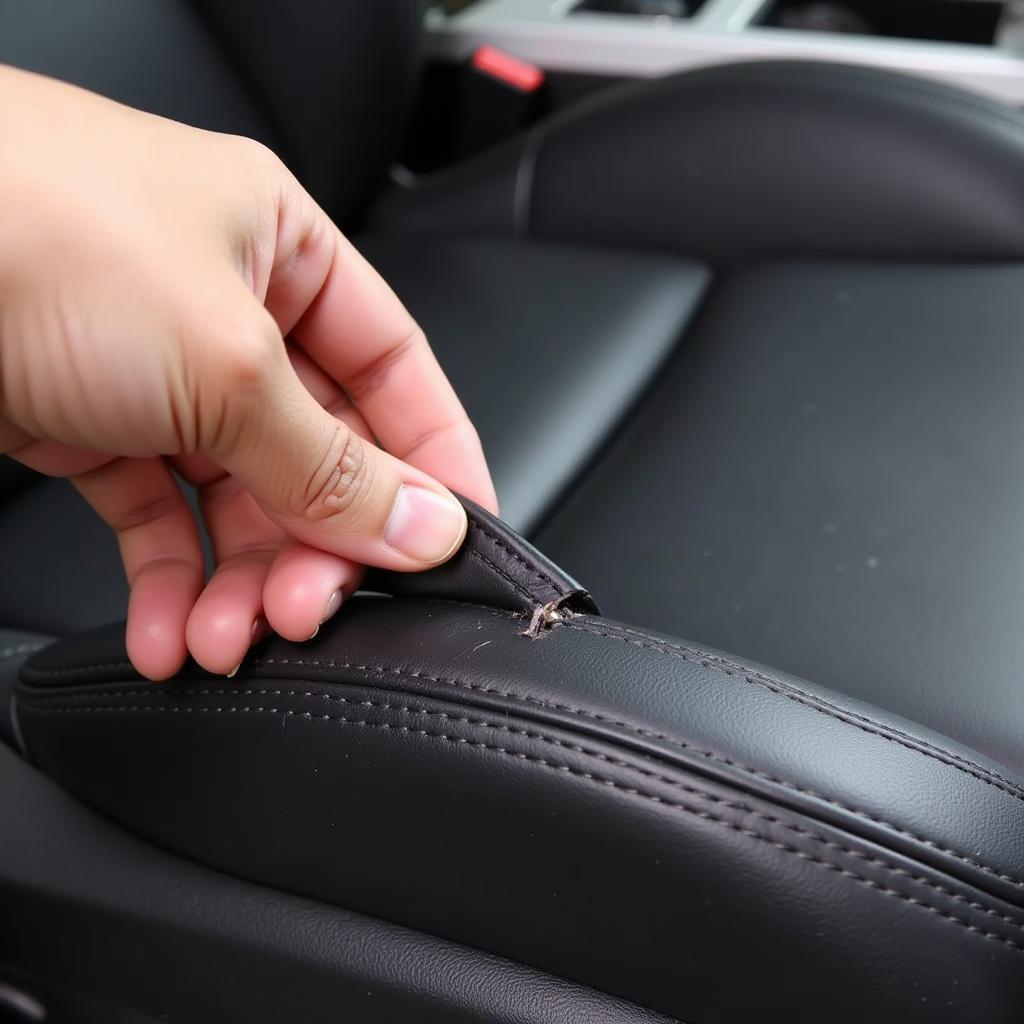
A tear in your leather car seat can be an eyesore and even impact the resale value of your vehicle. While professional upholstery repair is an option, many car owners prefer the DIY route for minor tears. This guide provides a step-by-step approach on how to repair car seat leather tear yourself, saving you money and restoring your car’s interior.
Assessing the Damage: Is a DIY Repair Possible?
Before diving into the repair process, it’s crucial to assess the severity of the tear. While minor cuts and scratches can be easily fixed at home, larger tears or those involving complex stitching might require professional intervention.
Gathering the Necessary Tools and Materials
Having the right tools and materials is essential for a successful leather repair. Here’s a checklist:
- Leather Repair Kit: These kits are widely available online and at auto parts stores. Choose a kit that matches your car’s leather color as closely as possible.
- Scissors: For trimming any loose threads or leather pieces.
- Rubbing Alcohol: To clean the area around the tear.
- Cotton Swabs: For applying rubbing alcohol and adhesive.
- Hair Dryer: To speed up the drying process of the adhesive.
- Tweezers: For precise placement of the backing fabric.
- Leather Conditioner: To nourish and protect the repaired area.
Step-by-Step Guide to Repairing the Tear
Follow these steps for a seamless leather repair:
-
Clean the Area: Using rubbing alcohol and a cotton swab, thoroughly clean the area around the tear, removing dirt, dust, and any residue. Let it dry completely.
-
Prepare the Backing Fabric: Most leather repair kits come with a backing fabric. Cut a piece of this fabric slightly larger than the tear, ensuring it covers the entire damaged area.
-
Apply the Adhesive: Apply a thin layer of leather adhesive from the repair kit to the backing fabric and carefully align it behind the tear. Gently press it in place using your fingers or tweezers.
-
Use the Hair Dryer (Optional): While not mandatory, using a hairdryer on a low heat setting can help to activate the adhesive and speed up the drying process.
-
Apply the Leather Filler: Once the adhesive is dry, use the leather filler provided in the kit to fill in the tear. Overfill the tear slightly, as the filler will shrink as it dries.
-
Level and Smooth the Filler: Using a palette knife or a similar tool, carefully level and smooth the surface of the leather filler, ensuring it blends seamlessly with the surrounding area.
-
Apply the Colorant: Once the filler is completely dry, use the colorant from the kit to match the repaired area to the rest of the seat. Apply thin coats, allowing each coat to dry before applying the next.
- Apply Leather Conditioner: After the colorant dries, apply a high-quality leather conditioner to the entire seat, including the repaired area. This will help to protect the leather and keep it looking its best.
Tips for a Professional-Looking Finish
- Practice Makes Perfect: Consider practicing on a hidden area of the seat or a scrap piece of leather before tackling the visible tear.
- Patience is Key: Allow ample drying time between each step for optimal results.
- Less is More: Apply adhesive, filler, and colorant in thin layers to avoid clumping and achieve a smoother finish.
- Consider Professional Help: For larger tears, tears in high-stress areas, or if you’re uncomfortable with DIY repairs, seeking professional upholstery services is recommended.
Frequently Asked Questions about Car Seat Leather Tear Repair
-
Can I use super glue to repair a leather car seat tear?
Using superglue is not recommended as it can damage the leather further and create a stiff, noticeable repair. Leather-specific adhesives are designed to be flexible and blend seamlessly. -
How long does it take for the repair to dry completely?
Drying times vary depending on the products used, but it’s best to allow at least 24 hours for everything to cure completely. -
Can I repair a tear on a heated or ventilated seat?
Repairing tears on heated or ventilated seats can be more complex due to the underlying technology. For these types of repairs, consulting a professional upholsterer is advised. -
How can I prevent future tears in my leather car seats?
Regular cleaning and conditioning, using seat covers, and avoiding sharp objects can help prevent future tears. -
What is the average cost of professional leather car seat repair?
Professional repair costs vary based on the tear’s severity and the shop’s rates. Small tears can range from $100 to $300, while more extensive damage can cost significantly more.
Maintaining Your Repaired Leather Car Seats
Once you’ve successfully repaired the tear, maintaining the leather is crucial for long-lasting results. Regularly clean your seats with a leather cleaner and apply a conditioner to keep the leather supple and prevent future cracking or tearing.
By following these steps and tips, you can effectively repair minor leather tears in your car seats, restoring your car’s interior and saving yourself the cost of professional repair.
Need further assistance with your car repair needs? Contact us via WhatsApp: +1(641)206-8880, or email us at: [email protected]. Our team of experts is available 24/7 to provide guidance and support. We also have a range of other helpful articles on how to repair tear in leather car seat, how to repair car leather seat tears, how to repair leather car seat tear and how much to repair small tear in leather car seat available on our website.


