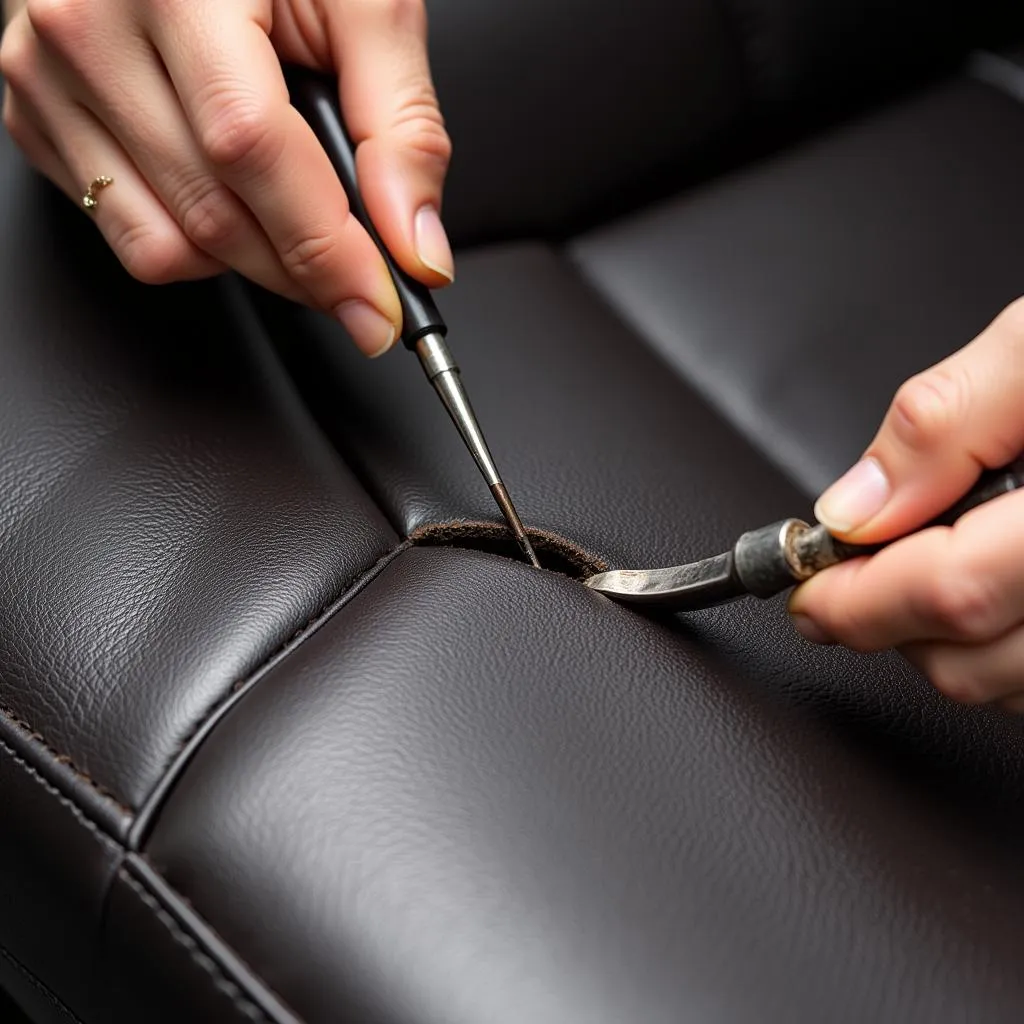
A tear in your car’s leather seat can be an eyesore, diminishing the luxurious feel of your vehicle’s interior. But before you panic, know that repairing a car leather seat tear is often possible and can be less daunting than you think. This guide will walk you through the steps to effectively tackle this common issue and restore your leather seats to their former glory.
Assessing the Damage: What Type of Tear Are You Dealing With?
Before diving into the repair, it’s crucial to assess the severity and type of tear you’re dealing with. This will determine the appropriate repair method and materials needed.
- Small Cracks and Scratches: These are superficial damages that affect only the top layer of the leather. They can often be addressed with simple leather filler products and color matching.
- Tears and Rips: These are more significant damages that penetrate deeper into the leather. They require patching, stitching, or the use of liquid leather for a seamless repair.
- Burns and Holes: These damages require more extensive repairs, often involving patching, filling, and color blending to recreate the leather’s texture and color.
DIY or Professional Repair?
Deciding whether to tackle the repair yourself or seek professional help depends on your comfort level, the severity of the damage, and your budget.
DIY Repair: Suitable for minor cracks, scratches, and small tears. DIY kits are readily available and offer a cost-effective solution.
Professional Repair: Recommended for extensive damages, burns, or if you’re uncomfortable with DIY methods. Professionals have the expertise and tools for a seamless and long-lasting repair. Is it possible to repair leather car seats?
Essential Tools and Materials for DIY Leather Seat Repair
If you opt for the DIY route, gather the following tools and materials:
- Leather Cleaner and Conditioner: To prep the area and ensure proper adhesion of repair materials.
- Leather Filler: To fill in cracks, tears, and holes.
- Leather Adhesive: To bond patches or ripped edges together.
- Leather Dye: To match the repaired area to the original leather color.
- Sub-Patch Material: For larger tears, a piece of leather or strong fabric to act as a backing.
- Scissors, Scalpel, or Utility Knife: For precise cutting of patches and materials.
- Spatulas and Palette Knives: For applying filler and smoothing surfaces.
- Heat Gun or Hair Dryer: To speed up drying time for adhesives and fillers.
- Grain Paper: To imprint a realistic leather grain texture onto the repaired area.
- Gloves and Protective Gear: To protect your hands and eyes during the repair process.
Step-by-Step Guide to Repairing a Car Leather Seat Tear
Follow these steps for a successful DIY repair:
-
Clean and Prep the Area: Thoroughly clean the damaged area and surrounding leather with a dedicated leather cleaner to remove dirt, grime, and debris.
-
Assess and Trim: If the tear has frayed edges, carefully trim them with sharp scissors to create a clean, even surface for patching.
-
Apply Sub-Patch (If Necessary): For larger tears, cut a piece of sub-patch material slightly larger than the tear and adhere it beneath the tear using leather adhesive.
-
Fill the Tear: Using a spatula, carefully fill the tear with leather filler, ensuring a smooth and even application. Allow the filler to dry completely.
-
Sand and Smooth: Once dry, sand the filled area with fine-grit sandpaper to level it with the surrounding leather surface.
-
Apply Leather Dye: Using a sponge or applicator, apply leather dye to the repaired area, blending it seamlessly with the original leather color. Allow the dye to dry completely.
- Apply Leather Conditioner: Once the dye is dry, apply a leather conditioner to the entire seat to nourish the leather and protect it from future damage.
Tips for a Seamless Repair
- Match the Grain: Use grain paper to imprint a realistic leather grain onto the repaired area after applying filler and before dyeing.
- Test in an Inconspicuous Area: Before applying dye to the visible area, test it on a hidden part of the seat to ensure a perfect color match.
- Work in Thin Layers: When applying filler or dye, work in thin layers to prevent cracking and ensure even coverage.
- Be Patient: Allow ample drying time between each step for optimal results.
Preventing Future Tears
- Regular Cleaning and Conditioning: Keep your leather seats clean and conditioned to prevent drying, cracking, and tearing.
- Avoid Sharp Objects: Be mindful of sharp objects like keys, pens, and tools that can scratch or puncture the leather.
- Use Seat Covers: Consider using seat covers to protect your leather seats from wear and tear, especially if you frequently transport pets or cargo.
Conclusion
Repairing a car leather seat tear doesn’t have to be an intimidating task. By following these steps and tips, you can effectively address minor damages yourself or make informed decisions when seeking professional help. Remember, regular maintenance and preventative measures are key to preserving the beauty and longevity of your leather car seats. For more information on car leather seat repair costs and options, visit [how much to repair ripped leather car seats](https://carrepairon.com/how much to repair ripped leather car seats/).


