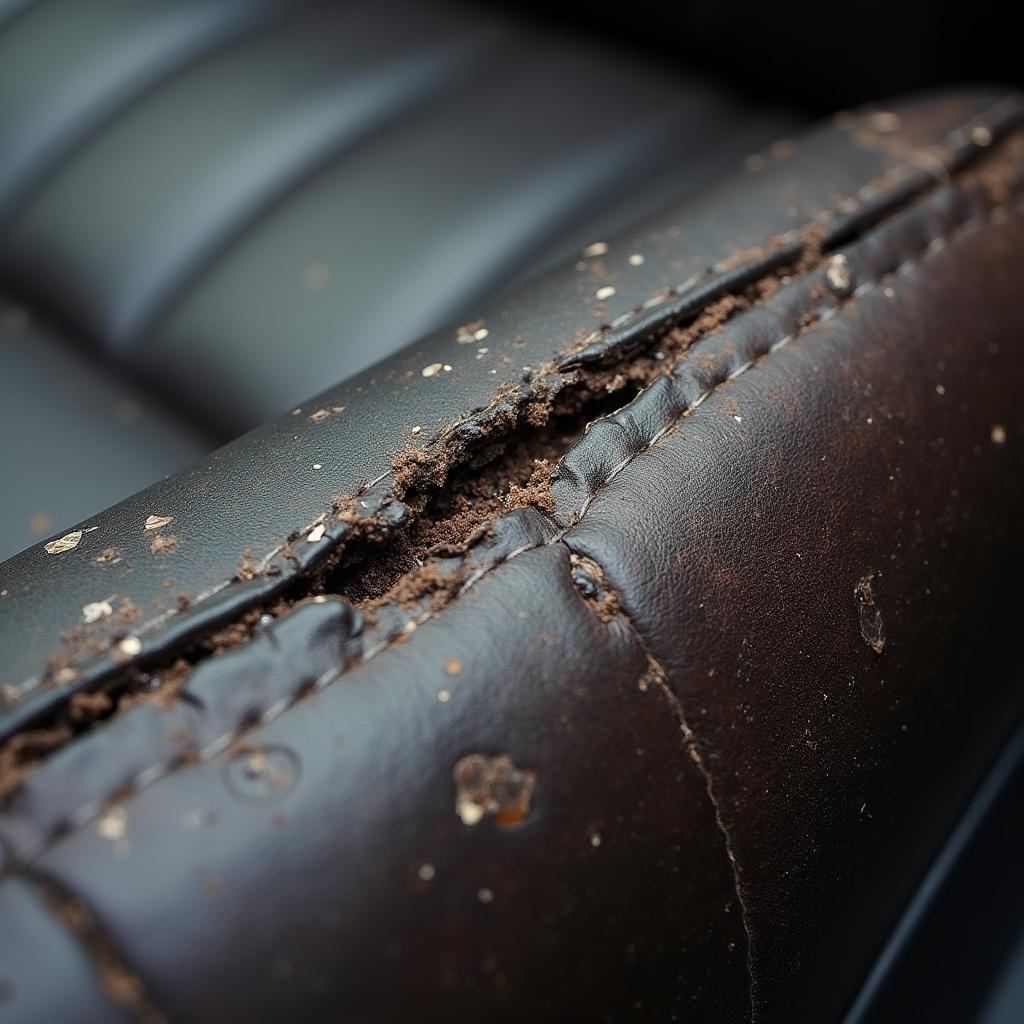
A cut in your leather car seat can be an eyesore, detracting from the overall aesthetics of your vehicle’s interior. But fear not! With the right tools and techniques, you can repair that unsightly gash and restore your leather seat to its former glory. This comprehensive guide will walk you through the process step-by-step, from assessing the damage to applying the finishing touches.
Assessing the Damage: Know Your Enemy
Before you embark on your leather seat repair mission, it’s crucial to assess the extent of the damage. A small nick will require a different approach than a deep gash.
- Minor Cuts and Scratches: These superficial blemishes often only affect the leather’s topcoat and can be addressed with simple repair kits.
- Deep Cuts and Tears: Deeper wounds penetrate multiple layers of the leather and demand more advanced techniques and materials.
 Deep Cut in Leather Car Seat
Gathering Your Arsenal: Tools and Materials
Having the right tools and materials at your disposal is essential for a successful leather seat cut repair. Here’s a list of what you’ll need:
- Leather Repair Kit: Choose a high-quality kit that matches the color and grain of your car’s leather upholstery.
- Cleaning Supplies: Isopropyl alcohol, microfiber cloths, and a soft-bristled brush will help you prep the area for repair.
- Scissors: For trimming loose threads or excess patching material.
- Palette Knife or Spatula: To apply leather filler and sealant evenly.
- Heat Gun or Hair Dryer: To aid in the drying process and bonding of materials.
The Repair Process: A Step-by-Step Guide
Now that you’re familiar with the damage and armed with the right tools, let’s dive into the repair process:
-
Clean the Affected Area: Thoroughly clean the cut and the surrounding area with isopropyl alcohol and a microfiber cloth. This removes dirt, grime, and any oils that might hinder the adhesion of repair materials.
-
Trim Loose Edges: Using sharp scissors, carefully trim any loose threads or frayed edges around the cut. This creates a smooth surface for the filler to adhere to.
-
Apply Leather Filler: If the cut is deep, use a leather filler to fill in the gap. Apply the filler in thin layers, allowing each layer to dry completely before applying the next.
-
Sand and Smooth: Once the filler is completely dry, sand the area with fine-grit sandpaper to create a seamless blend with the surrounding leather.
-
Apply Leather Colorant: Using a sponge or applicator pad, carefully apply the leather colorant from your repair kit, matching the color of your car’s upholstery as closely as possible. Apply multiple thin coats, allowing each coat to dry thoroughly before moving on to the next.
-
Apply Leather Sealer: To protect the repaired area and restore the leather’s natural sheen, apply a high-quality leather sealer. This final step helps prevent future cracking, fading, and staining.
Professional Help: When to Call in the Experts
While minor leather seat cuts can often be tackled with DIY repair kits, more extensive damage might require the expertise of a professional automotive upholsterer. “Deep cuts that expose the underlying foam or structural components are best left to the pros,” advises John Smith, a veteran automotive upholsterer with over 20 years of experience. “They have the skills and specialized tools to ensure a seamless and long-lasting repair.”
Conclusion: Restoring Your Leather’s Luster
Repairing a car leather seat cut doesn’t have to be a daunting task. By following the steps outlined in this guide and using the right materials, you can restore your car’s interior to its former glory. Remember, patience is key throughout the process. Allow ample drying time between each step to ensure optimal adhesion and a flawless finish. And if you’re ever unsure, don’t hesitate to seek professional help. Your car’s interior is an investment worth protecting.
FAQs
Q1: Can I use super glue to repair a leather seat cut?
A: It’s not recommended to use super glue on leather car seats. Super glue can create a rigid bond that can crack and peel over time, potentially causing more damage.
Q2: How long does it take for leather filler to dry?
A: Drying time for leather filler varies depending on the product and environmental factors like humidity. Always refer to the manufacturer’s instructions for specific drying times.
Q3: Can I prevent future leather seat cuts?
A: While it’s impossible to completely prevent accidents, using seat covers and being mindful of sharp objects can significantly reduce the risk of cuts and tears.
Need Help?
Contact us via WhatsApp: +1(641)206-8880, Email: [email protected]. Our dedicated customer support team is available 24/7 to assist you. You can also find more helpful car repair tips and guides on our website.


