Bubbly car window tint. It’s a common problem that can make your car look old and neglected. While a little bubbling directly after installation is normal, bubbles that persist likely mean it’s time for a fix. But don’t worry, you don’t necessarily have to live with those unsightly bubbles or pay a professional a hefty sum to fix them. This comprehensive guide will walk you through the steps on how to repair bubbly tint on car windows. We’ll cover everything from the causes and solutions to handy DIY tips and tricks.
What Causes Car Window Tint to Bubble?
Understanding the culprit behind those pesky bubbles is the first step to effectively tackling the issue. Here are some common reasons why your car window tint might be bubbling:
- Poor Installation: This is the most frequent offender. If the tint wasn’t applied properly, air pockets can get trapped beneath the film, leading to bubbles.
- Low-Quality Tint: Cheap or low-quality tint tends to be less durable and more prone to bubbling, cracking, or fading.
- Exposure to Heat and Sunlight: The adhesive used in window tints can break down over time, especially with prolonged exposure to intense heat and UV rays. This can cause the tint to detach from the window, resulting in bubbles.
- Moisture: If moisture gets trapped between the tint and the window during or after installation, it can create a breeding ground for mold and mildew, leading to bubbling.
- Cleaning Products: Using harsh chemicals or abrasive materials on your tinted windows can damage the film and cause it to bubble.
DIY vs. Professional Repair: Which is Right for You?
Now that you have an idea of what might be causing the bubbling, the next step is to figure out the best course of action: a DIY fix or calling in the pros.
DIY Repair: Opting for a DIY approach can save you money and is a good choice if the bubbling is minimal and you’re confident in your abilities.
Professional Repair: If the bubbling is extensive, the tint is old, or you’re not comfortable with DIY repairs, it’s best to seek professional help. A professional installer has the experience and tools to replace the tint correctly and ensure a flawless finish.
How to Repair Bubbly Tint on Car Windows: A Step-by-Step Guide
For those ready to take on the challenge, here’s a step-by-step guide to help you repair those annoying bubbles in your car window tint:
What You’ll Need:
- A spray bottle
- Soapy water solution (use a mild dish soap)
- A clean microfiber cloth
- A plastic squeegee or credit card
- A hairdryer or heat gun (optional)
Instructions:
- Clean the Window: Start by thoroughly cleaning the window with the soapy water solution and microfiber cloth. Ensure the window is free of dirt, dust, and debris.
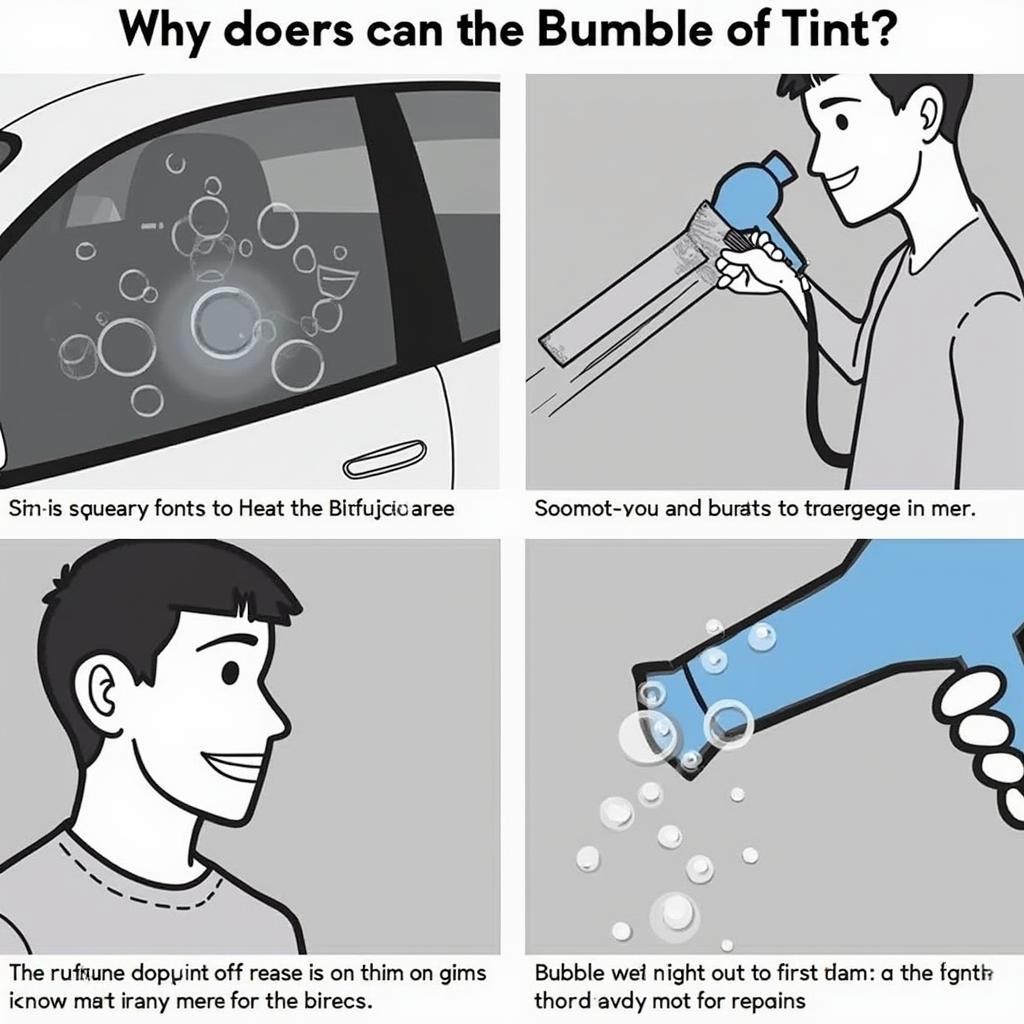
- Apply Heat (Optional): If the bubbles are stubborn, you can use a hairdryer or heat gun on a low setting to soften the tint adhesive. Be careful not to overheat the window, as this could damage it.
- Spray the Bubbles: Lightly mist the bubbly areas with the soapy water solution.
- Squeegee Out the Bubbles: Using the squeegee or credit card, gently push the bubbles towards the edge of the window. Apply even pressure to avoid creating new bubbles or creases.
- Repeat if Necessary: If the bubbles persist, repeat steps 3 and 4 until you achieve a smooth, bubble-free surface.
- Allow to Dry: Once you’re satisfied with the results, allow the tint to dry completely. Avoid rolling down the windows for at least 24 hours.
Preventing Window Tint Bubbles: Tips for Long-Lasting Results
Prevention is always better than cure. Here are some proactive measures to help you avoid those pesky bubbles in the first place:
- Choose High-Quality Tint: Invest in high-quality window tint that is designed to resist fading, bubbling, and cracking.
- Professional Installation: Opt for professional window tint installation. A professional installer has the skills and experience to apply the tint correctly, minimizing the risk of bubbles.
- Proper Care and Maintenance: Avoid using harsh chemicals or abrasive materials on your tinted windows. Instead, clean them with a mild soap solution and a soft microfiber cloth.
- Park in the Shade: Whenever possible, park your car in the shade to reduce its exposure to direct sunlight and heat.
Expert Insights
[Quote by Fictional Expert – John Miller, Master Automotive Detailer] “I’ve seen countless botched tint jobs over the years. The biggest takeaway? Don’t skimp on quality. Investing in high-grade tint and professional installation is worth every penny.”
FAQs: Your Burning Questions Answered
Q: Can I use Windex to clean my tinted windows?
A: It’s best to avoid using Windex or other ammonia-based cleaners on tinted windows, as ammonia can damage the tint film.
Q: How long does it take for window tint to cure completely?
A: Window tint typically takes about 2-3 days to cure completely, but it can take up to a week or more in cooler temperatures or humid climates.
When to Seek Professional Help
While minor bubbling can often be addressed with DIY methods, some situations warrant professional intervention:
- Extensive bubbling: If bubbles cover a significant portion of the window, a professional replacement is the most viable option.
- Discoloration or fading: Bubbling accompanied by discoloration or fading suggests tint deterioration, necessitating professional replacement.
- Old or damaged tint: Attempting to repair severely aged or damaged tint can worsen the problem. A professional can assess the situation and advise on the best course of action.
Conclusion
Bubbly car window tint can be a frustrating problem, but it’s often fixable with a little patience and the right approach. Armed with the knowledge from this guide, you can now tackle those bubbles head-on and restore your car windows to their former glory. Remember, prevention is key, so invest in quality tint and professional installation to avoid future bubbling issues.


