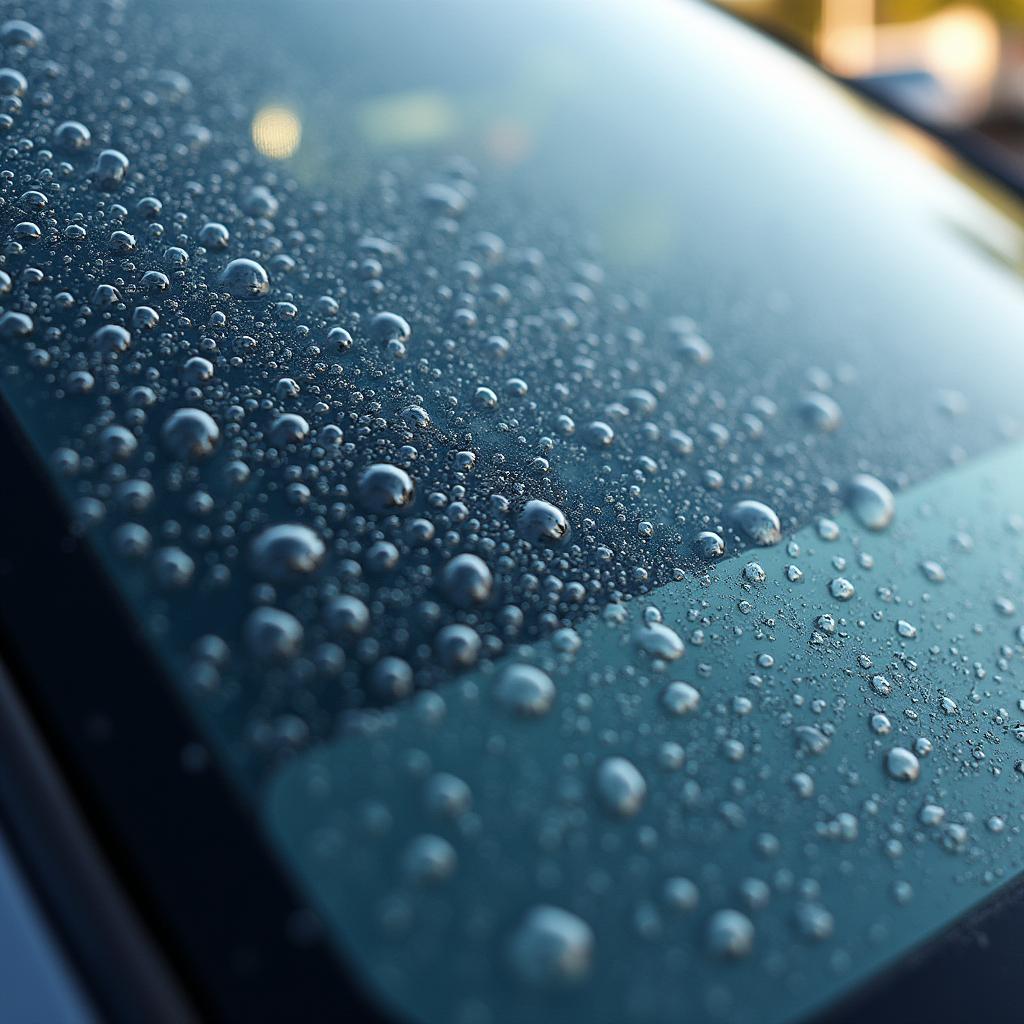
Window tint is a popular addition to cars, offering benefits like UV protection, privacy, and a sleek look. However, over time, you may notice unsightly bubbles forming beneath the tint film, diminishing both aesthetics and functionality. This bubbling is a common issue, but fortunately, there are ways to address it.
Understanding the Causes of Bubbled Tint
Before delving into repair techniques, it’s crucial to understand the culprits behind those pesky bubbles:
- Improper installation: The most prevalent cause is often improper installation. If the window wasn’t thoroughly cleaned before applying the tint, or if the film wasn’t smoothed out correctly, air pockets can become trapped, leading to bubbles.
- Low-quality tint: Opting for cheap, low-grade tint film can backfire in the long run. These films are more susceptible to bubbling, fading, and peeling due to inferior adhesive and UV resistance.
- Heat and UV exposure: Prolonged exposure to intense sunlight and heat can degrade the adhesive over time, causing the tint to lose its grip and bubble.
- Moisture: Moisture trapped between the window and the tint during installation or from window leaks can also contribute to bubbling.
How to Fix Bubbled Tint on Car Windows
While preventing bubbled tint is ideal, if you’re already facing this issue, here’s a step-by-step guide to try a DIY repair:
1. Gather your supplies: You will need a heat gun or hairdryer, a spray bottle filled with soapy water, a squeegee or credit card, and a pin or needle.
2. Prepare the area: Park your car in a shaded area to avoid direct sunlight on the window.
3. Heat the bubbled area: Using your heat gun or hairdryer on a low setting, gently heat the bubbled area. This will soften the adhesive and make the tint more pliable.
4. Spray with soapy water: Lightly mist the heated area with soapy water. This will act as a lubricant and help to prevent scratching the tint while you work.
5. Smooth out the bubbles: Using your squeegee or credit card, gently push the air bubbles towards the edge of the window. Start from the center of the bubble and work your way outwards.
6. Repeat if necessary: For stubborn bubbles, you may need to repeat the heating and smoothing process several times.
7. Puncturing larger bubbles: If you have larger bubbles that won’t smooth out, you can carefully puncture them with a pin or needle. After puncturing, apply gentle heat and smooth out the area again.
8. Allow the tint to dry: Once you’re satisfied, allow the tint to dry thoroughly. Avoid parking your car in direct sunlight for at least 24 hours to allow the adhesive to re-bond properly.
When to Consult a Professional
While DIY fixes can be effective for minor bubbling, it’s important to recognize situations that warrant professional intervention:
- Extensive bubbling: If the bubbling is widespread or the tint is severely damaged, it’s best to consult a professional window tinting service for replacement.
- Deep scratches: Deep scratches on the tint film usually cannot be repaired and may require professional replacement.
- Window damage: If you suspect any damage to your car window itself, such as cracks or chips, consult a professional auto glass repair shop immediately.
“Remember, using the right tools and techniques can make all the difference in successfully repairing bubbled window tint,” advises John Miller, Senior Automotive Technician at CarCare Central. “But don’t hesitate to seek professional help when needed, as they possess the expertise to ensure a flawless finish and prevent further damage.”
Conclusion
Bubbling doesn’t have to mean the end for your car window tint. By understanding the causes and employing proper repair techniques, you can potentially restore your tint’s smooth appearance and extend its lifespan. However, recognizing when professional help is necessary ensures the longevity and optimal condition of your car windows.


