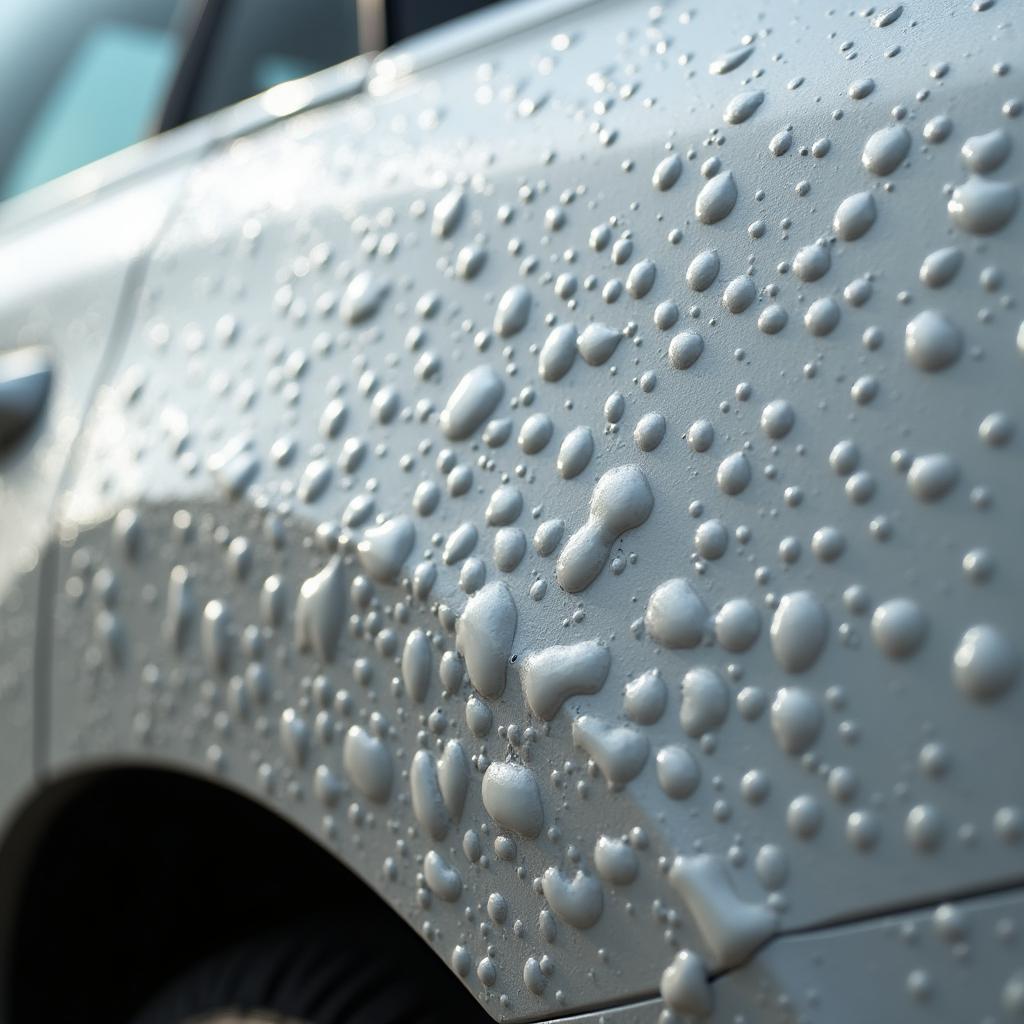
Seeing bubbles appear on your car’s paint job can be alarming. This unsightly issue, often called “paint bubbling,” signals underlying problems that need addressing. While it might seem like a purely cosmetic issue, paint bubbling can significantly impact your car’s value and, if left untreated, lead to more severe rust and corrosion problems. This comprehensive guide will walk you through the causes of bubbling car paint and provide a step-by-step approach on how to repair bubble up paint on a car.
Understanding the Causes of Paint Bubbling
Before diving into the repair process, it’s crucial to understand the root causes of bubbling paint. Identifying the culprit helps ensure you apply the correct fix and prevent future occurrences. Here are the most common causes:
- Moisture: The most frequent offender, moisture, can seep beneath the paint layer through scratches, chips, or poor sealing. Once trapped, it creates pockets of moisture that expand and contract with temperature changes, eventually pushing the paint up and forming bubbles.
- UV Damage: Prolonged exposure to the sun’s harmful UV rays can degrade the paint’s chemical bonds, causing it to become brittle and lose adhesion. This weakening makes the paint susceptible to bubbling, especially when combined with moisture.
- Improper Paint Application: A poorly prepped surface, inadequate primer layers, or applying paint in unfavorable conditions (like high humidity) can disrupt the paint’s bonding process. This can lead to weak adhesion, making it prone to bubbling and peeling.
- Rust: Rust creeping from beneath the paint is a serious issue. Rust forms when bare metal is exposed to moisture and oxygen, and it expands as it corrodes, pushing the paint upward and creating bubbles.
Tools and Materials You’ll Need
- Automotive soap and water
- Clean cloths and rags
- Sandpaper (180-grit, 320-grit, 400-grit)
- Masking tape and paper
- Primer (matching your car’s paint)
- Automotive paint (matching your car’s paint)
- Clear coat
- Paint thinner
- Rubber gloves and safety glasses
- Putty knife (if necessary)
- Automotive body filler (if necessary)
How to Repair Bubble Up Paint: A Step-by-Step Guide
Repairing bubbled car paint requires patience and attention to detail. Here’s a detailed guide to help you through the process:
1. Clean the Affected Area:
Begin by thoroughly washing the affected area with automotive soap and water. Ensure the surface is free from dirt, grime, and any loose paint particles. Allow it to dry completely.
2. Sand the Bubbling Paint:
Using 180-grit sandpaper, carefully sand down the bubbled paint. Sand gently to avoid removing too much of the surrounding good paint. If the bubbling is severe and exposes bare metal, you’ll need to address the rust.
3. Address Rust (If Necessary):
If rust is present, use a wire brush or rust converter to remove it completely. Once the rust is addressed, apply a rust-inhibiting primer to the bare metal to prevent future corrosion.
4. Apply Body Filler (If Necessary):
If sanding has created depressions in the surface, apply a thin layer of automotive body filler. Let it dry completely and sand it smooth, starting with 180-grit and gradually moving to finer grits (320-grit, then 400-grit).
5. Mask Off the Area:
Using masking tape and paper, carefully mask off the area surrounding the repair zone. This will protect the surrounding paint from overspray.
6. Prime the Repaired Area:
Apply several thin coats of primer, allowing each coat to dry thoroughly before applying the next. The primer helps create a smooth and even surface for the paint to adhere to.
7. Sand the Primed Surface:
Once the primer is dry, use 400-grit sandpaper to lightly sand the primed surface. This will ensure a smooth finish for the paint.
8. Apply Paint:
Apply several thin coats of automotive paint that matches your car’s color. Allow each coat to dry completely before applying the next. Maintain a consistent distance and spray pattern to ensure an even coat.
9. Apply Clear Coat:
Once the paint is dry, apply 2-3 coats of clear coat to protect the paint and give it a glossy finish. Allow the clear coat to dry thoroughly.
10. Final Sanding and Polishing:
After the clear coat has cured (usually 24-48 hours), use very fine-grit sandpaper (1000-grit or higher) to lightly wet sand the surface if needed. This will remove any imperfections and create a smooth finish. Follow up with a polishing compound to restore the shine.
Preventing Future Paint Bubbling
Preventing paint bubbling is always better than dealing with a repair. Here are some proactive measures:
- Regular Washing and Waxing: Regularly washing your car and applying a protective wax coating can help prevent moisture from penetrating the paint.
- Promptly Repairing Chips and Scratches: Address any chips or scratches in your car’s paint immediately to prevent moisture from seeping underneath. Consider using a car paint repair pen for minor scratches.
- Parking in the Shade: Whenever possible, park your car in the shade to minimize UV exposure.
When to Seek Professional Help
While DIY repairs can be effective for minor paint bubbling, it’s essential to recognize when professional help is necessary. Extensive bubbling, particularly with significant rust damage, is best handled by an experienced auto body professional.
Conclusion
Repairing bubbled paint on your car is crucial to maintain its appearance, value, and prevent further damage. By following these steps and taking preventative measures, you can keep your car looking its best for years to come.
Remember, patience and attention to detail are key to a successful repair. If you’re unsure about any step or dealing with extensive damage, don’t hesitate to seek advice or assistance from a qualified auto body professional.


