Discovering a tear in your car’s leather seat can be disheartening. Leather seats add a touch of luxury and comfort to your vehicle, and a tear can detract from the overall aesthetic and value. Thankfully, you don’t always need an expensive trip to an upholstery shop to remedy the situation. With a bit of patience and the right materials, you can often repair a torn leather car seat yourself. Let’s explore the steps and techniques to bring your leather seats back to their former glory.
Assessing the Damage: What You’re Up Against
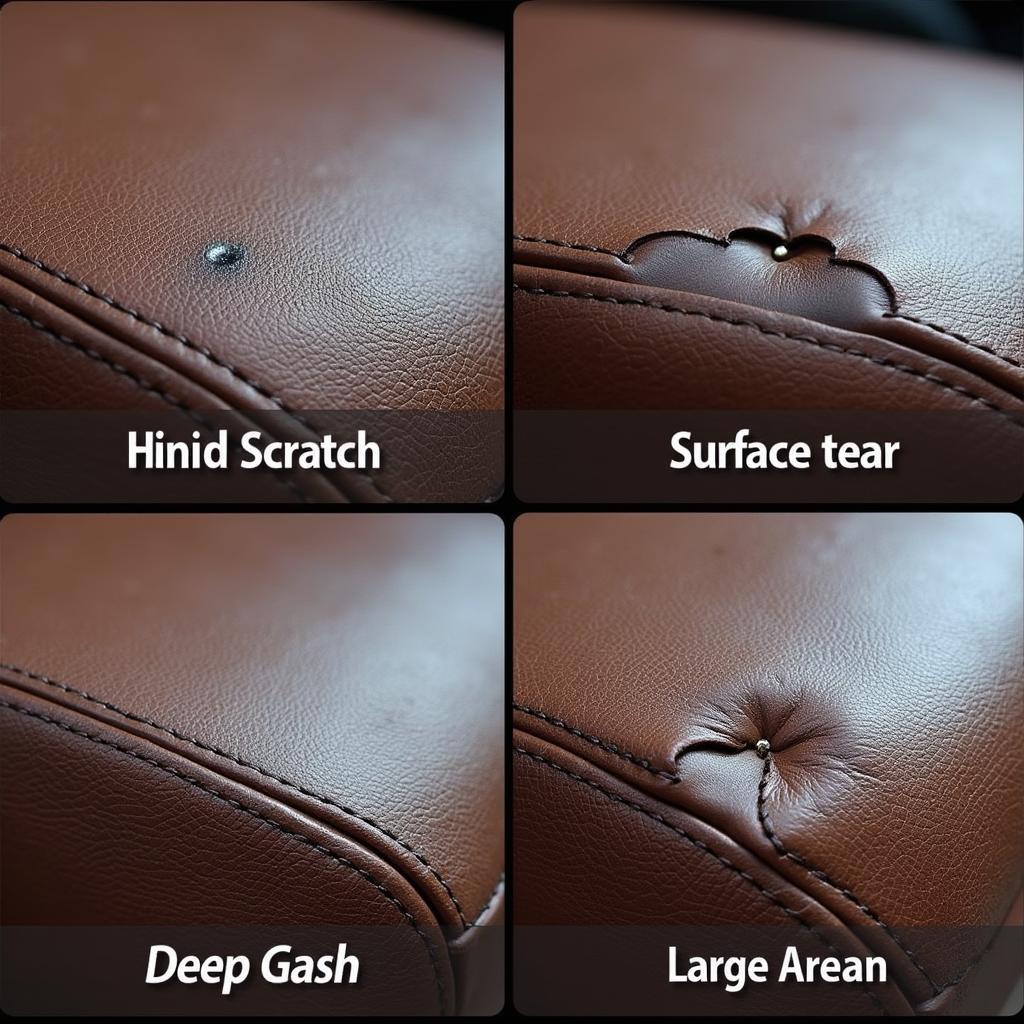
Before diving into the repair process, it’s crucial to assess the extent of the damage. This will determine the appropriate repair method and materials needed. A minor scratch or surface-level tear will require a different approach than a deep gash or extensive damage.
Gathering Your Repair Arsenal: The Right Tools for the Job
Having the correct tools and materials is essential for a successful leather seat repair. Here’s a list of what you’ll likely need:
- Leather Repair Kit: These kits are widely available online and at auto parts stores. A good kit will include a color-matching guide, leather filler, adhesive, a palette knife, and various grain papers to mimic the texture of your leather.
- Rubbing Alcohol: Used to clean the area around the tear, ensuring proper adhesion of the repair materials.
- Clean Cloth: A soft, lint-free cloth is best for applying rubbing alcohol and wiping away excess repair material.
- Scissors: Useful for trimming patching material or excess leather filler.
- Heat Gun or Hair Dryer: Heat helps to set the leather filler and adhesive, ensuring a durable repair.
Step-by-Step Guide: How to Repair a Torn Leather Car Seat
Now that you’ve assessed the damage and gathered your supplies, let’s walk through the repair process step-by-step:
- Clean the Area: Start by thoroughly cleaning the damaged area with rubbing alcohol and a clean cloth. Allow the area to dry completely.
- Apply Leather Filler (If Necessary): For deep gashes or tears, use a leather filler to fill in the gap. Apply the filler with a palette knife, smoothing it out as much as possible. Allow the filler to dry completely.
- Sand and Shape the Filler (If Applicable): Once the filler is dry, use fine-grit sandpaper to shape and smooth the repaired area, blending it seamlessly with the surrounding leather.
- Apply Leather Adhesive: If the tear is open, apply a thin layer of leather adhesive to the underside of the torn edges. Carefully align the edges and press them together firmly. Use clamps or weights to hold the edges in place while the adhesive dries.
- Apply Leather Repair Compound: Using a palette knife, apply a thin layer of leather repair compound over the tear, extending it slightly beyond the edges. Use a heat gun or hair dryer to partially dry the compound.
- Create the Leather Texture: While the compound is still slightly tacky, use the grain paper included in your repair kit to imprint a texture that matches your car’s leather. Apply gentle heat again to fully set the compound.
- Color Matching and Finishing: Once the compound is dry, use the color-matching guide in your repair kit to mix the appropriate color. Apply thin coats of leather dye to the repaired area until you achieve a seamless blend. Allow the dye to dry completely.
Preventing Future Tears: Protecting Your Investment
Once you’ve repaired your leather car seat, it’s essential to take steps to prevent future tears. Here are some tips:
- Regular Cleaning: Regularly clean your leather seats with a leather cleaner and conditioner. This will help keep the leather supple and prevent drying and cracking, which can lead to tears.
- UV Protection: Prolonged exposure to sunlight can fade and damage leather. Consider using a sunshade or parking your car in a shaded area to protect your seats from harmful UV rays.
- Avoid Sharp Objects: Be mindful of sharp objects that could potentially puncture or tear your leather seats.
- Use Seat Covers (If Necessary): If you frequently transport pets or cargo, consider using seat covers to provide an extra layer of protection for your leather seats.
Can You Repair Torn Leather Car Seats Yourself?
Absolutely! Many leather seat repairs, especially minor ones, can be successfully tackled with a DIY approach. Repair kits, readily available online and in stores, provide all the necessary materials and instructions. However, for extensive damage or if you’re uncomfortable with DIY repairs, seeking professional help from an upholstery specialist is always a wise option.
How to Repair a Tear in Leather Car Seat: Professional vs. DIY
Choosing between a professional repair and a DIY approach depends on several factors, including:
- Extent of Damage: Minor tears and scratches are often manageable with DIY kits, while deep gashes or extensive damage may require a professional’s expertise.
- Budget: DIY repairs are generally more budget-friendly than professional services.
- Skill Level: If you’re comfortable with hands-on projects and have some experience with repairs, a DIY approach can be satisfying and cost-effective. If you’re unsure, seeking professional help ensures the best possible outcome.
Conclusion
Repairing a torn leather car seat doesn’t have to be a daunting task. By following these steps and using the right materials, you can often restore your leather seats to their former glory and extend their lifespan. Remember, prevention is key! By regularly cleaning and protecting your leather seats, you can minimize the risk of future tears and keep your car’s interior looking its best for years to come.


