A ripped seam on your leather car seat can be an eyesore and impact the overall aesthetics of your car’s interior. While it might seem like a daunting task, repairing a ripped seam in your leather car seat can be a manageable DIY project that saves you the cost of professional upholstery repair. With the right tools, materials, and a bit of patience, you can restore your car seat to its former glory.
Assessing the Damage and Gathering Your Supplies
Before you begin the repair process, it’s crucial to assess the extent of the damage to your leather car seat seam. This step will help you determine the appropriate repair approach and gather the necessary materials.
- Inspect the Rip: Carefully examine the ripped seam, noting its length, depth, and any underlying damage to the leather or foam padding.
- Check for Fraying: Look for any frayed threads around the rip, which may need to be trimmed to prevent further unraveling.
Once you’ve assessed the damage, gather the following materials:
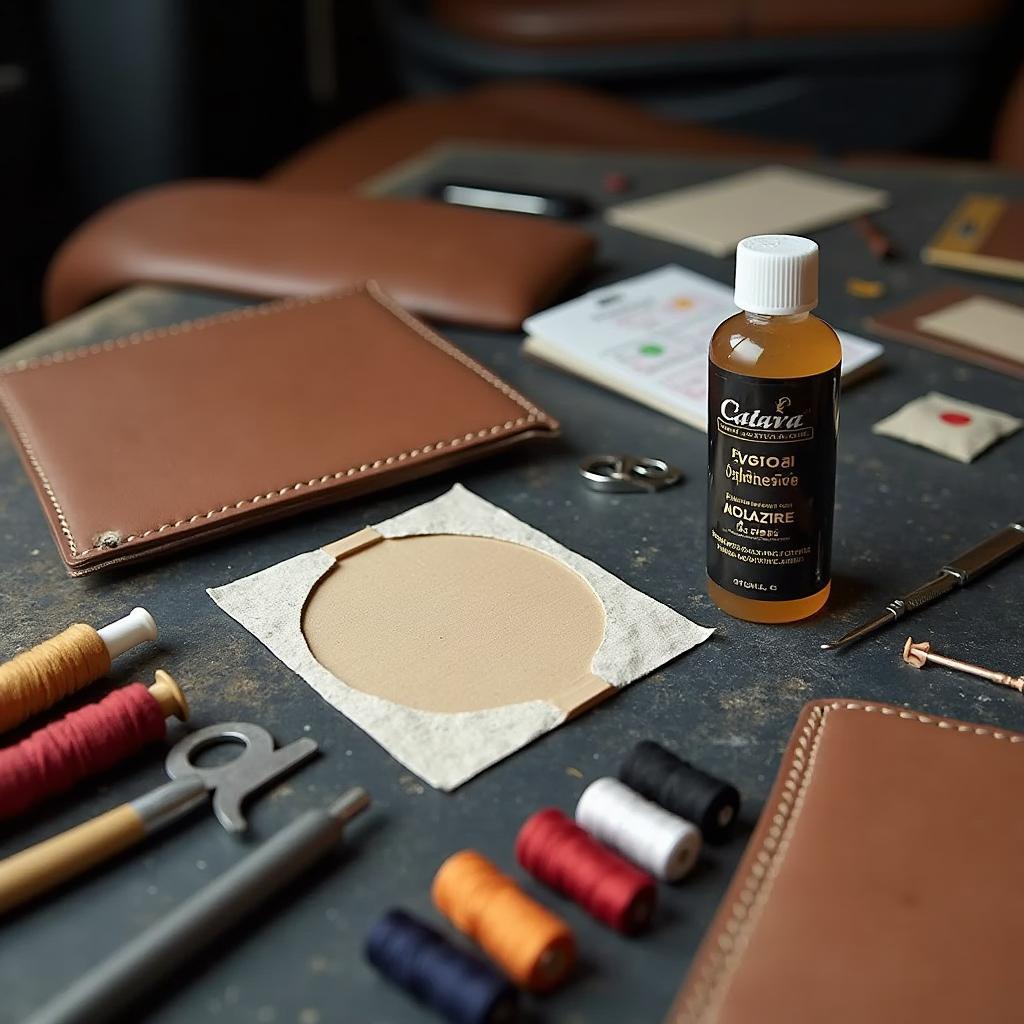
- Leather Repair Kit: A good quality leather repair kit will contain essential items like a leather adhesive, patching material, a color-matching kit (if needed), and basic tools.
- Heavy-Duty Sewing Needle: Choose a needle specifically designed for leather or upholstery. These needles are sharper and stronger, allowing for easier penetration through the tough material.
- Upholstery Thread: Opt for a heavy-duty upholstery thread that matches the color of your car seat’s stitching. This type of thread is durable and designed to withstand the wear and tear of regular use.
- Scissors: Sharp scissors are essential for trimming frayed threads and cutting the upholstery thread to the desired length.
- Binder Clips (optional): Binder clips can be helpful for holding the edges of the ripped seam together while you sew.
Step-by-Step Guide on How to Repair a Ripped Seam in a Leather Car Seat
Step 1: Preparing the Ripped Seam
Begin by cleaning the area around the ripped seam using a leather cleaner and a soft cloth. This step removes any dirt, grime, or debris that may interfere with the adhesion of the leather adhesive. Allow the area to dry completely before proceeding.
Step 2: Applying the Leather Adhesive
If the rip is significant or involves separated leather panels, apply a thin layer of leather adhesive along the edges of the ripped seam. Carefully align the edges of the tear, ensuring a snug fit.
Pro Tip: Use binder clips to hold the edges together while the adhesive dries. This trick will prevent shifting and ensure a strong bond.
Step 3: Sewing the Ripped Seam
Thread your heavy-duty sewing needle with upholstery thread, ensuring a secure knot at the end. Starting from the inside of the seam (if accessible), carefully insert the needle through the existing stitch holes, following the original stitching pattern as closely as possible.
Step 4: Securing the Stitch and Finishing Touches
Once you reach the end of the rip, tie off the thread with a secure knot, ensuring it’s hidden within the seam or underneath the leather panel. Trim any excess thread using your scissors.
Step 5: Applying Leather Conditioner (optional)
To maintain the suppleness and prevent future cracking, apply a high-quality leather conditioner to the repaired area and the entire car seat. Follow the product instructions for the best results.
When to Seek Professional Upholstery Repair
While repairing a ripped seam in your leather car seat can be a DIY project, some situations call for professional expertise. Consider seeking help from an experienced upholstery shop if:
- The rip is extensive and involves significant damage to the leather or underlying foam.
- The seat has intricate stitching patterns or designs that require specialized skills and tools.
- You’re uncomfortable working with leather or lack the necessary tools and materials.
Remember, attempting a complex repair without the proper knowledge and experience can worsen the damage and result in costly repairs down the line.
FAQs:
Q: Can I use super glue to repair a ripped seam in my leather car seat?
A: While super glue may seem like a quick fix, it’s not recommended for repairing leather car seats. Super glue can create a rigid bond that’s prone to cracking and peeling over time. It’s best to use a flexible leather adhesive specifically designed for upholstery repairs.
Q: How can I prevent future rips and tears in my leather car seats?
A: Regularly cleaning and conditioning your leather car seats is crucial for preventing drying, cracking, and subsequent rips and tears. Using seat covers and avoiding sharp objects can also help prolong the life of your car’s upholstery.
Q: Can I use a sewing machine to repair a ripped seam in my leather car seat?
A: While a sewing machine can be used for some upholstery repairs, it’s generally not recommended for car seats. The tight spaces and curved surfaces of car seats can make it difficult to maneuver a sewing machine effectively. Additionally, using the wrong needle or thread type can damage the leather further.
Need Help?
Looking for more car repair tips and guidance? Check out our other helpful articles:
If you’re still unsure about tackling a ripped seam repair on your own, our team of expert technicians is just a message away. We’re here to answer your questions and provide reliable car repair assistance when you need it most. Contact us via WhatsApp: +1(641)206-8880, Email: cardiagtechworkshop@gmail.com. Our customer support team is available 24/7.


