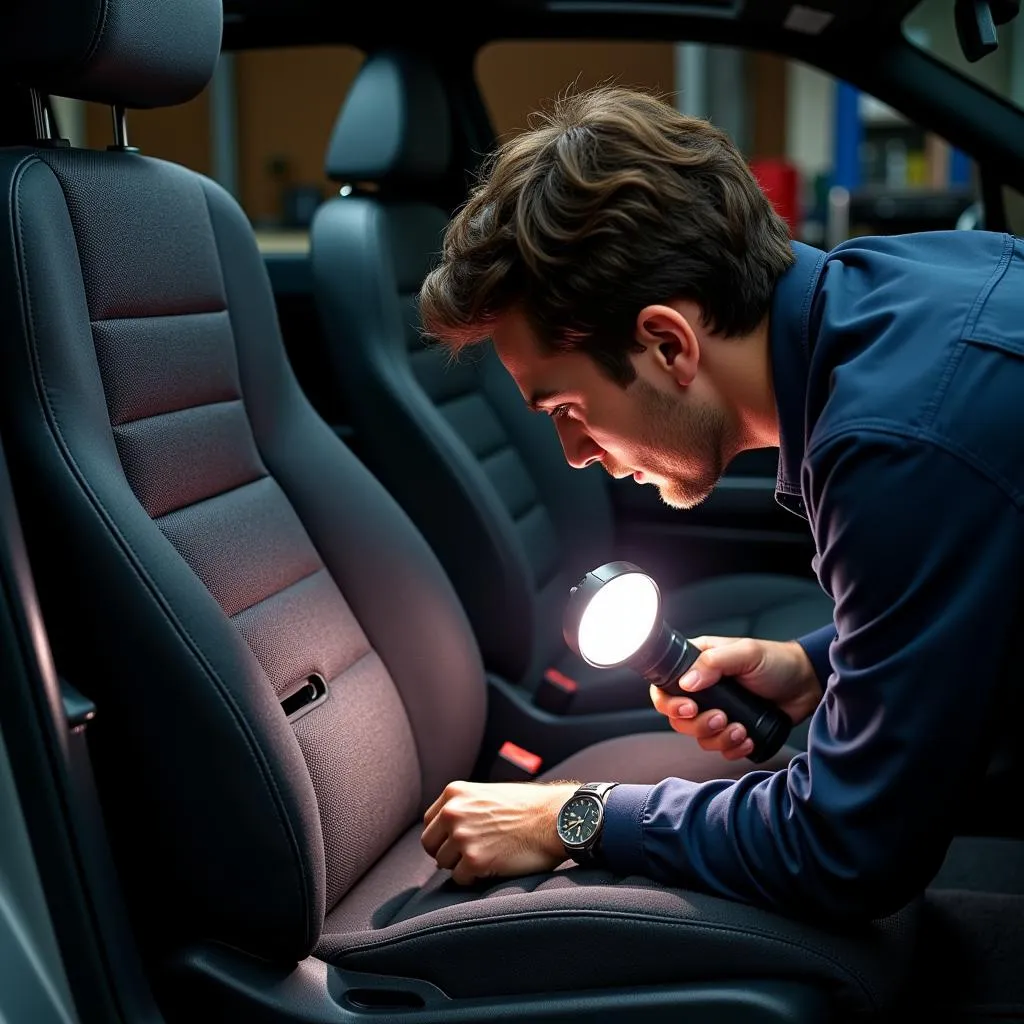
A rip in your cloth car seat can be an eyesore and even affect the resale value of your vehicle. Thankfully, you don’t need to be a professional mechanic to fix it. With a little patience and the right materials, you can easily repair a rip in a cloth car seat yourself and make it look as good as new.
Assessing the Damage: The First Step to Repairing a Cloth Car Seat Rip
Before you begin, it’s crucial to examine the rip closely. This will help you determine the best repair method and the necessary materials.
- Size: Is it a small tear or a large gash?
- Location: Is the rip on the seat surface, the side bolstering, or near a seam?
- Type of Fabric: Is your car seat upholstery made of natural fibers, synthetic fabric, or a blend?
Knowing this information will guide your next steps and ensure you choose the right repair solution.
Gathering Your Supplies: What You’ll Need for the Repair
Once you’ve assessed the rip, you’ll need to gather the following materials:
- Cleaning Supplies: A vacuum cleaner with a crevice attachment, microfiber cloth, rubbing alcohol
- Repair Materials: Depending on the severity of the rip, you can use a fabric repair kit, iron-on patches, or a needle and thread.
- Optional Supplies: Fabric scissors, tweezers, fabric glue, sub-patch material (for larger tears), fabric marker (matching your seat color)
Having everything on hand before starting the repair will make the process smoother and more efficient.
Repairing the Rip: A Step-by-Step Guide
Follow these steps to effectively repair the rip in your cloth car seat:
-
Clean the Area: Begin by thoroughly vacuuming the ripped area to remove any dirt, debris, and loose threads. Use the crevice attachment for hard-to-reach areas. Then, dampen your microfiber cloth with rubbing alcohol and gently clean the area around the rip. Let it air dry completely.
-
Prepare the Repair:
- Fabric Repair Kit: Follow the manufacturer’s instructions, which typically involve applying an adhesive backing to the underside of the rip and then using heat to activate the adhesive and seal the tear.
- Iron-on Patch: Cut the patch to a size slightly larger than the rip, ensuring it covers the entire damaged area. Peel off the backing paper and position the patch over the rip, adhesive side down. Cover the patch with a thin cloth and iron over it according to the patch’s instructions.
- Needle and Thread: If you’re handy with a needle and thread, you can stitch the rip closed. Choose a thread that closely matches your car seat fabric. For a small tear, a simple straight stitch will suffice. For larger tears, consider using a stronger stitch like a backstitch or a slip stitch. If the rip is significant, use a sub-patch material underneath to provide extra support.
- Finishing Touches:
- Trim Excess Fabric: If you’re using a patch or sub-patch material, carefully trim any excess fabric around the edges of the repair using fabric scissors.
- Secure Loose Threads: Use tweezers to remove any loose threads around the repair.
- Blend the Repair: If necessary, use a fabric marker that matches your car seat color to blend the edges of the repair into the surrounding fabric.
Preventing Future Rips: Tips for Protecting Your Car Seats
Once you’ve repaired your cloth car seat, take these steps to prevent future rips and keep your car’s interior looking its best:
- Regular Cleaning: Vacuum your car seats regularly to prevent dirt and debris from embedding in the fabric and weakening the fibers.
- Protective Covers: Consider using seat covers, especially if you frequently transport children, pets, or heavy cargo.
- Careful Entry and Exit: Be mindful when getting in and out of your car, avoiding sharp objects that could snag the fabric.
“Regular maintenance is key to preserving your car’s interior,” says John Smith, a senior automotive technician at CarCare Experts. “Simple actions like vacuuming and using protective covers can significantly extend the lifespan of your car seats.”
Frequently Asked Questions about Cloth Car Seat Repair
Q: Can I use super glue to repair a rip in my car seat?
A: While super glue might seem like a quick fix, it’s not recommended for repairing cloth car seats. Super glue can dry stiff and create a rough surface that could irritate your skin and potentially damage the surrounding fabric.
Q: My car seat has faded around the repaired area. What can I do?
A: Sun exposure and wear can cause car seat fabric to fade over time. You can try using a fabric dye that matches your car seat color to refresh the faded area and blend it with the repaired spot.
Q: How much does it cost to have a professional repair a ripped car seat?
A: The cost of professional car seat repair varies depending on the severity of the damage, the type of fabric, and the location. It’s best to contact a reputable car upholstery shop for a quote.
Q: Can I repair a rip near the seam of my car seat?
A: Repairing rips near seams can be trickier and may require more advanced sewing skills. If you’re not confident in your abilities, it’s best to consult a professional upholsterer.
Conclusion
Repairing a rip in a cloth car seat is a manageable DIY project that can save you money and maintain your vehicle’s interior. By following these simple steps and using the right materials, you can easily fix the damage and make your car seat look like new again.
Need help with a car seat repair or have other car maintenance questions? Contact us via WhatsApp at +1(641)206-8880 or email us at [email protected]. Our team is available 24/7 to assist you.


