Leather car seats add a touch of luxury and sophistication to any vehicle. However, they require proper care and maintenance to stay in pristine condition. Over time, leather seats can suffer from wear and tear, leading to cracks, scratches, and fading. Knowing how to repair a leather car seat can save you from costly replacements and preserve the value of your car.
This comprehensive guide will provide you with a step-by-step approach to effectively repair common leather car seat issues, ensuring a long-lasting and luxurious feel for your vehicle’s interior.
Understanding the Damage
Before diving into the repair process, it’s crucial to assess the extent of the damage to your leather car seats. Different types of damage require specific repair methods.
Types of Leather Car Seat Damage:
- Cracks: These are thin, linear breaks in the leather’s surface, often caused by dryness, aging, or extreme temperatures.
- Scratches: Superficial abrasions that affect the leather’s topcoat, usually resulting from sharp objects or friction.
- Fading: Loss of color vibrancy due to prolonged exposure to sunlight or harsh cleaning agents.
- Stains: Discolorations caused by spills of liquids, food, or other substances.
- Tears: Deep cuts or punctures that penetrate through the leather’s layers, often requiring more complex repairs.
Gathering Your Repair Supplies
Once you’ve identified the damage, gather the necessary supplies to effectively repair your leather car seat.
Essential Repair Supplies:
- Leather Cleaner: Designed to remove dirt, grime, and contaminants without drying out the leather.
- Leather Conditioner: Replenishes moisture, keeping the leather supple and preventing future cracks.
- Leather Filler: Used to fill in cracks, scratches, and minor tears, creating a smooth surface for subsequent repairs.
- Colorant/Dye: Matches the existing color of your leather seats for a seamless repair.
- Applicator Pads/Sponges: Used for applying cleaners, conditioners, fillers, and dyes evenly.
- Microfiber Cloths: For wiping away excess products and buffing the leather to a shine.
- Masking Tape: Protects surrounding areas from accidental dye or filler spills.
- Gloves: Protect your hands from chemicals and ensure a clean repair process.
Step-by-Step Repair Guide:
Follow these comprehensive steps to effectively repair your leather car seats:
1. Clean the Affected Area:
- Begin by cleaning the damaged area thoroughly using a dedicated leather cleaner and a soft applicator pad.
- Gently rub the cleaner onto the leather, focusing on removing dirt, grease, and debris.
- Wipe away the cleaner with a clean microfiber cloth.
2. Repair Cracks and Scratches:
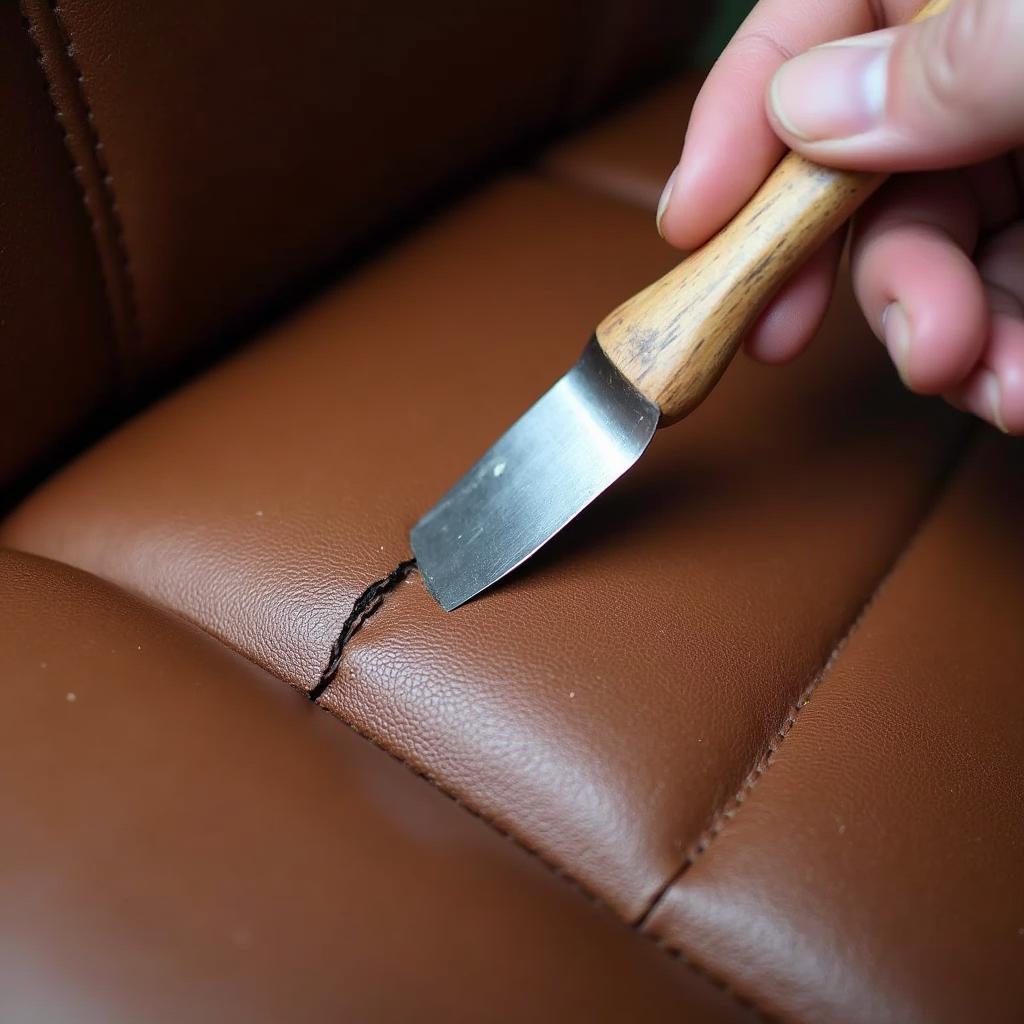
- For minor cracks and scratches, apply a small amount of leather filler using a palette knife or a small applicator.
- Press the filler into the damaged areas, ensuring an even and smooth surface.
- Allow the filler to dry completely according to the manufacturer’s instructions.
- Once dry, lightly sand the filled areas with fine-grit sandpaper until smooth and flush with the surrounding leather.
3. Address Fading and Discoloration:
- If your leather seats appear faded, use a leather colorant or dye that matches the original color.
- Apply the colorant using a clean applicator sponge or spray, following the product’s instructions carefully.
- Apply multiple thin coats rather than one thick coat, allowing each coat to dry completely before applying the next.
4. Condition the Leather:
- After repairs and color restoration, apply a high-quality leather conditioner to the entire seat.
- Massage the conditioner into the leather using circular motions, ensuring even coverage.
- Allow the conditioner to penetrate the leather for the recommended time, then buff off any excess with a clean microfiber cloth.
5. Final Inspection and Care:
- Once the repair is complete, inspect the repaired area for any imperfections or inconsistencies.
- If necessary, repeat any steps to achieve the desired results.
- To maintain your newly repaired leather car seats, regularly clean and condition them to prevent future damage and preserve their supple texture and luxurious appearance.
 Repairing a Leather Car Seat Crack
Expert Insights
“Prevention is key when it comes to leather car seats,” says John Miller, a seasoned automotive upholstery specialist. “Regular cleaning and conditioning create a protective barrier against the elements, minimizing the risk of cracks, fading, and premature wear.”
“When choosing repair products, always opt for high-quality, reputable brands specifically designed for automotive leather,” advises Miller. “Using the wrong products can lead to further damage and costly repairs.”
Conclusion
Repairing a leather car seat doesn’t have to be a daunting task. By following these steps and using the right products, you can restore your leather seats to their former glory, maintaining the luxurious appeal of your vehicle’s interior for years to come. Remember, regular care and maintenance are essential for preserving the beauty and longevity of your leather car seats, ensuring a comfortable and stylish driving experience.

