Leather car seats with built-in heating elements provide a luxurious and comfortable driving experience, especially during colder months. However, damage to these seats can be a source of discomfort and may even affect the heating functionality. While repairing heated leather car seats might seem daunting, it is often possible to address minor issues at home. This comprehensive guide will walk you through the process of repairing a leather car seat with heated seats, helping you restore both its aesthetic appeal and functionality.
Understanding the Damage
Before diving into the repair process, it’s crucial to assess the extent of the damage. Leather car seats can suffer from various issues, including:
- Scratches and Scuffs: These are superficial damages that affect the leather’s top layer.
- Cracks: These deeper damages can expose the underlying material and may require more involved repairs.
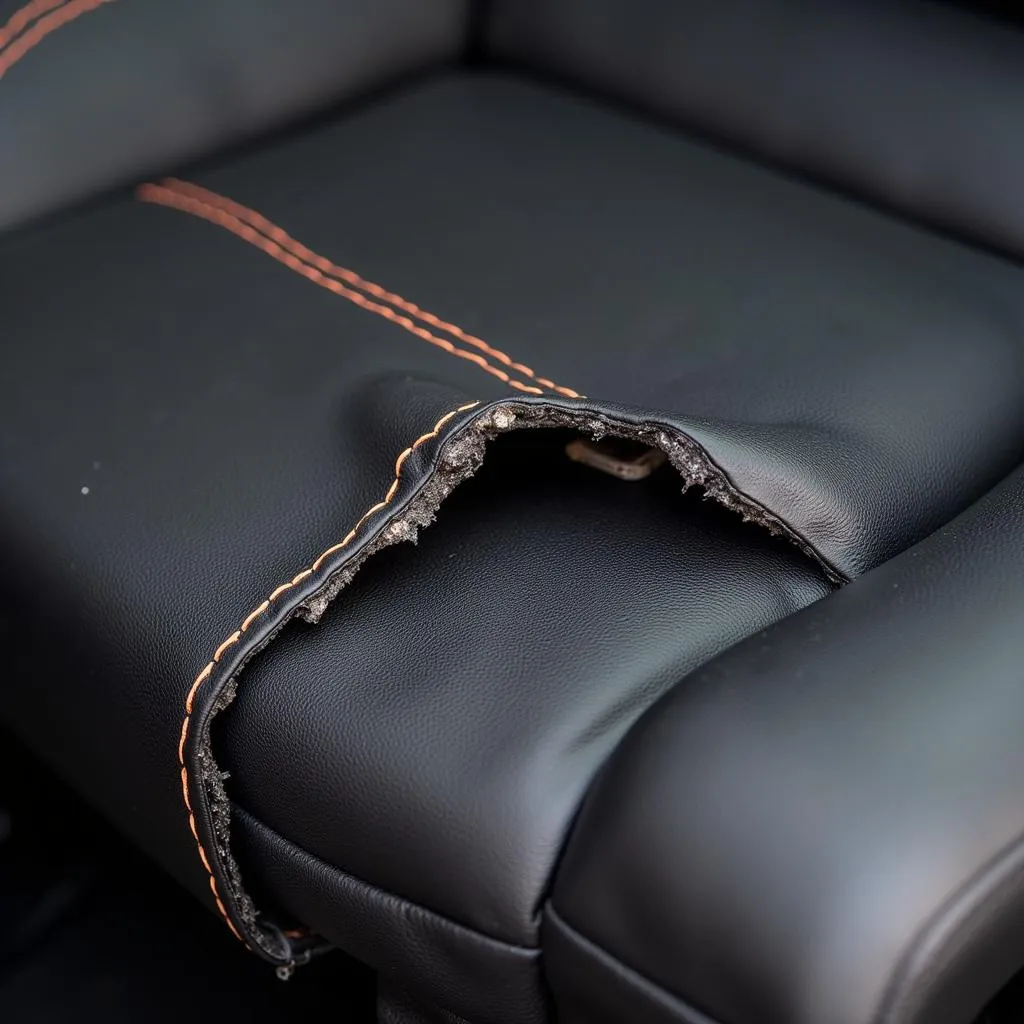
- Tears and Burns: These severe damages require patching or more complex solutions.
- Heater Malfunctions: Damage to the heating element itself can lead to uneven heating or complete failure.
Identifying the type and severity of the damage will help you determine the appropriate repair method and materials.
Gathering the Necessary Tools and Materials
Having the right tools and materials is crucial for a successful repair. Here’s a list of items you’ll likely need:
- Leather Cleaner and Conditioner: Essential for preparing the surface and restoring the leather’s suppleness.
- Leather Repair Kit: Choose a kit that matches your car seat’s color and grain.
- Patching Material: Use leather patches for tears or a strong adhesive fabric for smaller holes.
- Scissors or Utility Knife: For cutting patches and trimming excess material.
- Heat Gun or Hair Dryer: To speed up the drying process of adhesives and sealants.
- Masking Tape: To protect surrounding areas during the repair process.
- Rubbing Alcohol: For cleaning and prepping the damaged area.
- Soft Cloths: For applying cleaners, conditioners, and dyes.
Step-by-Step Repair Guide
The repair process will vary depending on the type of damage. Here are general guidelines for addressing common issues:
Repairing Scratches and Scuffs:
- Clean the Area: Thoroughly clean the affected area with leather cleaner to remove dirt and debris.
- Apply Leather Conditioner: Conditioning the leather helps restore its moisture and flexibility.
- Use a Leather Repair Kit: Follow the kit’s instructions to fill in scratches and scuffs with a color-matched compound.
Fixing Cracks:
- Clean and Prep: Clean the cracked area with rubbing alcohol and let it dry completely.
- Apply Leather Filler: Use a flexible leather filler to fill the crack, ensuring it’s level with the surrounding surface.
- Sand and Smooth: Once dry, sand the filler smooth and blend it with the surrounding leather.
- Apply Colorant (if needed): If the filler doesn’t perfectly match the leather color, use a leather dye to blend it seamlessly.
Addressing Tears and Burns:
- Assess the Damage: Determine if the tear is repairable or if a complete replacement is necessary.
- Create a Patch (if needed): Cut a leather patch slightly larger than the tear, ensuring it matches the texture and color of your car seat.
- Apply Adhesive: Apply leather adhesive to the back of the patch and carefully align it over the tear.
- Apply Pressure: Press firmly on the patch for several minutes to ensure a strong bond.
- Blend the Repair: Use a leather repair kit or dye to blend the patch edges with the surrounding leather.
Handling Heater Malfunctions:
Important Note: Repairing a damaged heating element often requires professional expertise. Attempting to fix it yourself could worsen the damage or pose safety risks.
- Diagnose the Issue: Identify the location and cause of the heater malfunction. This might involve inspecting the wiring or using a multimeter to check for continuity.
- Consult a Professional (Recommended): It’s highly recommended to consult a qualified automotive electrician or upholstery specialist for heater repairs.
Preventing Future Damage
Preventing damage is always preferable to repairing it. Here are some tips to keep your heated leather car seats in top condition:
- Regular Cleaning and Conditioning: Clean your seats regularly with a leather cleaner and apply a conditioner to prevent drying and cracking.
- Avoid Extreme Temperatures: Prolonged exposure to direct sunlight and extreme heat can damage the leather and affect the heating elements. Use sunshades and park in shaded areas whenever possible.
- Use Protective Covers: Consider using seat covers to protect your leather seats from spills, scratches, and UV damage.
- Be Mindful of Sharp Objects: Avoid contact with sharp objects that can scratch, puncture, or tear the leather.
Conclusion
Taking care of your leather car seats with heated seats ensures they remain comfortable and visually appealing for years to come. While minor repairs can often be tackled at home, it’s crucial to recognize when professional help is necessary, especially for issues related to the heating elements. By following the tips and guidelines outlined in this guide, you can effectively repair and maintain your heated leather car seats, keeping your driving experience enjoyable and comfortable.


