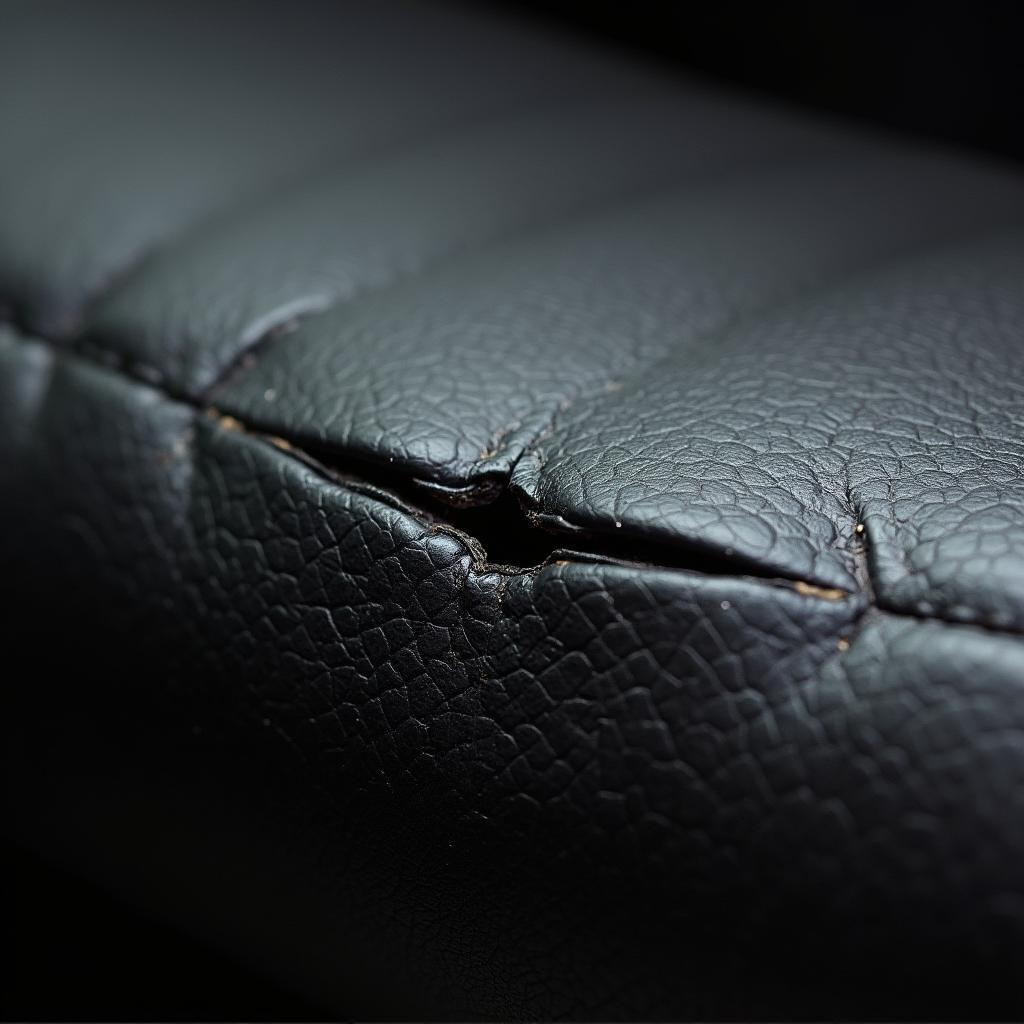
Torn leather car seats can be an eyesore, detracting from the overall look and feel of your vehicle’s interior. Fortunately, you don’t always need a professional to fix these blemishes. With a bit of patience and the right materials, you can often repair minor tears in your leather car seats yourself. This comprehensive guide will walk you through the process step-by-step.
Assessing the Damage
Before you start gathering supplies, take a moment to evaluate the severity of the tear. Is it a small nick or a large gash? Is the tear along a seam or in the middle of the seat panel? The extent of the damage will determine the best repair approach.
For very small tears, a simple leather filler product might suffice. These fillers come in various colors to match your leather and can effectively conceal minor imperfections.
Larger tears, however, typically require a more involved repair using a leather repair kit. These kits usually contain a patching material, adhesive, and color blending compounds to create a seamless and durable fix.
Gathering Your Supplies
Once you’ve assessed the damage, it’s time to gather your materials. Here’s a list of what you’ll likely need:
- Leather repair kit (for larger tears): Choose a kit that closely matches the color and grain of your car’s leather upholstery.
- Leather filler (for small tears): Opt for a high-quality filler that dries flexibly to prevent cracking.
- Cleaning solution: A dedicated leather cleaner is ideal, but a mild soap and water solution will work in a pinch.
- Microfiber cloths: Use lint-free cloths for cleaning and applying products.
- Scissors: For trimming patches or backing material.
- Tweezers: Helpful for precise placement of patches or filler.
- Heat gun or hairdryer (optional): Accelerates drying time for certain products.
- Leather conditioner: Applying a conditioner after the repair will help keep the leather supple and prevent future cracking.
Repairing the Tear: A Step-by-Step Guide
Step 1: Clean the Area: Thoroughly clean the damaged area and surrounding leather with a leather cleaner or mild soap and water solution. This removes dirt, grime, and any conditioning products that could interfere with adhesion. Allow the area to dry completely.
Step 2: Prepare the Tear (for larger tears): If the tear has frayed edges or loose leather, carefully trim them away with sharp scissors. A clean, even edge will ensure a smoother repair.
Step 3: Apply the Patch (for larger tears): Following the instructions in your leather repair kit, cut a patch of the provided repair material slightly larger than the tear. Apply the adhesive to the back of the patch and carefully position it under the tear, ensuring it lies flat and smooth against the existing leather. Use tweezers for precise placement.
Step 4: Fill the Tear (for smaller tears or after patching): Using a small spatula or the applicator tip provided, carefully fill the tear with leather filler, ensuring it’s level with the surrounding surface. If necessary, build up the filler in thin layers, allowing each layer to dry before applying the next.
Step 5: Blend and Texturize: If using a leather repair kit, follow the kit’s instructions to blend the edges of the patch with the surrounding leather. This often involves using a heat tool and a textured grain paper to mimic the original leather’s texture.
Step 6: Color Match (if necessary): Some repair kits include color blending compounds to match the repaired area to your leather’s exact shade. Follow the kit’s instructions to mix and apply the colorant, blending it seamlessly into the surrounding leather.
Step 7: Dry and Condition: Allow the repaired area to dry completely as directed by the product instructions. Once dry, apply a high-quality leather conditioner to the entire seat to restore suppleness and protect the leather from future wear and tear.
Can a Ripped Leather Car Seat Be Repaired?
Yes, a ripped leather car seat can often be repaired, but the success of the repair depends on various factors, including:
- Size and Location of the Rip: Small to medium-sized rips located on flat surfaces are generally easier to repair than large rips or tears along seams or curved areas.
- Severity of the Damage: Rips that have caused significant damage to the underlying foam or structural components might require more complex repairs or even seat replacement.
- Condition of the Leather: Older leather that has become dry, brittle, or heavily worn might not hold repairs as well as leather in good condition.
how to repair large tears in leather car seats
Should You Repair or Replace Torn Leather Car Seats?
Deciding whether to repair or replace torn leather car seats involves considering several factors, such as:
- Cost: Repairing tears is generally more affordable than replacing entire seat covers.
- Extent of Damage: Severe damage, especially if affecting structural components, might necessitate replacement.
- Age and Condition of the Leather: Older, worn leather might be more prone to future tears even after repairs.
- Overall Aesthetics: If the car’s interior has other signs of wear and tear, replacing the seat covers could provide a more cohesive and refreshed look.
should you repair or replace torn leather car seats
Expert Insights
“When repairing leather car seats,” advises John Miller, a seasoned automotive upholstery specialist, “patience is key. Take your time with each step, ensuring the products have adequate time to dry and cure properly. Rushing the process can lead to subpar results.”
He further emphasizes, “Proper leather care and maintenance are crucial to prevent future tears. Regularly cleaning and conditioning your leather seats will help keep them supple and less susceptible to damage.”
Conclusion
Repairing a tear in your leather car seat might seem daunting, but with the right approach and a bit of effort, it’s a manageable DIY project. By following these steps and using quality materials, you can restore your car’s interior and prolong the life of your leather upholstery.
Remember, while this guide provides general information, the specific instructions for your chosen repair kit and the severity of the tear will ultimately guide your repair process.
FAQ
Q1: Can I use superglue to repair a leather car seat tear?
A: It’s not recommended to use superglue as it dries rigidly and can crack or damage the leather further.
Q2: How long does it take for a leather repair kit to dry?
A: Drying times vary depending on the specific product used. Refer to the manufacturer’s instructions for accurate drying and curing times.
Q3: Can I repair a tear in vinyl car seats using the same methods?
A: While some leather repair products might work on vinyl, dedicated vinyl repair kits are generally more effective for repairing tears in vinyl upholstery.
how to repair small tear in vinyl car seat
Q4: How can I prevent future tears in my leather car seats?
A: Regularly cleaning and conditioning your leather seats, using seat covers for added protection, and avoiding sharp objects or rough use can help prevent future tears.
Q5: When is it best to consult a professional for leather car seat repair?
A: If you’re dealing with a large tear, significant damage, or are unsure about the repair process, it’s always best to consult a professional automotive upholstery specialist.
Need More Help?
For personalized assistance and expert guidance on car leather seat repair or any other automotive repair needs, feel free to reach out to us!
Contact us via:
- WhatsApp: +1(641)206-8880
- Email: [email protected]
Our dedicated customer support team is available 24/7 to assist you.


