Leather car seats add a touch of luxury and sophistication to any vehicle. However, over time, they can suffer from wear and tear, scratches, cracks, and fading. Fortunately, with the right knowledge and a little effort, you can restore your leather car seats to their former glory and extend their lifespan considerably. This comprehensive guide will provide you with everything you need to know about how to repair a leather car seat and keep them looking their best for years to come.
Identifying the Damage: The First Step in Leather Car Seat Repair
Before you begin the repair process, it’s essential to identify the type and extent of the damage to your leather car seats. This will determine the appropriate repair method and materials you’ll need.
Common types of leather car seat damage include:
- Scratches: These are superficial marks on the leather’s surface and can often be buffed out with a leather conditioner or a specialized scratch remover.
- Scuffs: Similar to scratches, scuffs are caused by abrasion but may penetrate deeper into the leather.
- Cracks: These are more severe forms of damage that result from the leather drying out and losing its flexibility. Repairing cracks often involves using leather fillers and dyes.
- Tears and Holes: These require patching and stitching to repair, especially for larger tears.
- Fading and Discoloration: Exposure to sunlight and heat can cause the leather dye to fade. Restoring the color involves cleaning, prepping, and applying a leather dye that matches the original shade.
Gathering Your Leather Car Seat Repair Arsenal: Tools and Materials
Once you’ve assessed the damage, you’ll need to gather the necessary tools and materials to tackle the repair. Here’s a list of common items:
- Cleaning Supplies: Leather cleaner, microfiber cloths, soft-bristled brush, isopropyl alcohol
- Repair Products: Leather filler, leather adhesive, leather dye (if necessary), leather conditioner
- Tools: Heat gun or hairdryer, palette knife or spreader, sandpaper (various grits), masking tape, gloves, cotton swabs
How to Repair a Leather Car Seat: A Step-by-Step Guide
This section will walk you through the general steps involved in repairing common leather car seat damage. Remember to always follow the instructions provided with your specific repair products.
1. Cleaning and Preparation:
- Begin by thoroughly cleaning the affected area and the surrounding leather with a dedicated leather cleaner. This removes dirt, grime, and any previous conditioning products that could interfere with the repair.
- Use a soft-bristled brush to gently scrub crevices and textured areas.
- Wipe away any residue with a clean microfiber cloth.
- For deeper cleaning or to remove any remaining contaminants, use a diluted isopropyl alcohol solution (70% alcohol, 30% water) and a clean cloth. Allow the area to dry completely before proceeding.
2. Repairing Cracks and Tears:
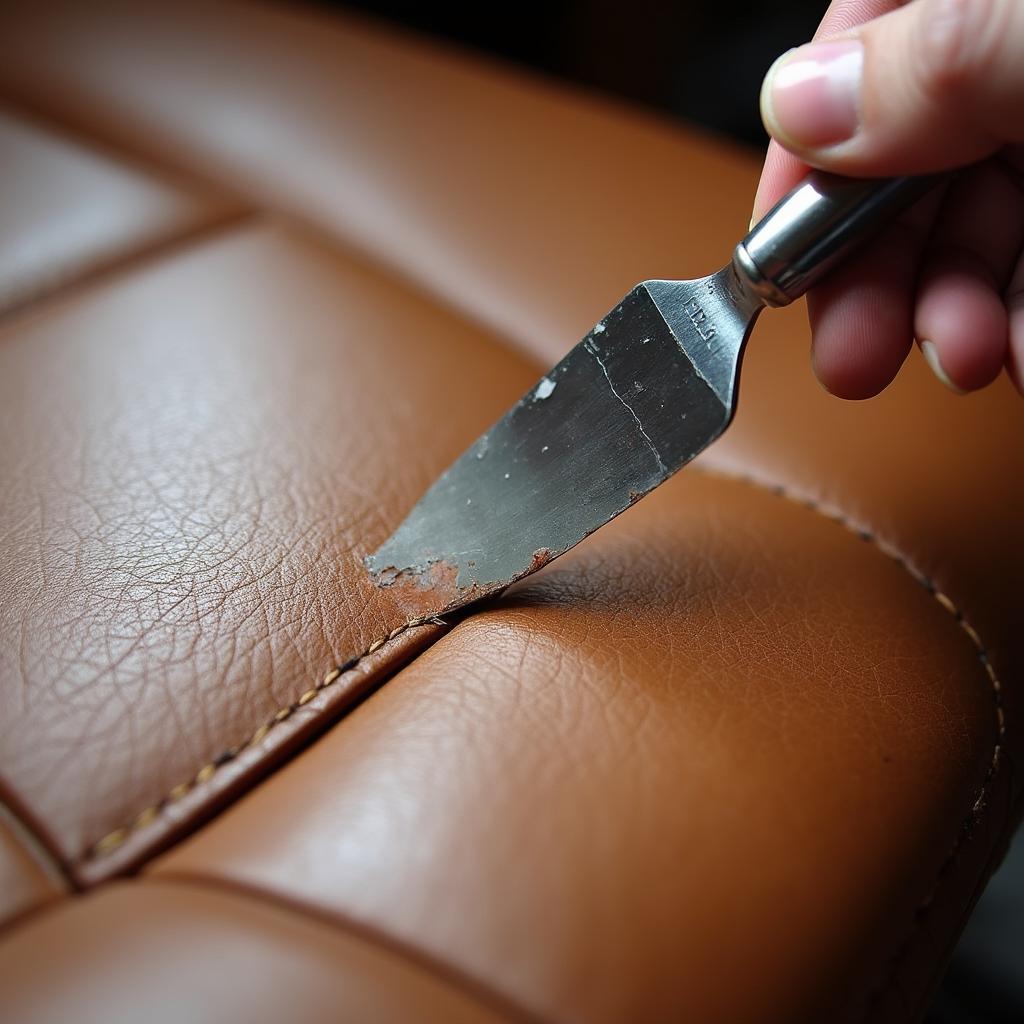
- For minor cracks and scratches, a leather filler product is often sufficient. Apply the filler using a palette knife or your finger, working it into the crack and smoothing it out evenly with the surrounding surface.
- Allow the filler to dry completely, then use fine-grit sandpaper to blend the repaired area with the rest of the leather.
- Deeper cracks and tears may require a leather patching kit. These kits usually involve adhering a leather patch beneath the tear using a strong leather adhesive. Follow the instructions provided with your specific kit for best results.
 Applying Leather Filler to a Crack
3. Dyeing and Color Restoration:
- If the damage has exposed the leather underneath or if you’re dealing with fading and discoloration, you’ll need to use a leather dye.
- Choose a dye that closely matches the original color of your car seats.
- Before applying dye to the entire affected area, test it on a hidden area of the seat to ensure color accuracy.
- Apply the dye in thin, even coats using a sponge, brush, or spray gun, depending on the type of dye you choose. Follow the drying time recommendations between coats.
- Multiple coats may be required to achieve the desired color depth and coverage.
4. Conditioning and Protecting:
- Once the repair is complete and the dye is fully dry, it’s crucial to condition the leather. Leather conditioners help to moisturize the leather, restoring its suppleness and preventing it from drying out and cracking again.
- Apply a high-quality leather conditioner to the entire seat surface, using a clean microfiber cloth.
- Allow the conditioner to soak in for the recommended time, then buff away any excess with a clean cloth.
Preventing Future Damage: Proactive Leather Car Seat Care
Preventing damage in the first place is always easier than repairing it. Here are some tips for proactive leather car seat care:
- Regular Cleaning: Clean your leather car seats every few weeks or as needed to prevent dirt and grime from building up and damaging the leather.
- Conditioning: Condition your leather seats every three months or so to keep them hydrated and prevent drying, cracking, and premature aging.
- UV Protection: Park your car in the shade or use a windshield sunshade to protect your leather seats from harmful UV rays that can cause fading and drying.
- Avoid Harsh Chemicals: Avoid using harsh cleaners, detergents, or household products on your leather seats, as these can strip away the natural oils and damage the leather.
Seeking Professional Help for Leather Car Seat Repair
While many minor leather car seat repairs can be tackled as DIY projects, more severe damage or intricate repairs may require the expertise of a professional auto upholstery specialist. If you’re unsure about your ability to achieve professional-looking results, it’s best to consult with a pro. They have the experience, tools, and knowledge to handle complex repairs and restore your leather car seats to pristine condition.
Conclusion: Keep Your Leather Seats Looking Luxurious
Leather car seats can last for many years with proper care and maintenance. By following the tips and techniques outlined in this guide, you can effectively repair common damage, restore their beauty, and keep them looking and feeling luxurious for miles to come. Remember, early intervention is key when it comes to leather care, so don’t wait until the damage becomes severe before addressing it.


