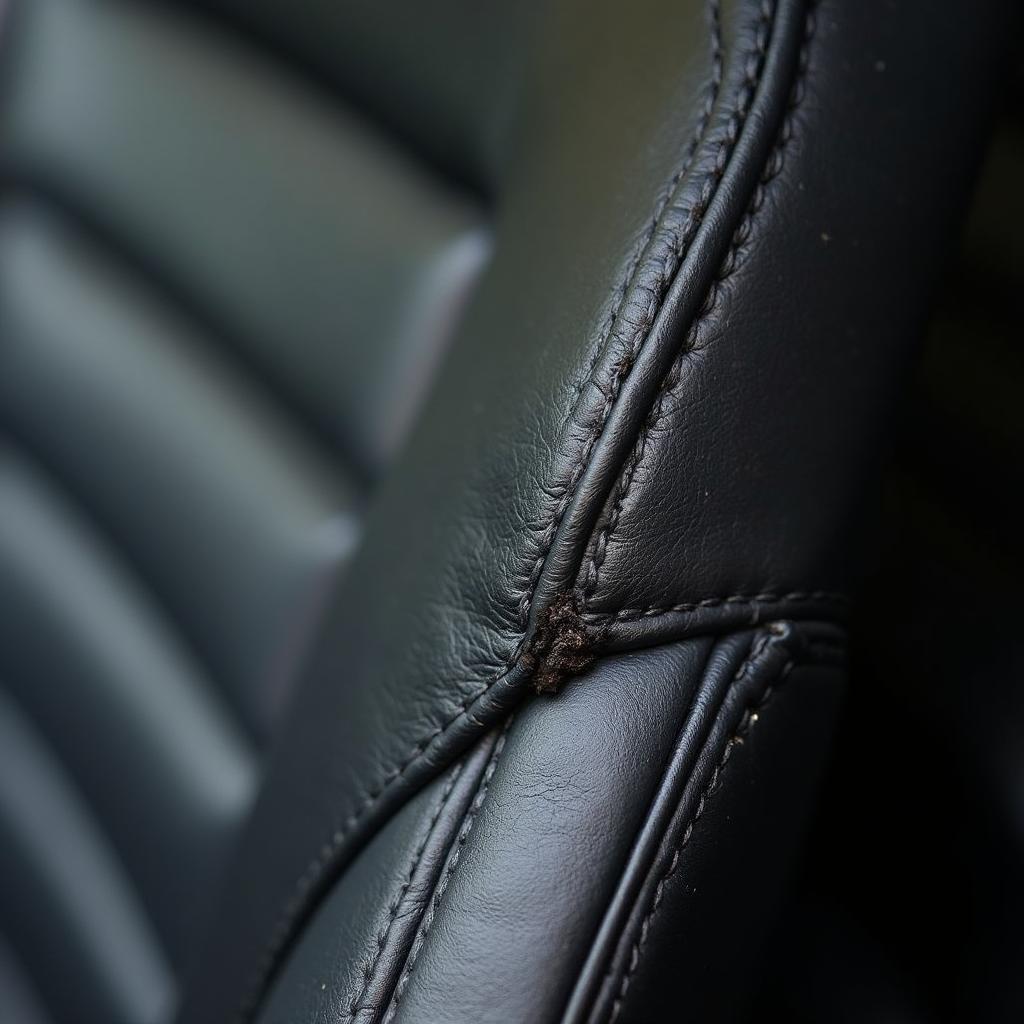
Leather car seats exude luxury and comfort, but they are susceptible to cuts, scratches, and tears. These blemishes not only mar the aesthetics of your car’s interior but can also decrease the resale value of your vehicle. Fortunately, repairing a cut in a leather car seat is a manageable DIY project that can save you a significant amount of money compared to professional upholstery repair. This comprehensive guide will delve into the intricacies of leather car seat repair, providing you with the knowledge and techniques to restore your car’s interior to its former glory.
Assessing the Damage: The First Step to Repair
Before diving into the repair process, it’s crucial to assess the severity of the cut in your leather car seat. This evaluation will help you determine the appropriate repair method and the necessary tools and materials.
- Minor Cuts and Scratches: Surface-level cuts and scratches that haven’t penetrated the leather’s backing can often be addressed with simple leather conditioners and fillers.
- Deep Cuts and Tears: Deeper cuts that expose the padding beneath the leather require more extensive repair involving patching, adhesives, and color-matching techniques.
Gathering Your Leather Car Seat Repair Arsenal
Having the right tools and materials is essential for achieving a professional-looking leather car seat repair. Here’s a list of items you’ll likely need:
- Leather Cleaning Agent: A dedicated leather cleaner will remove dirt, grime, and debris from the affected area, ensuring optimal adhesion of repair products.
- Leather Filler: A flexible and durable leather filler is crucial for filling deep cuts and tears, creating a smooth surface for subsequent repairs.
- Leather Adhesive: A strong leather adhesive is necessary for bonding patches and securing loose edges of the cut.
- Color Matching Kit: Matching the repaired area to the original leather color is vital for a seamless repair. Leather color matching kits offer a range of pigments that you can blend to achieve an exact match.
- Applicators: Sponges, cotton swabs, and palette knives are helpful for applying cleaning agents, fillers, and colorants.
- Heat Gun or Hairdryer: A heat gun or hairdryer can expedite the drying time of leather fillers and adhesives.
- Leather Conditioner: Once the repair is complete, applying a leather conditioner will help moisturize the leather and protect it from future damage.
how to repair a cut in a leather car seat
Executing the Repair: A Step-by-Step Guide
Follow these detailed steps to repair a cut in your leather car seat:
- Clean the Damaged Area: Start by thoroughly cleaning the cut and the surrounding area with a leather cleaning agent. Use a soft-bristled brush to gently scrub away any embedded dirt or debris. Allow the area to dry completely before proceeding.
- Apply Leather Filler: For deep cuts and tears, apply a leather filler to the damaged area using a palette knife. Push the filler into the cut, ensuring it fills the gap completely. Remove any excess filler and allow it to dry according to the manufacturer’s instructions. You might need to apply multiple layers of filler, allowing each layer to dry before applying the next.
- Sand and Smooth the Surface: Once the filler is completely dry, use fine-grit sandpaper to smooth out the repaired area. Sand gently to create an even surface that blends seamlessly with the surrounding leather. Wipe away any sanding dust with a clean cloth.
- Apply Leather Adhesive: If the cut is deep or has loose edges, apply a thin layer of leather adhesive to the back of the cut and press the edges together firmly. Use clamps or weights to hold the edges in place while the adhesive dries.
- Match and Apply Leather Colorant: Using a leather color matching kit, blend the pigments to create a color that precisely matches your car’s leather upholstery. Apply the colorant to the repaired area using a sponge or cotton swab, starting from the center and feathering outward. Apply multiple thin coats, allowing each coat to dry thoroughly before applying the next.
- Apply a Leather Sealer (Optional): Applying a leather sealer after the colorant has dried provides an additional layer of protection and enhances the longevity of the repair.
- Condition the Leather: After the repair is complete and the colorant and sealer have dried, apply a leather conditioner to the entire seat. This step helps moisturize the leather, prevent future cracking, and maintain its suppleness.
[how to repair torn leather seat in car](https://carrepairon.com/how to-repair-torn-leather-seat-in-car/)
Expert Insights: Tips from a Seasoned Car Upholstery Specialist
“Many car owners overlook the importance of regular leather conditioning,” says John Smith, a veteran car upholstery specialist with over 20 years of experience. “Leather is a natural material that requires regular moisturizing to maintain its flexibility and prevent drying and cracking. Applying a high-quality leather conditioner every few months can significantly extend the lifespan of your leather car seats.”
Preventing Future Damage: Proactive Measures for Long-Lasting Leather
Preventing future cuts and damage to your leather car seats involves adopting simple yet effective habits:
- Regular Cleaning: Regularly cleaning your leather car seats with a dedicated leather cleaner can prevent dirt and grime from embedding into the leather, reducing the risk of scratches and abrasions.
- Use Protective Covers: Consider using seat covers, especially if you frequently transport pets or cargo. Seat covers act as a barrier, protecting your leather seats from spills, scratches, and UV damage.
- Avoid Sharp Objects: Be mindful of sharp objects such as keys, pens, and tools that can easily scratch or puncture leather. Store these items securely to prevent accidental damage to your car seats.
- Mindful Entry and Exit: Encourage passengers, especially children, to enter and exit the vehicle carefully, avoiding contact with the seats with sharp objects or abrasive clothing.
Conclusion: Restoring Your Car’s Interior to Pristine Condition
Repairing a cut in a leather car seat might seem daunting, but with the right approach and a little patience, you can achieve professional-looking results and restore your car’s interior to its former glory. By following the comprehensive guide outlined in this article, you can confidently tackle leather car seat repairs, saving yourself a significant amount of money and taking pride in a job well done. Remember, regular maintenance and preventative measures are key to preserving the beauty and longevity of your leather car seats for years to come.
Frequently Asked Questions
Q: Can I use super glue to repair a cut in my leather car seat?
A: While super glue might seem like a quick fix, it’s not recommended for leather car seat repairs. Super glue is not flexible enough for leather and can crack or peel over time, resulting in a more noticeable repair.
Q: How long does it take for leather filler to dry?
A: Drying times for leather fillers vary depending on the product and the environmental conditions. Typically, it takes between 30 minutes to a few hours for leather filler to dry completely. Always refer to the manufacturer’s instructions for specific drying times.
Q: Can I repair a cut in perforated leather car seats?
A: Repairing cuts in perforated leather car seats can be more challenging due to the tiny holes in the leather. If the damage is extensive, it’s best to consult with a professional upholstery specialist.
Q: What is the best way to prevent my leather car seats from fading?
A: Parking your car in the shade, using a windshield sunshade, and regularly conditioning your leather seats can help prevent fading caused by UV rays.
Q: How often should I condition my leather car seats?
A: Leather car seats should be conditioned every three to six months, or more frequently if they are exposed to extreme temperatures or sunlight.
Have other questions?
If you have further questions or need personalized assistance with car repair, our dedicated team is here to help 24/7. Feel free to reach out to us via WhatsApp at +1(641)206-8880 or email us at [email protected].


