Discovering a cigarette burn in your car seat can be a frustrating experience. It’s a common problem that can happen to even the most careful drivers. While it might seem like a permanent blemish, there are effective ways to repair the damage and restore your car’s interior. This guide will provide you with a step-by-step approach on how to repair a cigarette burn in your car seat, covering various materials and techniques to help you achieve professional-looking results.
Assessing the Damage and Choosing the Right Repair Method
Before diving into the repair process, it’s essential to assess the severity of the cigarette burn. The repair method you choose will depend on the extent of the damage:
- Minor Burns: Small burns that only affect the surface layer of the material can often be repaired using simple cleaning and blending techniques.
- Medium Burns: Burns that have penetrated deeper into the material might require filling the damaged area with a specialized filler before proceeding with color matching and blending.
- Severe Burns: Extensive burns that have created a hole in the seat material will require more advanced repair methods, such as patching or even seat cover replacement.
Gathering the Necessary Tools and Materials
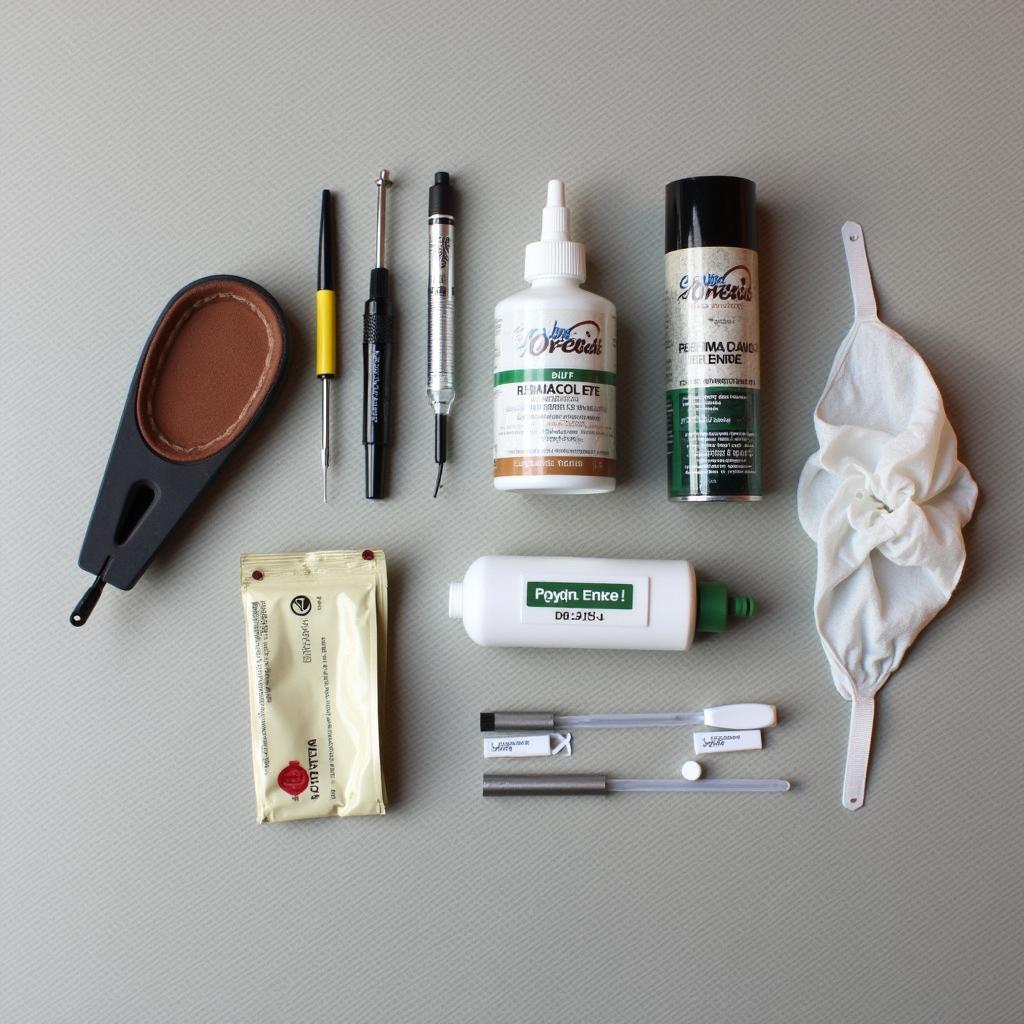
Having the right tools and materials on hand will make the repair process smoother and more effective. Here’s a list of items you’ll likely need:
- Cleaning Supplies: Mild soap, water, rubbing alcohol, microfiber cloths.
- Repair Filler (if needed): Leather filler, vinyl filler, or fabric filler depending on your car seat material.
- Color Matching Kit: Leather dye, vinyl dye, or fabric dye that matches your car seat’s color.
- Applicators: Sponges, cotton swabs, small brushes.
- Heat Gun or Hair Dryer (optional): For setting certain types of fillers and dyes.
- Protective Gear: Gloves, mask.
Step-by-Step Guide to Repairing a Cigarette Burn
1. Clean the Affected Area
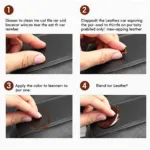
Start by cleaning the area around the cigarette burn thoroughly. Use a mild soap and water solution to remove any dirt or debris. If the burn is on leather or vinyl, use a dedicated cleaner designed for these materials. For fabric seats, a fabric cleaner or upholstery shampoo can be used. Allow the area to dry completely before proceeding to the next step.
2. Repair the Burn with Filler (if needed)
If the cigarette burn has created a depression or hole in the material, you’ll need to fill it before proceeding. Choose a filler that’s specifically designed for your car seat material (leather filler, vinyl filler, or fabric filler). Apply the filler to the damaged area using a small putty knife or your finger, making sure to fill the hole or depression completely. Allow the filler to dry completely according to the manufacturer’s instructions.
3. Sand and Smooth the Filler (if applicable)
Once the filler is dry, use fine-grit sandpaper (around 400-grit) to gently sand the area until it’s flush with the surrounding material. Be careful not to over-sand, as this can damage the surrounding material.
4. Color Matching and Dyeing
This step is crucial for achieving a seamless repair. Using a color matching kit designed for your car seat material, carefully select the dye color that most closely matches your seat’s original color. It’s better to start with a lighter shade and gradually build up the color.
Apply the dye to the repaired area using a sponge, cotton swab, or small brush. Work in thin, even coats, allowing each coat to dry completely before applying the next. If using a heat gun or hairdryer, follow the manufacturer’s instructions to set the dye.
5. Blending and Finishing Touches
Once you’ve achieved the desired color, use a clean microfiber cloth to gently blend the edges of the dyed area with the surrounding material. This will help create a more seamless and natural-looking finish.
If you’re working with leather or vinyl, you may want to apply a leather or vinyl conditioner to the repaired area to restore its natural shine and protect it from future damage. For fabric seats, a fabric protector can help repel stains and dirt.
Tips for Preventing Cigarette Burns in Car Seats
Prevention is always better than cure. Here are some tips to help you avoid cigarette burns in your car seats:
- Designate a Smoking Area: If you or your passengers smoke, designate a specific area outside the car for smoking.
- Use Ashtrays: Make sure your car is equipped with functional ashtrays and encourage passengers to use them.
- Be Mindful of Embers: Exercise caution when smoking in or around your car, especially on windy days.
- Consider Seat Covers: Using seat covers can provide an extra layer of protection for your car seats.
Conclusion
Repairing a cigarette burn in your car seat doesn’t have to be a daunting task. By following the steps outlined in this guide and using the right tools and techniques, you can achieve professional-looking results and restore your car’s interior to its former glory. Remember to prioritize safety and always refer to the manufacturer’s instructions for any products you use during the repair process.


