A chipped car paint job can be an eyesore, but luckily, fixing minor paint chips is often a manageable DIY project. Knowing how to repair a chip in a car’s paint not only saves you money but also helps prevent further damage like rust. This guide will take you through a step-by-step process, offering expert advice and practical tips to achieve professional-looking results.
Finding small paint chips on your car can be frustrating, but addressing them quickly can prevent more costly repairs down the road. For smaller chips, a touch-up paint pen can be a quick and easy solution. If you’re looking for professional help with touch-up paint or more extensive damage, checking out the paint repair car near me directory can be a great starting point.
Assessing the Damage: Knowing Your Chip
Before you start, it’s crucial to assess the extent of the damage. A small, superficial chip only affecting the clear coat requires a different approach than a deep chip that exposes the bare metal. Understanding the depth of the chip will determine the necessary repair process and products.
Types of Paint Chips and Identifying Them
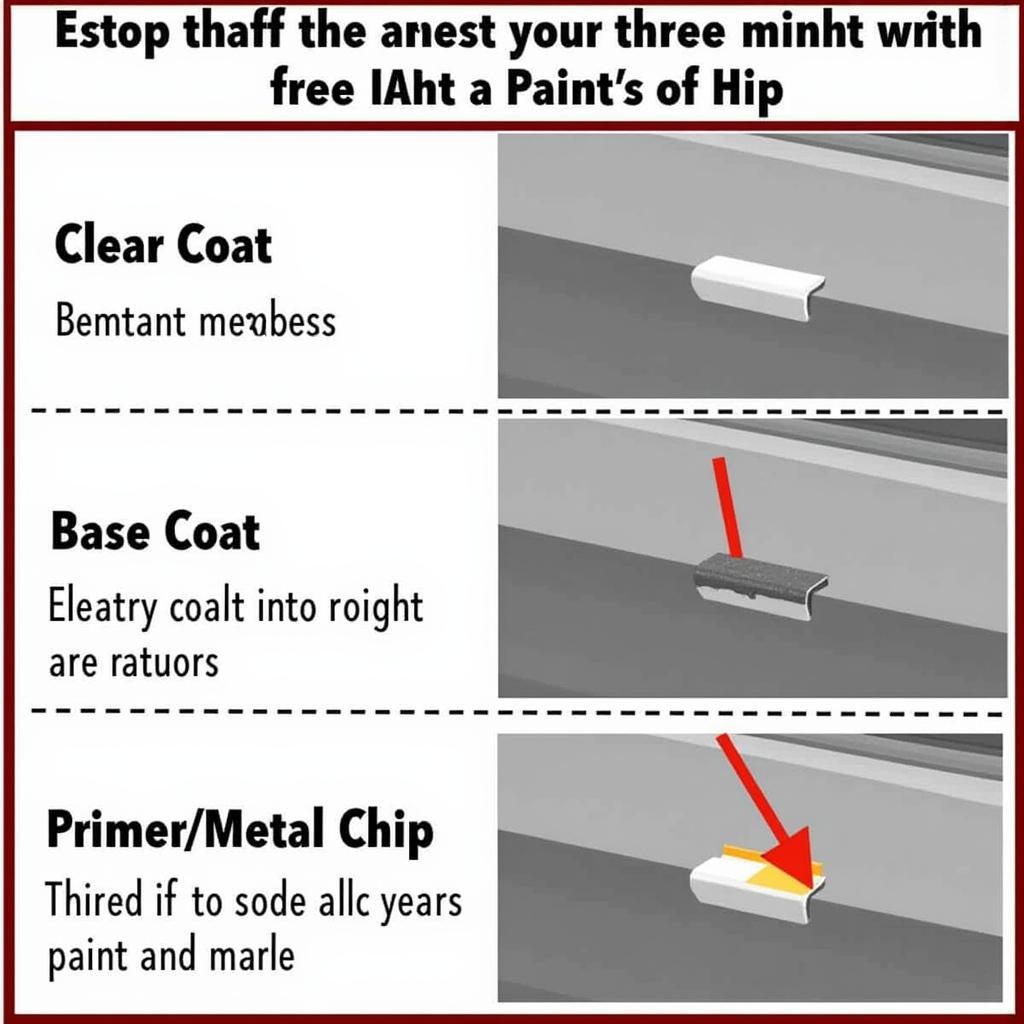
There are three main types of paint chips:
- Clear Coat Chips: These are the most superficial, affecting only the topmost protective layer of your car’s paint. They appear as small, clear or slightly discolored spots.
- Base Coat Chips: These chips go deeper, exposing the colored layer beneath the clear coat. You’ll see the actual color of your car is affected.
- Primer/Metal Chips: These are the deepest type of chip, reaching the metal underneath the paint layers. These are the most susceptible to rust and require immediate attention.
Gathering Your Supplies: Tools for the Job
Having the right tools and materials on hand will make the repair process smoother and more efficient. Here’s a list of what you’ll need:
- Touch-up Paint: Ensure you get the correct color code for your car.
- Primer (for deep chips): Use an automotive primer designed for metal.
- Fine-grit Sandpaper (2000-3000 grit): For smoothing the repaired area.
- Rubbing Compound: For polishing and blending the repair.
- Wax: To protect the repaired area and restore shine.
- Applicator Pads: For applying rubbing compound and wax.
- Masking Tape: To protect the surrounding paint.
- Cleaning Solution (Isopropyl Alcohol): To degrease the area.
- Soft Microfiber Cloths: For cleaning and drying.
Repairing the Chip: A Step-by-Step Guide
Step 1: Cleaning the Area
Thoroughly clean the chipped area with a cleaning solution like isopropyl alcohol to remove any dirt, grease, or wax. This ensures proper adhesion of the touch-up paint.
Step 2: Applying Primer (if necessary)
If the chip has reached the metal, apply a thin layer of automotive primer to the exposed area. Let it dry completely according to the manufacturer’s instructions. If the damage is significant and your car paint is peeling, consider researching peeling car paint repair cost to understand professional repair options.
Step 3: Applying Touch-Up Paint
Carefully apply the touch-up paint to the chip, building up thin layers if needed. Avoid applying too much paint at once, as it can lead to drips and unevenness. Allow each layer to dry completely before applying the next. For small chips, a touch-up paint pen can be very helpful. This allows for precise application and minimizes the risk of overfilling the chip. You can find more information on touch-up costs by exploring resources like small paint repair car cost.
Step 4: Sanding and Smoothing
Once the touch-up paint is completely dry (usually 24-48 hours), use fine-grit sandpaper (2000-3000 grit) to gently smooth out any imperfections or raised areas. Wet sanding is recommended for a smoother finish. Use light pressure and sand in a circular motion.
Step 5: Polishing and Waxing
After sanding, use rubbing compound and an applicator pad to polish the repaired area, blending it seamlessly with the surrounding paint. Follow this up with a layer of wax to protect the repair and restore the shine to your car’s finish. If you’re in certain areas, you may want to search for local specialists, for instance, car paint repair stourbridge or car paint repair colchester for location-specific services.
Conclusion: Maintaining Your Car’s Paint
Knowing how to repair a chip in a car’s paint is a valuable skill for any car owner. By following these steps and using the right products, you can effectively repair minor paint chips, prevent rust, and maintain your car’s appearance. Addressing these small imperfections promptly can save you from more costly repairs in the long run.
FAQ
-
How long does it take for touch-up paint to dry? Typically, touch-up paint takes 24-48 hours to dry completely.
-
Can I use nail polish to repair a car paint chip? No, nail polish is not formulated for automotive paint and won’t provide a durable or long-lasting repair.
-
What if the chip is larger than a dime? For larger chips or more complex damage, it’s best to consult a professional auto body repair shop.
-
Where can I find the correct touch-up paint for my car? Your car’s paint code can usually be found on a sticker inside the driver’s side door jamb or in the owner’s manual.
-
What should I do if the chip has rusted? If the chip has already started to rust, you’ll need to remove the rust before applying primer and touch-up paint.
Need Help? Contact us via WhatsApp: +1(641)206-8880, or Email: [email protected]. Our customer service team is available 24/7.


