Completing missions is key to progressing in Modern Warfare 3 Zombies (MWZ), and the Tier 1 Road Rage mission presents a unique challenge: repairing a car tire. While it might sound straightforward, many players find themselves scratching their heads on how to actually execute this task. Alongside running over hordes of zombies, tire repair is essential to complete Road Rage and unlock further challenges in MW3 Zombies.
This guide will walk you through the simple steps to repair a tire in MW3 Zombies, ensuring you can quickly complete the Road Rage mission and move on to destroying Mercenary Convoys in the Interceptor mission.
Getting Started: Breaking a Tire in MW3 Zombies
Before you can repair a tire, you need a flat tire! You won’t find vehicles conveniently spawning with damaged tires in MWZ. To initiate the repair process, you’ll need to intentionally damage a tire on a drivable vehicle. Here’s how:
-
Find a Drivable Vehicle: Locate any car, truck, or ATV in the MWZ map. These are usually easily found on roads and near buildings.
-
Equip a Weapon: Switch to any weapon in your loadout. It doesn’t matter what type of gun you use; any firearm will work.
-
Aim at a Tire: Approach the vehicle and aim your weapon at one of the tires.
-
Shoot the Tire: Fire at the tire until it bursts. You’ll visually see the tire deflate and become flat. You might hear a distinct popping sound as well.
Step-by-Step Guide: Repairing Your Flat Tire in MWZ
Now that you’ve successfully flattened a tire, repairing it is surprisingly easy. Follow these steps to get your vehicle back in action:
-
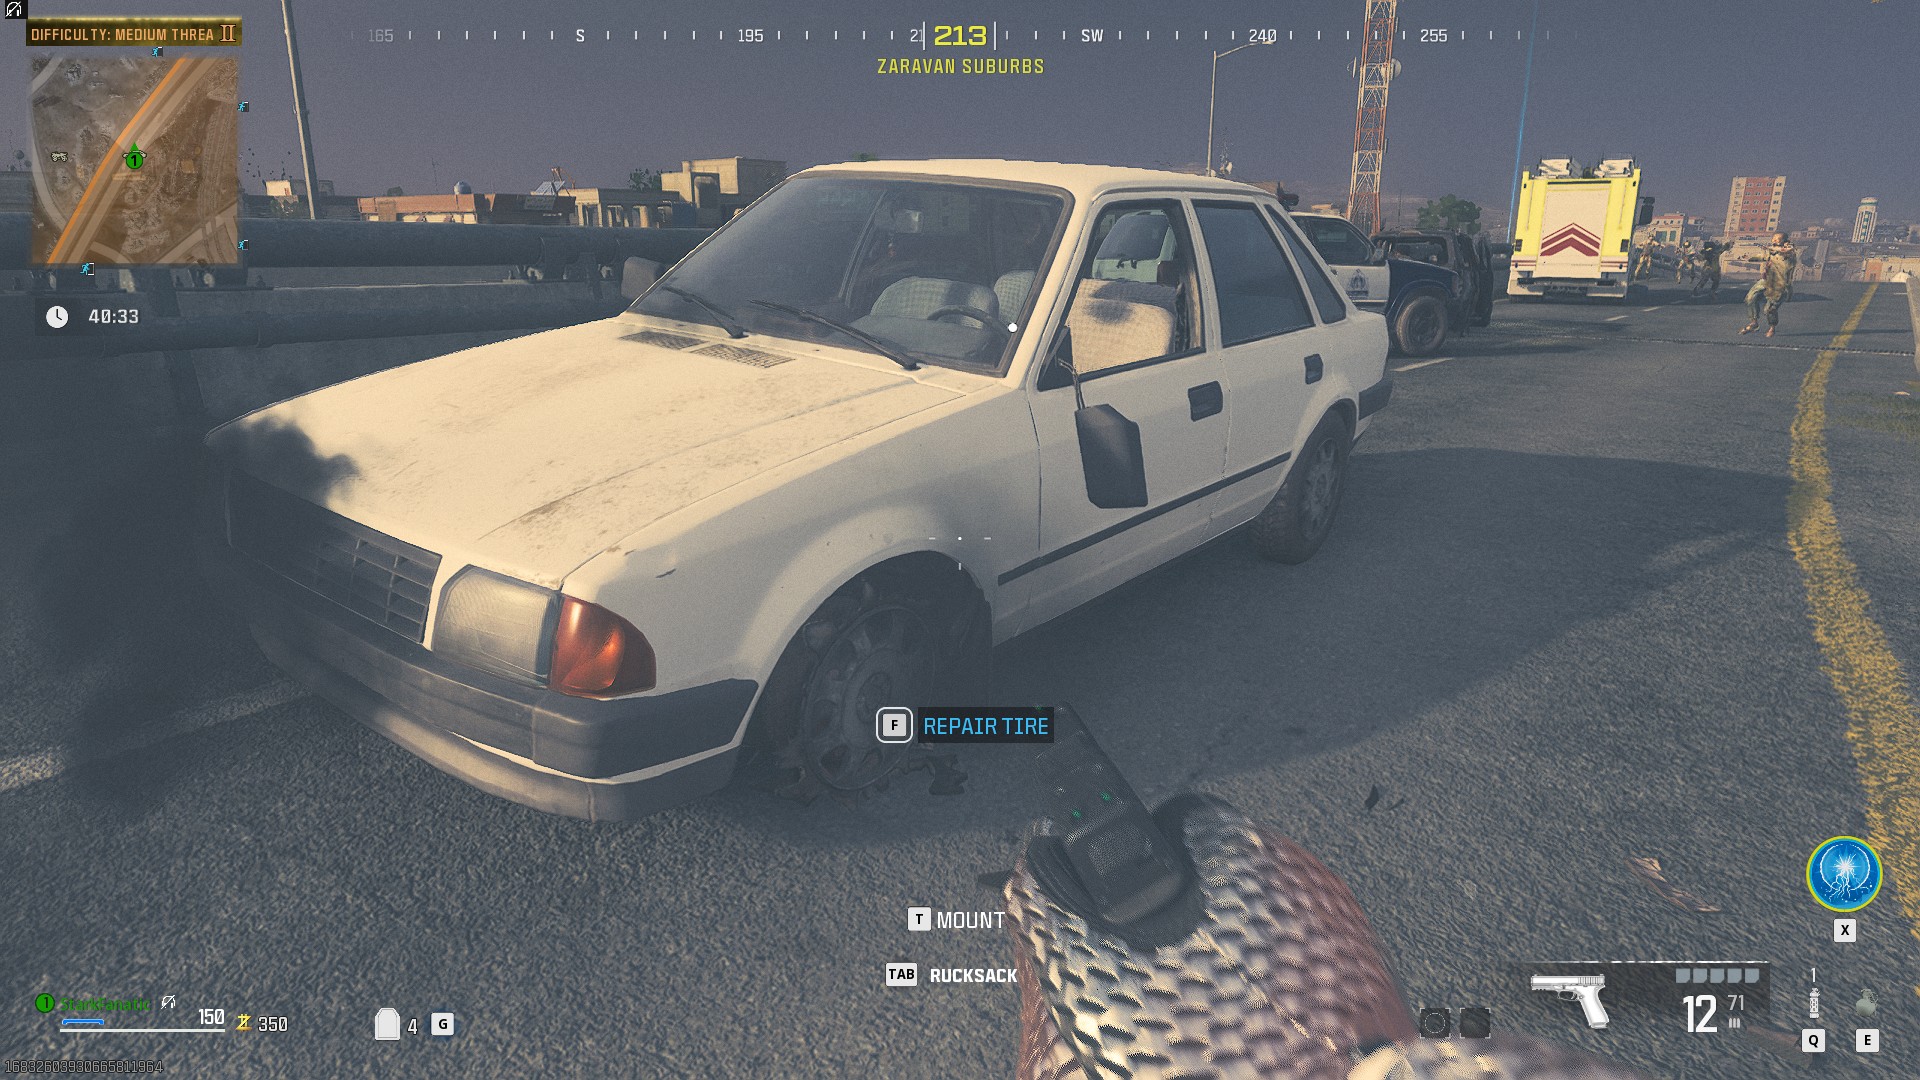
Approach the Damaged Tire: Walk towards the flat tire you just created.
-
Look for the Prompt: As you get close to the damaged tire, a prompt will appear on your screen. This prompt will change from the usual “Enter Vehicle” to “Repair Tire.”
-
Hold the Interact Button: Press and hold your interact button. This is the same button you use to enter vehicles, open doors, and interact with objects in MW3. The specific button will depend on your platform and control scheme (e.g., ‘E’ on PC, ‘X’ on PlayStation, ‘A’ on Xbox).
-
Wait for Repair Completion: Keep holding the interact button until the tire is fully repaired. This process only takes a few seconds, and you’ll see the tire visually reinflate back to its normal state.
That’s it! You’ve successfully repaired a car tire in MW3 Zombies. This simple action ticks off one of the objectives in the Road Rage mission.
Completing the Road Rage Mission: Zombie Kills with Your Car
Repairing a tire is only half of the Road Rage mission. The other part requires you to eliminate 30 zombies using a vehicle. Here’s how to quickly achieve this:
-
Find a Vehicle (Again): If your current vehicle is too damaged, find another drivable vehicle. Larger vehicles like trucks are more effective for running over zombies, but any car will work.
-
Locate Zombie Hotspots: Drive around the MWZ map to find groups of zombies. Roads and areas with ongoing electric storms often have higher zombie densities.
-
Run Over Zombies: Drive directly into groups of zombies to kill them. You’ll see a kill confirmation for each zombie you eliminate with your vehicle.
- Repeat Until Mission Completion: Continue driving around and running over zombies until you reach 30 kills. Keep an eye on the mission progress to track your kills.
Once you have both repaired a tire and achieved 30 zombie kills with a vehicle, the Road Rage mission will be marked as complete. You can then move on to Tier 2 missions and further explore the challenges and rewards in Modern Warfare 3 Zombies.
By following these simple steps, you can easily repair a car tire and complete the Road Rage mission in MW3 Zombies. Get back in the driver’s seat and keep pushing forward in your MWZ journey!