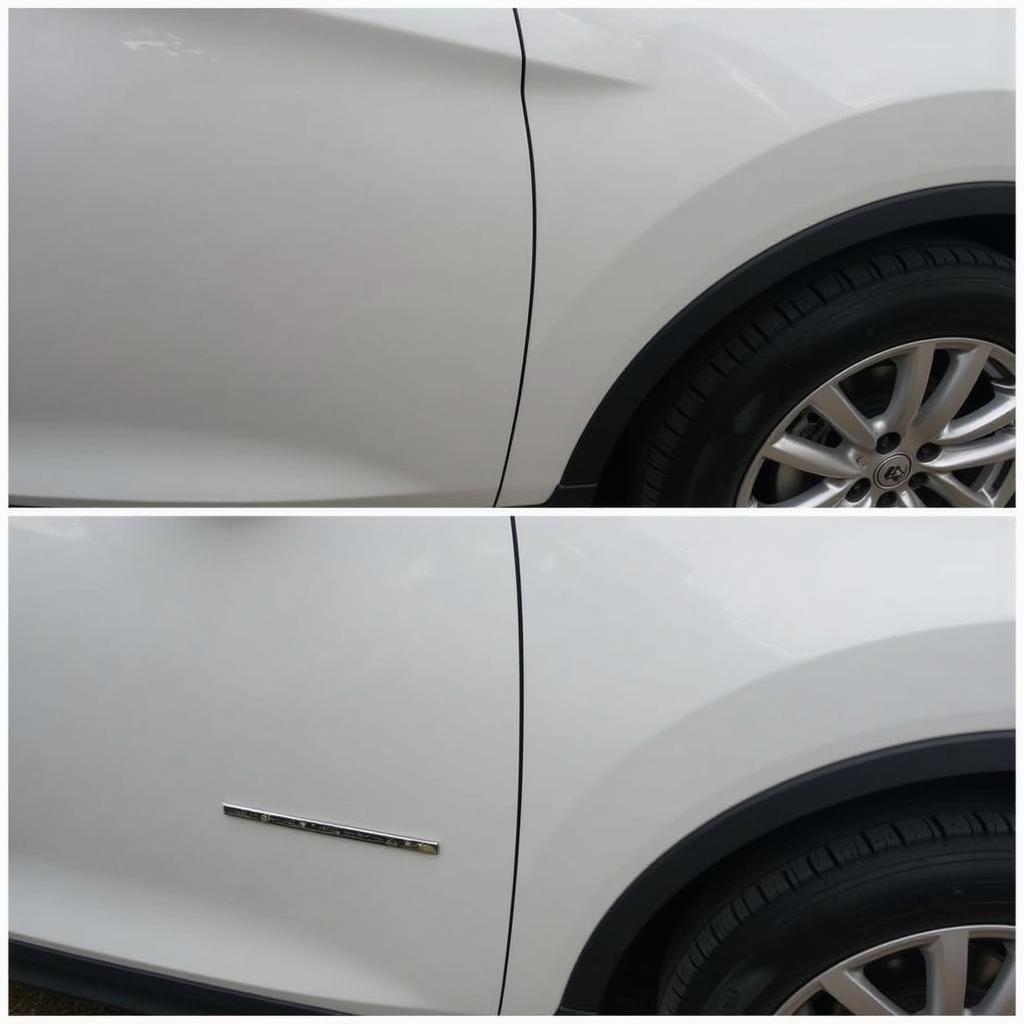
Airbrushing a car for repairs offers a professional, seamless finish, unlike traditional methods. It allows for precise color matching and blending, making it ideal for spot repairs, fixing scratches, or even creating custom designs. This guide will cover everything you need to know about how to paint a car with airbrush repair, from preparation to the final clear coat.
Learning how to paint a car with airbrush repair requires attention to detail and patience. However, the rewarding results of a flawless finish are well worth the effort. This method allows for a much finer application of paint compared to spray cans or rollers, resulting in less overspray and a more even coat. A proper setup is crucial for successful airbrush car painting.
After you gather your materials, preparing the car’s surface is the next critical step. how to repair the paint on a car will give you a deeper look into the repair process if you are starting with deeper damage. Thoroughly cleaning the area to be painted is essential to remove any dirt, grease, or wax. Any imperfections, like scratches or dents, should be addressed before painting. Sanding the area creates a smooth surface for the primer and paint to adhere to.
Essential Tools and Materials for Airbrush Car Painting
Gathering the right tools and materials is the first step. You’ll need a quality airbrush kit, specifically designed for automotive painting. An airbrush kit for car paint repair usually includes the airbrush, compressor, hoses, and cleaning tools. The appropriate automotive paint, primer, and clear coat are also necessary. Make sure to choose products compatible with each other and suitable for your car’s make and model. Safety equipment, such as a respirator and gloves, is paramount to protect yourself from harmful fumes and chemicals. Other necessary items include masking tape, sandpaper, tack cloth, and mixing cups.
Preparing the Car for Airbrush Painting
Cleaning the car’s surface is vital. Use a dedicated car wash soap and water, followed by a wax and grease remover. Masking off areas you don’t want to be painted is equally important. Use high-quality masking tape and paper to protect surrounding areas. Next, sand the area to be painted with progressively finer grits of sandpaper. Start with a coarser grit to remove imperfections and then move to finer grits for a smooth finish.
Priming and Painting Techniques
Applying a thin, even coat of automotive primer is essential for proper paint adhesion. Allow the primer to dry completely according to the manufacturer’s instructions. After the primer has dried, lightly sand it with fine-grit sandpaper to create a smooth surface for the paint. Mix the automotive paint according to the manufacturer’s directions, ensuring the correct consistency for airbrushing. Apply several thin coats of paint, allowing each coat to dry before applying the next. This technique prevents runs and ensures an even color.
Applying the Clear Coat and Finishing Touches
Once the color coat is dry, apply a few thin coats of clear coat to protect the paint and give it a glossy finish. Allow the clear coat to dry completely, typically 24-48 hours. After the clear coat has dried, you can lightly wet sand and polish the painted area for an even smoother, more professional finish. This step is optional but highly recommended for optimal results.
Troubleshooting Common Airbrush Painting Issues
Dealing with issues like orange peel, runs, or overspray requires patience and understanding. Orange peel refers to a textured finish, often caused by improper paint consistency or spraying technique. Runs occur when too much paint is applied in one area. Overspray can be minimized by controlling the air pressure and spraying distance. Addressing these issues may involve wet sanding and reapplying the affected coats.
 Finished Airbrush Car Repair
For small paint chip repairs, you may find our guide on estimated car small paint chip repair quarter inch to be helpful.
Conclusion
Mastering how to paint a car with airbrush repair offers a rewarding way to achieve professional-looking results for various car paint issues. From minor scratches to more significant damage, the precision and control of an airbrush allow for seamless repairs. By following the steps outlined in this guide and practicing your technique, you can achieve a flawless finish that will make your car look its best.
FAQ
- What type of airbrush is best for car painting?
- What is the ideal air pressure for airbrushing car paint?
- How do I clean my airbrush after painting?
- What is the difference between single-stage and two-stage car paint?
- How long does it take for car paint to fully cure?
- Can I airbrush car paint in humid conditions?
- What type of respirator should I use when airbrushing car paint?
Do you have other questions about car repair? Here are some other helpful topics: airbrush kit for car paint repair and how to repair the paint on a car.
Need further assistance? Contact us via WhatsApp: +1(641)206-8880, or Email: [email protected]. Our customer service team is available 24/7.

