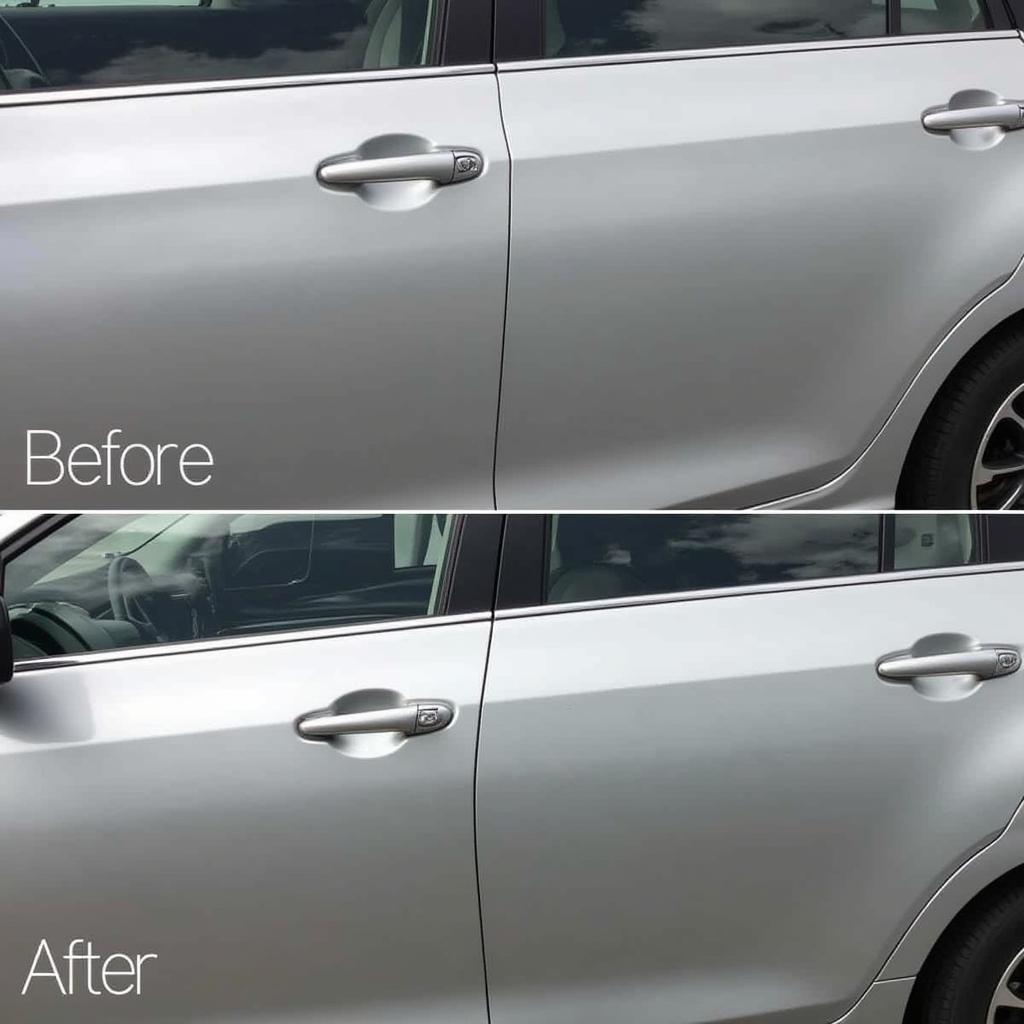
Perfectly blending a repaired paint edge is crucial for a professional-looking finish. Whether you’re fixing a minor scratch, a paint chip, or a larger area of damage, knowing how to blend paint car repair edge will save you time and money. This guide will equip you with the knowledge and techniques to achieve a seamless blend, making your car look as good as new.
Repairing car paint can seem daunting, but with the right approach and information, it becomes a manageable task. Check out our guide on how to repair paint scratch on car with spray for tips on dealing with scratches. This article will delve into the specifics of blending the repaired edge seamlessly into the surrounding paintwork.
Understanding the Importance of Blending
Blending involves gradually tapering the newly applied paint into the existing finish. This technique minimizes the visibility of the repair by creating a smooth transition between the new and old paint. Without proper blending, the repaired area will stand out like a sore thumb, diminishing the aesthetic appeal of your vehicle.
What are the benefits of blending? A smooth, invisible repair. Increased car value. A sense of accomplishment. Blending is a skill that enhances any car repair job.
Materials and Tools Required
Before you begin, gather the necessary materials and tools. This will ensure a smooth and efficient repair process. You’ll need:
- Sandpaper (various grits)
- Primer
- Touch-up paint (matched to your car’s color)
- Clear coat
- Masking tape and paper
- Rubbing compound
- Polishing compound
- Microfiber cloths
- Spray gun (optional, depending on the size of the repair)
Having the right tools, like a specialized car paint repair aerosol, can significantly improve the quality of your work. For smaller chips, you can refer to our guide on how to repair paint chips on car.
Step-by-Step Blending Process
- Preparation: Clean the area thoroughly and mask off the surrounding areas to protect them from overspray.
- Sanding: Sand the damaged area with progressively finer grits of sandpaper to smooth out any imperfections and create a feathered edge.
- Priming: Apply a thin coat of primer to the sanded area. This provides a uniform base for the touch-up paint.
- Applying Touch-Up Paint: Apply several thin coats of touch-up paint, allowing each coat to dry before applying the next. Build up the paint gradually to match the surrounding area.
- Blending the Edge: Use a blending solvent or a specialized blending clear coat to soften the edge of the new paint and create a seamless transition.
- Clear Coat Application: Apply several thin coats of clear coat to protect the repair and enhance the gloss.
- Wet Sanding and Polishing: Once the clear coat has cured, wet sand with very fine grit sandpaper and then polish to achieve a perfect finish.
For new car owners, tackling even minor paint chips can be stressful. We offer advice on repairing paint chip new car issues. You can also explore resources specific to car makes, like our guide on VW car paint repair.
Tips for Successful Blending
- Use thin coats of paint to avoid runs and drips.
- Maintain a consistent distance between the spray gun and the surface.
- Practice on a less visible area of the car before attempting the actual repair.
- Patience is key. Take your time and allow each coat to dry properly.
“Blending requires a delicate touch and attention to detail,” says renowned auto body specialist, John Smith. “The goal is to create an invisible repair that seamlessly integrates with the original paintwork.”
Conclusion
Mastering the art of how to blend paint car repair edge is a valuable skill for any car owner. By following these steps and tips, you can achieve professional-looking results and restore your car’s appearance to its former glory. Remember, a little patience and practice can make a big difference.
FAQ
- What is the best type of sandpaper to use for blending? Use wet/dry sandpaper with progressively finer grits, starting with 1500 and ending with 3000.
- Do I need a spray gun for blending? A spray gun is recommended for larger repairs, but for small chips or scratches, aerosol cans can be used.
- How long should I wait between coats of paint? Allow each coat to dry completely according to the manufacturer’s instructions.
- What is a blending solvent? A blending solvent helps to soften the edge of the new paint and create a smooth transition.
- Can I blend paint in direct sunlight? Avoid painting in direct sunlight as it can cause the paint to dry too quickly and unevenly.
- How can I match my car’s paint color perfectly? Consult your car’s owner’s manual or a reputable automotive paint supplier.
7.. What should I do if I’m unsure about the blending process? Consult a professional auto body shop for assistance.
Common Blending Scenarios
- Small rock chips: These are often easily addressed with touch-up paint and careful blending.
- Scratches: Depending on the depth, scratches might require sanding and priming before blending.
- Larger areas of damage: These usually require a more involved process, including potentially using a spray gun and blending solvent.
Related Articles
You might find these other articles helpful:
- How to repair clear coat scratches
- DIY car paint repair tips
- Choosing the right car paint
Need help? Contact us via WhatsApp: +1(641)206-8880 or Email: [email protected]. We offer 24/7 customer support.


