
Running Windows on your MacBook via Boot Camp offers flexibility, but it’s not without its quirks. One common headache users encounter is the dreaded “Preparing Automatic Repair” loop in Windows 10. This issue can leave your Windows partition inaccessible and disrupt your workflow. Based on real user experiences and troubleshooting, this guide will walk you through potential fixes to get your Windows Boot Camp installation back on track.
Understanding the “Preparing Automatic Repair” Loop in Boot Camp
The “Preparing Automatic Repair” screen is Windows’ attempt to automatically fix startup problems. However, when it gets stuck in a loop, it indicates a more persistent issue preventing Windows from booting properly. In the context of MacBooks running Boot Camp, this problem often arises after Windows updates, particularly those involving driver updates that might clash with Apple’s hardware or Boot Camp drivers.
This issue isn’t isolated. Many users have reported similar experiences, especially after installing Windows updates and then restarting their systems. The loop prevents access to the operating system and can be frustrating for users relying on both macOS and Windows on their MacBooks.
Troubleshooting Steps to Resolve the Automatic Repair Loop
If you’re facing this issue, here are several troubleshooting steps you can attempt to resolve the “Preparing Automatic Repair” loop on your MacBook’s Boot Camp partition:
1. Accessing Command Prompt from Advanced Options
The first crucial step is to access the Command Prompt. When your MacBook is stuck in the “Preparing Automatic Repair” loop, you should eventually see an “Automatic Repair” screen with options. Navigate to Advanced options > Troubleshoot > Advanced options > Command Prompt. This will open a command-line interface where you can execute commands to diagnose and potentially fix the problem.
2. Utilizing SFC and DISM Commands
Once you have the Command Prompt open, you can use system file checker (SFC) and Deployment Image Servicing and Management (DISM) commands to repair corrupted system files, a common cause of boot issues.
-
Run SFC: Type
sfc /scannowand press Enter. This command will scan and attempt to repair corrupted Windows system files.sfc /scannowIf SFC cannot perform the operation or finds errors it can’t fix, proceed to DISM.
-
Run DISM: Use the DISM command to repair the Windows image. Type the following command and press Enter:
DISM /Online /Cleanup-Image /RestoreHealthThis command uses Windows Update to replace corrupted files. If you cannot boot into normal Windows, it’s possible that the offline repair using installation media might be necessary, though the online command is a good first step if your recovery environment is functional to some degree.
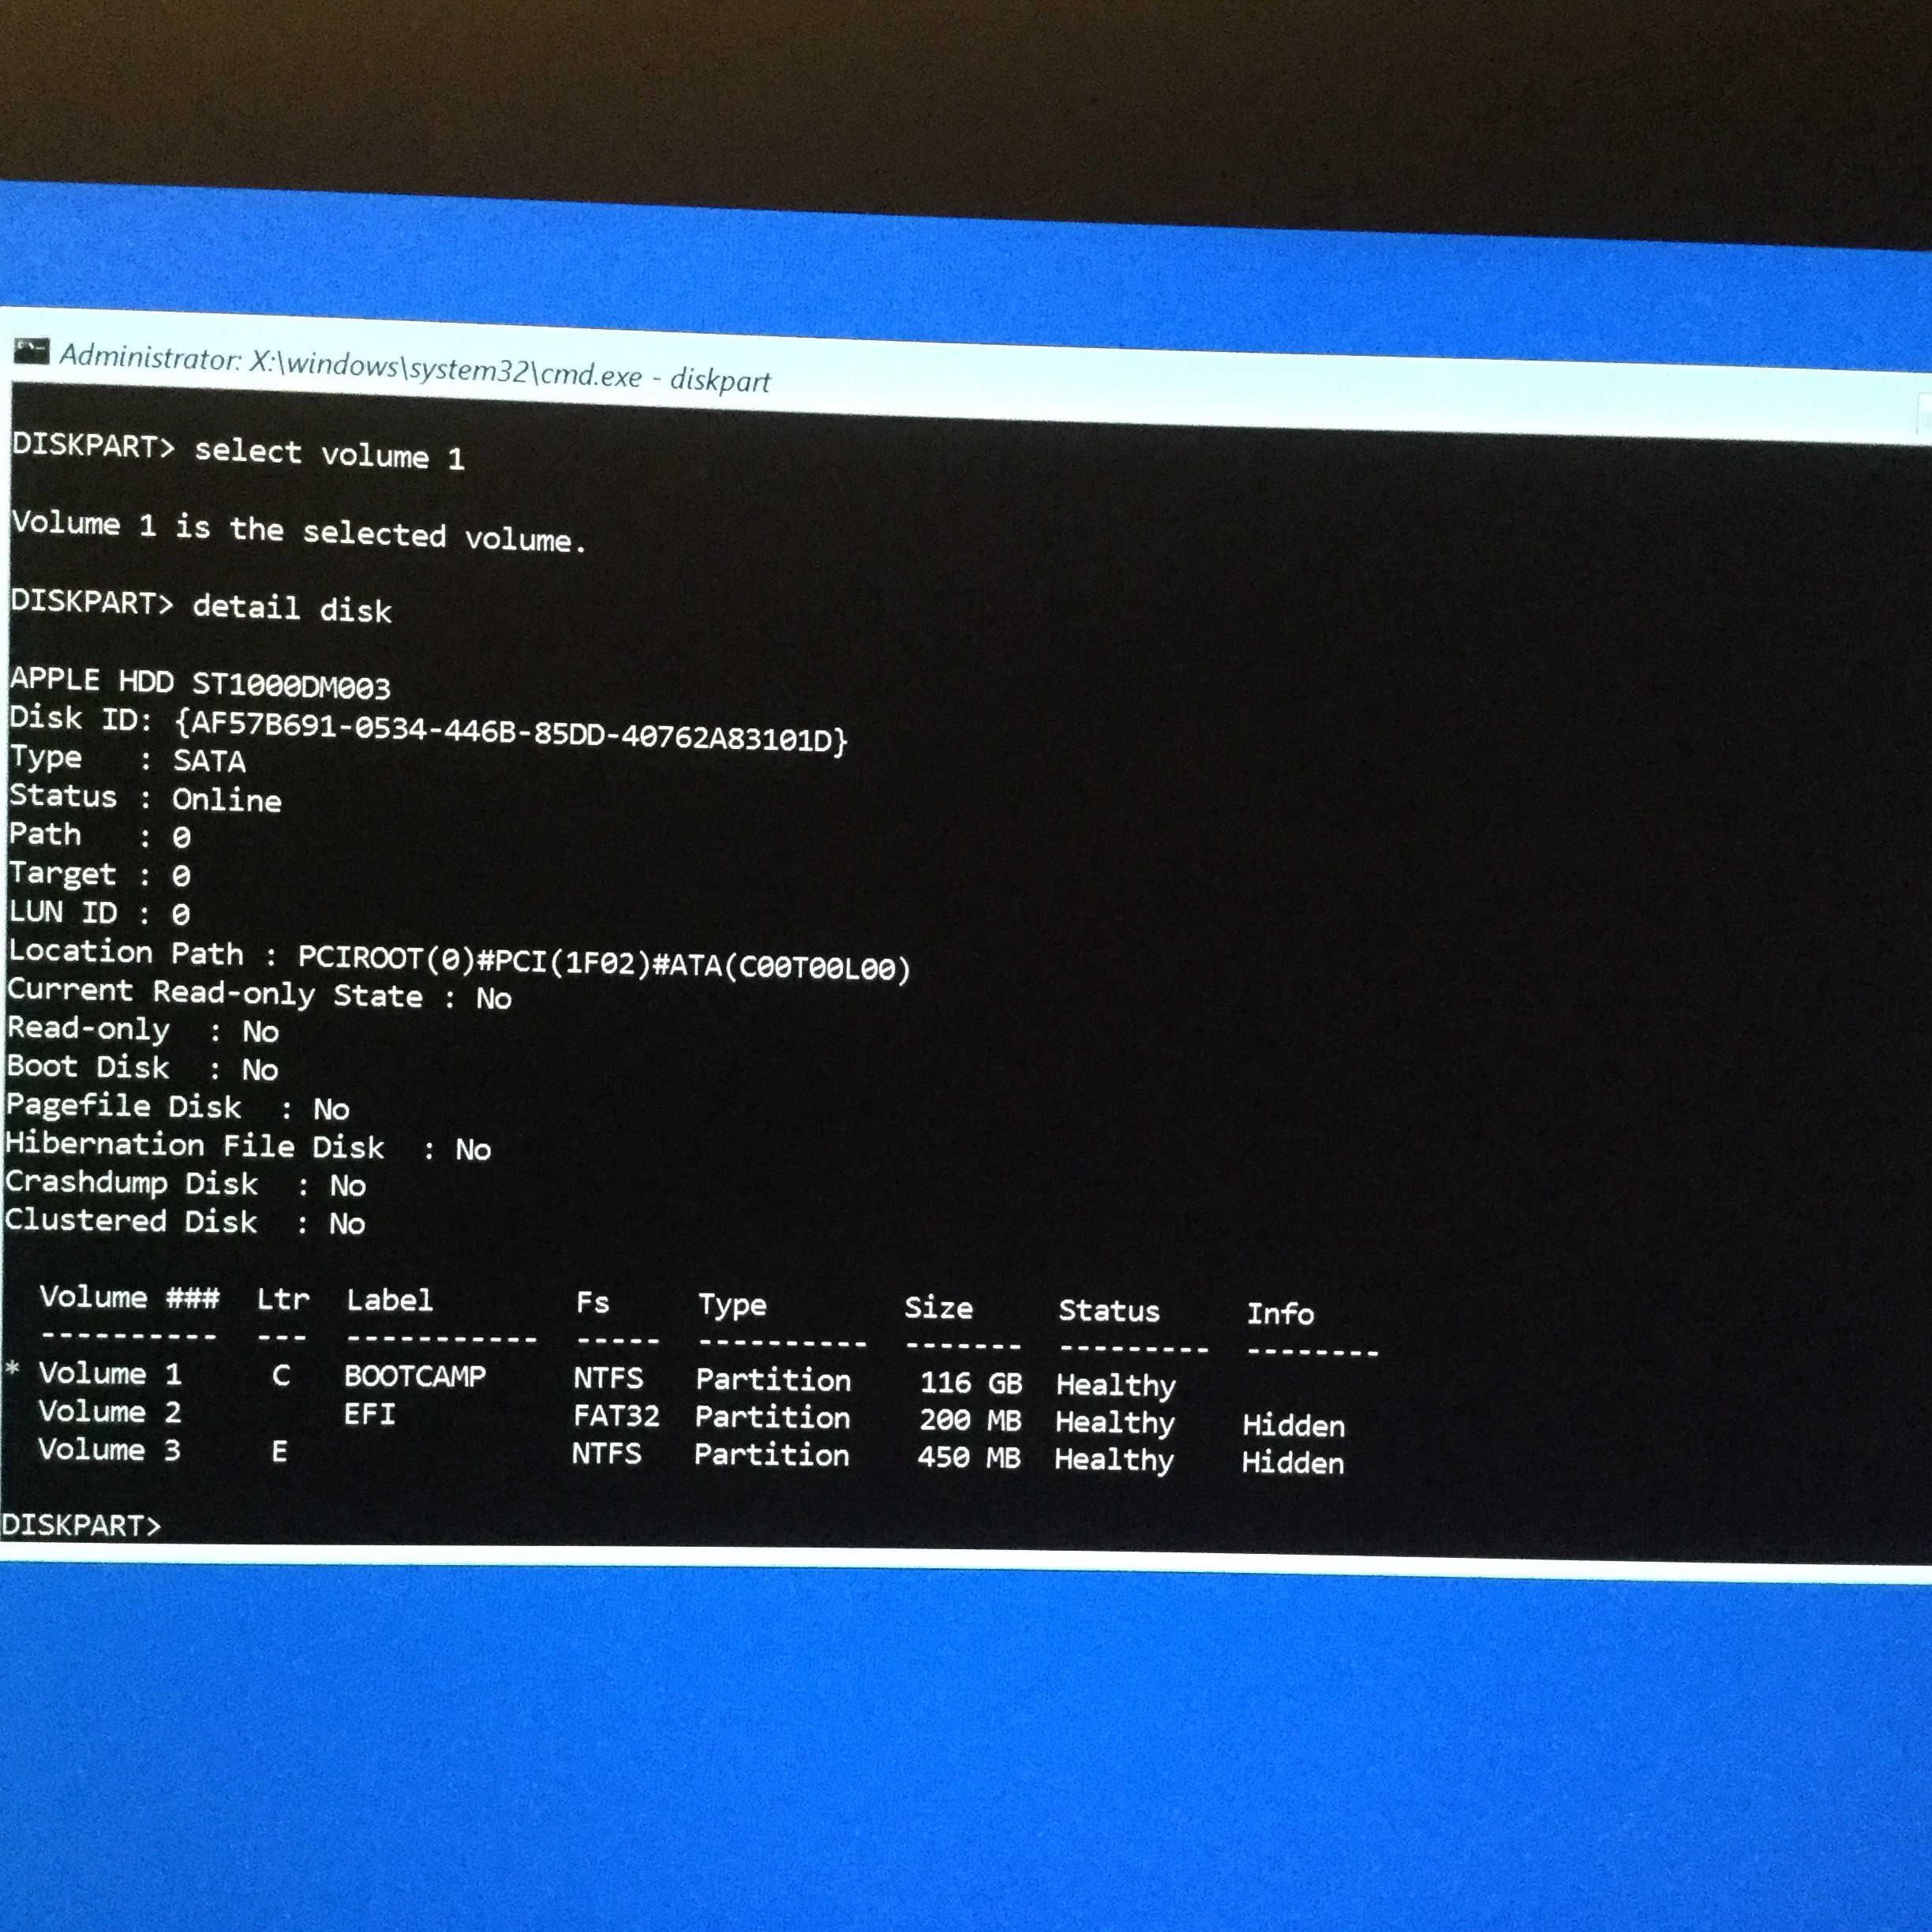
3. Checking Disk Attributes
In some cases, issues with disk partitions can cause boot problems. You can use diskpart to check and manage disk partitions.
-
Type
diskpartin the Command Prompt and press Enter. -
Then, type
list volumeto see a list of volumes. Identify your Windows partition. -
Type
select volume <volume number>(replace<volume number>with the number of your Windows partition). -
Type
attributes volumeto check the attributes of the selected volume and ensure there are no unusual settings that could be preventing boot.While this step is more advanced and might not directly fix the automatic repair loop, it can help identify underlying disk-related issues.
4. System Restore
If you have System Restore enabled, you can try reverting your system to a previous state before the issues began. In the “Advanced options” menu, navigate to Troubleshoot > Advanced options > System Restore. Follow the on-screen instructions to choose a restore point and initiate the system restore process.
5. Reinstalling Windows as a Last Resort
If none of the above steps work, reinstalling Windows might be necessary. This should be considered a last resort as it will erase your Windows partition.
-
Boot from your Windows installation media (USB or DVD).
-
Follow the installation steps. During installation, you may have the option to delete existing partitions. Be extremely cautious and ensure you select only the Boot Camp partition to avoid losing your macOS data.
-
After reinstalling Windows, you’ll need to reinstall Boot Camp drivers to ensure proper hardware functionality on your MacBook.
Preventing Future Automatic Repair Loops
To minimize the chances of encountering the “Preparing Automatic Repair” loop again, consider these preventative measures:
- Carefully Review Windows Updates: Before installing updates, especially driver updates, check for any known compatibility issues with Boot Camp or Apple hardware. Consider delaying driver updates if you are unsure.
- Manage Driver Updates: Use Device Manager to control driver updates. You can choose to manually update drivers and prevent Windows from automatically installing driver updates that might cause conflicts.
- Regular Backups: Regularly back up your Windows Boot Camp partition. This ensures that you can quickly restore your system to a working state if issues arise.
Conclusion
The “Preparing Automatic Repair” loop on a MacBook Boot Camp Windows installation can be a challenging issue. By systematically following these troubleshooting steps, from using command-line tools to considering a fresh installation, you can often resolve the problem and get back to using Windows on your Mac. Remember to take preventative measures to minimize the risk of this issue recurring in the future, especially regarding Windows updates and driver management.