
A sagging car headliner can be a real eyesore, detracting from your vehicle’s interior appeal. Beyond aesthetics, it can also be a nuisance and even a sign of underlying issues. Wondering how to fix a sagging headliner without the hassle and expense of complete removal? You’re in the right place. This guide will walk you through easy and effective DIY methods to restore your car’s headliner, saving you time and money. Let’s dive in and learn how to bring your car’s interior back to its best!
Understanding Your Car Headliner
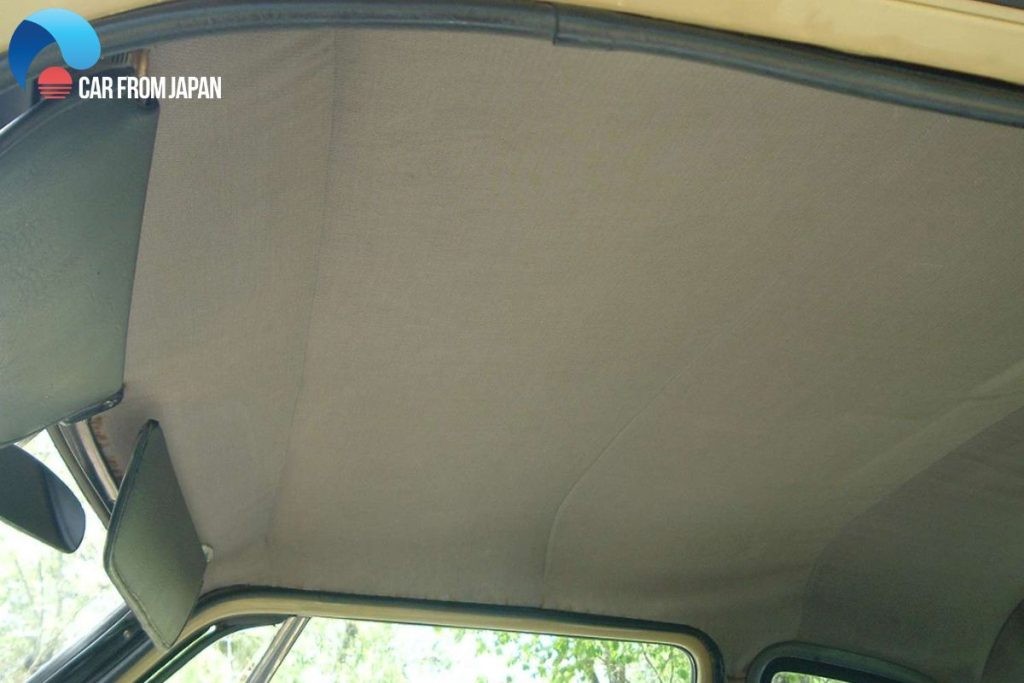
A car headliner, also known as headlining, is the fabric material affixed to the interior roof of your vehicle. It’s more than just a decorative element; it plays a crucial role in your car’s comfort and functionality. The headliner provides a smooth, finished look to the car’s roof frame, but it also acts as a sound insulator, reducing road noise and vibrations for a quieter cabin. Furthermore, it helps to regulate the interior temperature, providing a layer of insulation against both cold and heat from the outside environment.
Typically, a car headliner is constructed from multiple layers. A common component is polyurethane foam, which is often sprayed or laminated onto a rigid headliner board. This board is then mounted to the car’s roof frame. The foam layer provides cushioning, enhances sound absorption, and improves thermal insulation.
In essence, the headliner is a vital component for a comfortable and enjoyable driving experience. Without this layer, your car’s interior would be more susceptible to temperature fluctuations and external noise, impacting both comfort and the performance of your car’s audio system.
Common Causes of Car Headliner Sagging
Over time, you might notice your car’s headliner starting to sag, droop, or detach from the roof. This is a common problem, especially in older vehicles, and it’s often caused by the degradation of the adhesive that bonds the fabric to the headliner board. Exposure to harsh conditions and general wear and tear are major contributors to this issue. Let’s explore the main reasons why car headliners begin to sag:
Heat and Sunlight Exposure: Prolonged exposure to intense heat and direct sunlight is a primary culprit behind sagging headliners. The adhesive used to hold the headliner fabric in place is susceptible to high temperatures. When your car’s roof gets hot, especially in sunny climates, this adhesive can soften and break down, leading to the fabric detaching and sagging.
Moisture and Humidity: Moisture is another significant factor that can damage your headliner. Humidity, leaks from sunroofs or windows, or even condensation can seep into the headliner material. This moisture is absorbed by the foam backing, causing it to lose its structural integrity and shape. The result is often warping, drooping, and ultimately, sagging of the headliner fabric.
Age and Adhesive Degradation: Like any material, the adhesives used in car headliners have a lifespan. Over time, these adhesives naturally degrade and lose their bonding strength. This aging process, combined with the stresses of temperature changes and vibrations from driving, contributes to the headliner fabric separating from its backing board.
Poor Initial Installation: In some cases, a sagging headliner can be attributed to inadequate installation from the factory or during a previous repair. If insufficient adhesive was used, or if improper techniques were employed during installation, the headliner is more likely to sag prematurely.
Physical Stress and Damage: While less common, physical stress can also contribute to headliner sagging. This can occur from passengers, especially children or pets, pulling or scratching at the headliner fabric. Such actions can weaken the adhesive bonds and accelerate the sagging process.
DIY Methods: How to Fix Sagging Headliner Without Removal
Replacing the entire headliner can be a costly and time-consuming job, often requiring professional installation. Fortunately, for many cases of sagging headliners, you can achieve effective repairs without removing the headliner altogether. These DIY methods are budget-friendly and can restore the look and feel of your car’s interior. Here are some popular and effective techniques for how to repair car headliner while it’s still in place:
1. Regluing the Sagging Headliner
For minor sagging, especially around edges or corners, regluing can be a simple and effective solution. This method is best suited for areas where the fabric is partially detached but not severely drooping. To fix headliner in car without removing using glue, you’ll need a specialized headliner adhesive spray. Regular glue is generally not strong enough or flexible enough for this application.
Steps for Regluing:
- Prepare the Area: Clean the sagging area of the headliner and the exposed backing board. Remove any loose debris or old adhesive. You can use a soft brush or a vacuum cleaner with a brush attachment.
- Apply Adhesive: Shake the headliner adhesive spray can well. Hold the can about 6-8 inches away from the headliner and apply a light, even coat of adhesive to both the back of the sagging fabric and the corresponding area on the headliner board. Avoid oversaturating the fabric, as this can cause bleed-through or stiffness.
- Reattach the Fabric: Allow the adhesive to become slightly tacky, as per the product instructions (usually a minute or two). Carefully press the sagging fabric back into place against the headliner board. Work from the center outwards to smooth out any wrinkles or air bubbles.
- Secure and Dry: Use a clean cloth or a small roller to gently press the fabric firmly against the board, ensuring good contact. You can use painter’s tape to hold the fabric in place while the adhesive dries completely. Drying times vary depending on the adhesive, so refer to the product instructions.
2. Using Headliner Pins
For more significant sagging, or when you need a quick and temporary fix, headliner pins are a practical option. These pins, sometimes called sequin pins or twist pins, are designed to hold the fabric back up against the headliner board. This method is inexpensive and requires minimal tools or skills.
Steps for Using Headliner Pins:
- Choose Your Pins: Select headliner pins that are appropriate for automotive use. Clear-headed twist pins are a popular choice as they are less visible and won’t damage the fabric excessively.
- Position the Fabric: Gently push the sagging headliner fabric back up into its original position against the headliner board.
- Insert Pins: Starting at the most sagged areas, insert the pins through the fabric and into the foam backing board. Twist or push the pins in securely to hold the fabric in place.
- Arrange Pins: You can arrange the pins in a pattern or evenly spaced to create a more visually appealing and uniform look. Distribute the pins as needed to support the entire sagging area.
3. Employing Clear-Headed Twist Pins (Saggy Stoppers)
Clear-headed twist pins, often marketed as “saggy stoppers,” are specifically designed for repairing sagging headliners. They offer a more robust and less obtrusive solution compared to standard pins. These pins typically have a clear plastic head and a corkscrew-like shaft that securely grips the headliner board.
Steps for Using Saggy Stoppers:
- Identify Sagging Areas: Pinpoint the areas where the headliner is sagging most noticeably.
- Position and Insert: Hold the clear head of the twist pin and gently push the pointed end through the sagging fabric and into the headliner board.
- Twist to Secure: Twist the pin clockwise to engage the corkscrew threads into the board. This creates a firm hold, pulling the fabric back up and securing it.
- Space Evenly: Use multiple saggy stoppers, spacing them evenly across the affected area to provide uniform support and lift to the headliner fabric. These pins are particularly useful for larger areas of sagging or when the entire headlining is starting to droop.
4. Steam Cleaner and Paint Roller Technique
For more widespread sagging, or when you want to reactivate the original adhesive, a combination of a steam cleaner and a paint roller can be surprisingly effective. The steam cleaner gently heats and softens the old adhesive, allowing it to regain some of its stickiness. The paint roller helps to smooth the fabric back into place and ensure even adhesion.
Steps for Steam Cleaner and Roller Method:
- Prepare the Area: Ensure the area is clean and free of loose debris.
- Apply Steam: Using a car steam cleaner with an upholstery attachment, gently apply steam to the sagging headliner fabric. Move the steam cleaner slowly and evenly over the area. The steam should warm the fabric and the adhesive underneath, but avoid over saturating or overheating the material.
- Roll and Smooth: Immediately after steaming an area, use a clean paint roller to gently roll over the fabric, pressing it back against the headliner board. Work in sections, steaming and rolling gradually.
- Allow to Cool and Set: Let the headliner cool and the adhesive to reset. Avoid touching or disturbing the repaired area until it’s completely dry and the fabric is firmly in place. This method works best for edges and areas where the original adhesive is still partially intact.
Preventing Future Headliner Sagging
Knowing how to fix a drooping headliner is helpful, but preventing it from happening again is even better. While some factors like age and environmental conditions are unavoidable, there are several steps you can take to prolong the life of your car’s headliner and minimize the risk of sagging. Proactive car care can make a significant difference. Here are some preventative measures:
- Avoid Extreme Heat: Whenever possible, park your car in shaded areas or garages, especially during hot and sunny weather. Direct sunlight and high temperatures are the biggest enemies of headliner adhesive. Using sunshades for your windshield and windows can also help reduce interior heat buildup.
- Maintain a Cool Interior: Utilize your car’s air conditioning system, especially in hot climates, to keep the interior temperature moderate. This reduces stress on the headliner adhesive and materials.
- Control Humidity: Address any leaks promptly. Check your car’s seals around windows and sunroofs regularly to ensure they are in good condition and preventing water from entering. If you live in a humid climate, consider using moisture absorbers inside your car to reduce interior humidity levels.
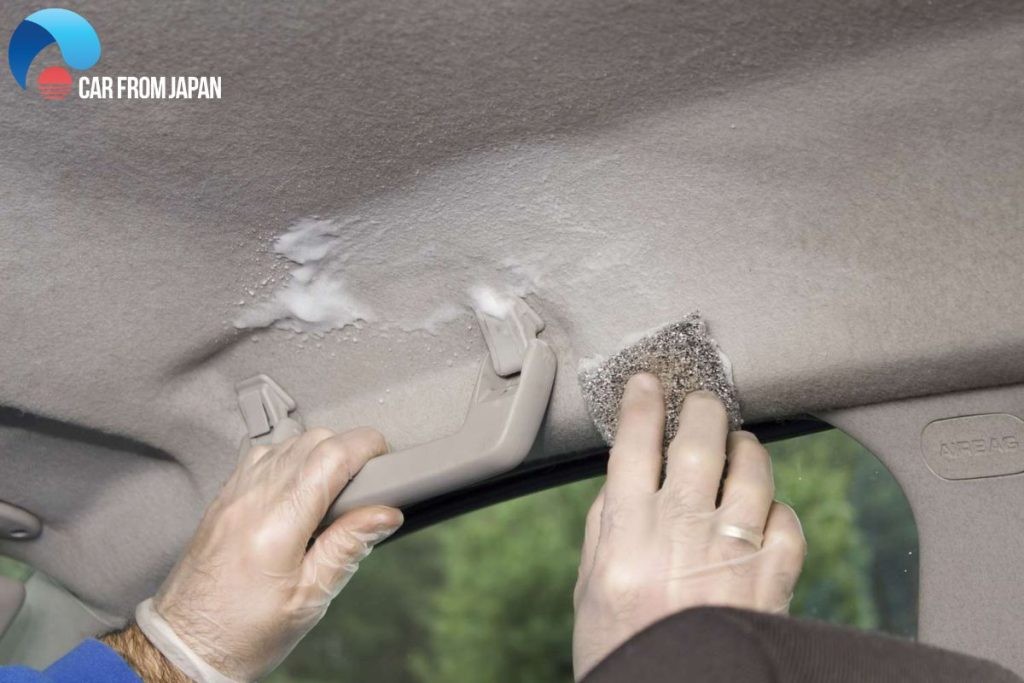
- Gentle Cleaning: When cleaning your car’s interior, be gentle around the headliner. Avoid harsh chemicals or abrasive cleaners. Use a soft brush or vacuum cleaner attachment to remove dust and light dirt. For spot cleaning, use a mild upholstery cleaner sparingly.
- Protect from Physical Damage: Educate children and pets to avoid touching or pulling on the headliner. Be mindful when loading or unloading items into your car, ensuring nothing rubs or snags on the headliner fabric.
- Regular Inspections: Periodically inspect your headliner for any early signs of sagging, especially around the edges or in areas exposed to direct sunlight. Addressing minor issues early can prevent them from becoming major problems.
When to Consider Professional Headliner Replacement
While DIY methods are effective for many cases of sagging headliners, there are situations where professional replacement might be the best or only option. If the sagging is extensive, the headliner board itself is damaged, or you’re not comfortable with DIY repairs, seeking professional help is advisable.
Situations where professional replacement is recommended:
- Severely Damaged Headliner Board: If the headliner board is warped, cracked, or water-damaged, simply re-gluing the fabric may not be sufficient. A professional can replace the entire headliner assembly, including the board.
- Extensive Sagging and Deterioration: If the headliner fabric is extensively sagging, torn, or heavily stained, replacement might be more practical than trying to repair large areas.
- Complex Headliner Design: Some vehicles, especially luxury models or those with sunroofs, have complex headliner designs that are challenging to repair DIY. Professional installers have the experience and tools to handle these intricate systems.
- Desire for a Perfect Finish: If you’re aiming for a factory-new look and want to ensure a flawless finish, professional replacement is the way to go. Professionals have the expertise to achieve seamless results.
- Lack of DIY Confidence or Time: If you’re not comfortable with DIY car repairs or simply don’t have the time, hiring a professional will save you effort and ensure the job is done correctly.
Cost of Professional Headliner Replacement
The cost to replace a car headliner professionally can vary depending on several factors, including the type of vehicle, the complexity of the headliner design, and labor rates in your area. Generally, you can expect to pay anywhere from a few hundred to over a thousand dollars for a professional headliner replacement.
Here’s a general cost summary based on vehicle type and complexity:
| Vehicle Type | Estimated Replacement Cost (USD) |
|---|---|
| Simple Sedan/Hatchback/Coupe (e.g., Corolla, Civic) | $300 – $750 |
| Typical SUV/Crossover (e.g., RAV4, CR-V) | $500 – $900 |
| Luxury Vehicle (e.g., BMW, Mercedes) | $1,000 – $6,000+ |
These are approximate ranges, and actual costs may vary. It’s always best to get quotes from local auto upholstery shops or mechanics for a more accurate estimate specific to your vehicle.
Conclusion
A sagging car headliner, while seemingly a minor issue, can detract from your car’s overall appearance and value. Fortunately, as we’ve discussed, there are several effective DIY methods for how to repair car headliner sagging without resorting to complete removal and replacement. Techniques like regluing, using pins, saggy stoppers, and the steam cleaner/roller method can often restore your headliner and save you significant money.
By understanding the causes of headliner sagging and implementing preventative measures, you can further extend the life of your car’s interior. However, if the damage is extensive or you prefer professional results, don’t hesitate to seek expert help for headliner replacement. With the right approach, you can keep your car’s interior looking its best and enjoy a comfortable and well-maintained vehicle.
FAQs About Car Headliner Sagging
How do you know if your ceiling is sagging?
Signs of a sagging car ceiling include:
- Visible drooping of the headliner fabric.
- The fabric pulling away from the edges or corners of the roof.
- A loose or wavy appearance to the headliner.
- In severe cases, the headliner may start to hang down and obstruct your view.
- Sometimes, you might hear a rustling or flapping sound from the headliner, especially when driving at higher speeds or in windy conditions.
Is it OK to fix the headliner sagging myself?
Yes, in many cases, it is perfectly fine and often recommended to fix a sagging headliner yourself, especially for minor to moderate sagging. DIY methods are cost-effective and can produce satisfactory results. Headliner repair kits and supplies are readily available online and at auto parts stores. However, assess the extent of the damage and your DIY skills. If you’re unsure or the sagging is severe, professional help might be a better option.
Can I paint a headliner?
While technically you can paint a headliner, it’s generally not recommended. Painting can make the fabric stiff, alter its texture, and may not adhere well long-term due to temperature fluctuations inside the car. Furthermore, achieving an even and professional-looking paint job on a headliner is challenging and time-consuming. It’s usually better to repair or replace the headliner fabric if you’re looking to improve its appearance.
Does car insurance cover the cost of car headliner replacement?
In most cases, standard car insurance policies do not cover headliner replacement due to wear and tear or age-related sagging. Car insurance typically covers damages resulting from accidents, vandalism, or natural disasters, but not routine maintenance or cosmetic issues like headliner sagging. However, it’s always best to review your specific insurance policy to confirm your coverage details. Extended warranties or specific interior protection plans might offer some coverage, but these are less common.