Damaged your car bumper? Don’t panic! Plastic bumper repair is often more straightforward than you might think. This guide will walk you through the process, offering professional tips and advice to help you get your bumper back in shape. Whether it’s a minor scratch or a more significant dent, understanding the repair process can save you money and hassle.
Repairing a plastic car bumper yourself can be a rewarding DIY project. First, you need to assess the damage. Is it a small scratch, a deep gouge, or a crack? The type of damage will determine the repair method. For minor scratches, you might only need some polishing compound. Deeper scratches and gouges might require a plastic filler. Cracks often necessitate plastic welding or the use of specialized adhesives. After you’ve diagnosed the problem, you can gather the necessary materials. Don’t forget safety equipment like gloves and eye protection. You can find helpful resources online, including videos and articles detailing the repair process. Check out our guide on bumper car repair cost for more information.
Assessing the Damage to Your Bumper
Before starting any repair, clean the damaged area thoroughly with soap and water. This will allow you to see the extent of the damage clearly. Examine the bumper for any hidden damage, such as cracks or stress marks. Knowing the severity of the damage will help you choose the correct repair method. Small scratches can often be buffed out, while deeper damage will require filling and sanding.
Gathering Your Repair Materials
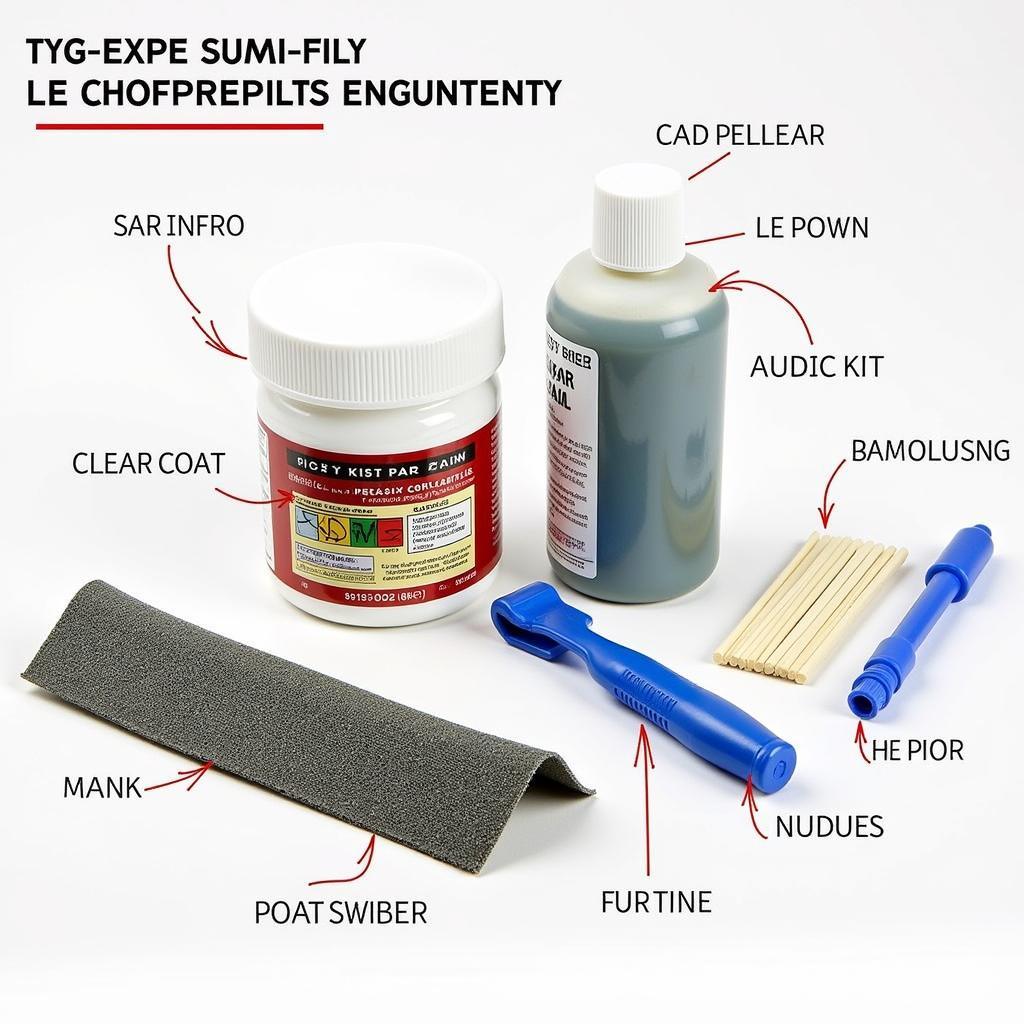
Once you know the extent of the damage, you can gather the necessary supplies. For minor repairs, you’ll need sandpaper, polishing compound, and a microfiber cloth. For more extensive damage, you might need plastic filler, primer, paint, and clear coat. If you are unsure of the exact color code for your car’s paint, refer to your vehicle’s owner’s manual. Remember to protect yourself and the surrounding area with drop cloths or newspapers. This can help to minimize dust and debris caused by sanding. For more information on fixing cracks, visit our guide on how to repair a car bumper crack.
Step-by-Step Bumper Repair Process
- Clean the Area: Thoroughly clean the damaged area with soap and water, removing any dirt, grease, or debris.
- Sand the Damaged Area: Use sandpaper to smooth out any rough edges and prepare the surface for filler or repair adhesive. Start with a coarser grit and gradually move to a finer grit for a smooth finish.
- Apply Filler (if needed): If the damage is deep, apply plastic filler to the affected area. Follow the manufacturer’s instructions for proper application and drying time.
- Sand the Filled Area: Once the filler is dry, sand it down until it is flush with the surrounding bumper surface.
- Prime the Repaired Area: Apply primer to the repaired area to ensure proper paint adhesion.
- Paint the Bumper: Apply several thin coats of paint that matches your car’s color, allowing each coat to dry before applying the next.
- Apply Clear Coat (optional): Apply a clear coat to protect the paint and give it a glossy finish.
- Buff and Polish: Once the paint and clear coat are dry, buff and polish the repaired area to blend it seamlessly with the rest of the bumper. For locations offering these services, consider looking at resources like car bumper repair barnsley or car bumper repair uk.
How Much Does it Cost to Repair a Plastic Bumper?
The cost to repair a plastic bumper can vary depending on the extent of the damage and the labor rates in your area. Minor repairs can often be done for under $100, while more extensive damage might cost several hundred dollars. Consider getting multiple estimates from reputable repair shops. You can even look into convenient solutions offered on platforms like best glue for car bumper repair amazon.
Expert Advice on Bumper Repair
“A common mistake DIYers make is not properly preparing the surface before applying filler or paint,” says automotive expert, Michael Stevens. “Thorough sanding and cleaning are crucial for a long-lasting repair.”
Another expert, Sarah Chen, adds, “Choosing the right type of plastic filler is essential. Make sure it is compatible with your bumper material for optimal results.”
Conclusion
Repairing a plastic car bumper can be a manageable DIY project with the right tools, materials, and guidance. By following the steps outlined in this guide, you can restore your bumper’s appearance and save money on professional repairs. How do you repair plastic car bumpers effectively? By taking your time, assessing the damage correctly, and using the proper techniques.
FAQ
- Can I repair a cracked bumper myself? Yes, depending on the severity of the crack. Minor cracks can be repaired with specialized adhesives. Larger cracks might require plastic welding.
- What type of sandpaper should I use? Start with a coarser grit (e.g., 180-grit) and gradually move to a finer grit (e.g., 320-grit) for a smooth finish.
- Do I need to prime the repaired area? Yes, primer is essential for proper paint adhesion.
- How long does the repair process take? This depends on the extent of the damage and the drying times of the materials used. It can range from a few hours to a full day.
- What if I’m not comfortable doing the repair myself? You can always take your car to a professional body shop for repairs.
- Where can I find the right paint color for my car? Your vehicle’s owner’s manual should have the paint code.
- How do I prevent future bumper damage? Park carefully, be mindful of obstacles, and consider installing bumper protectors.
If you need further assistance, please don’t hesitate to contact us via WhatsApp: +1(641)206-8880, or Email: [email protected]. Our customer service team is available 24/7 to help.


