A sagging car headliner is more than just an eyesore; it can detract from your driving experience and even be a sign of underlying issues. If you’re noticing the fabric above you drooping or detaching, you’re not alone. Many car owners face this problem, especially in older vehicles or those exposed to harsh climates. The good news is, you don’t always need a costly professional replacement. This guide will show you effective DIY methods to repair your sagging auto headliner without the hassle of removing it entirely. Let’s dive in and learn how to restore your car’s interior to its former glory.
Understanding Your Car Headliner
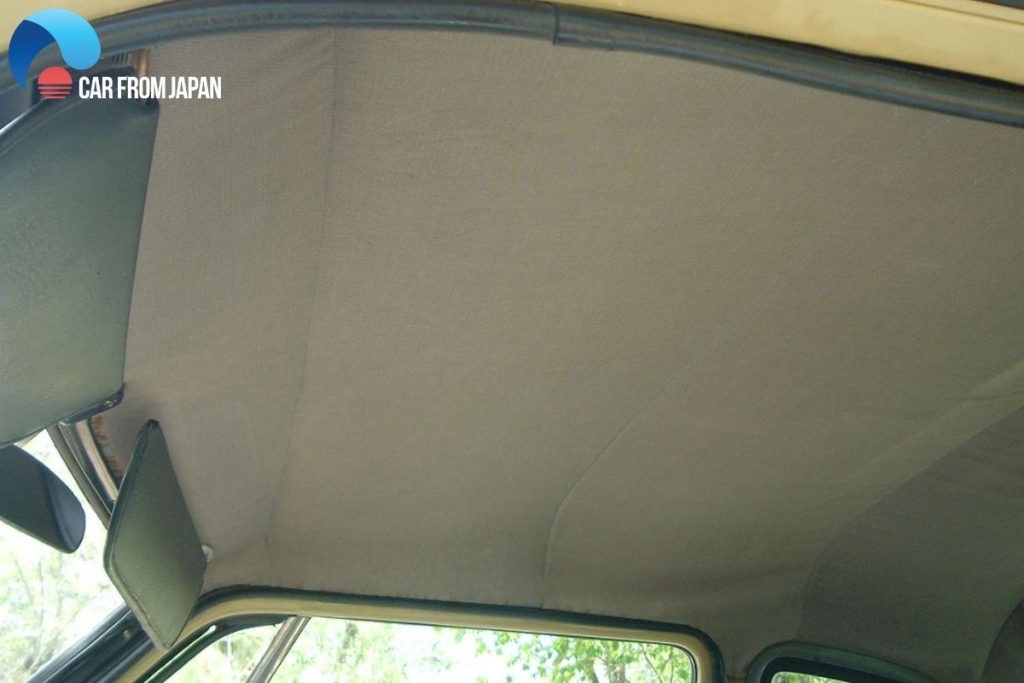
First, let’s understand what a headliner actually is. In simple terms, the headliner is the fabric material that covers the interior roof of your car. It’s not just there for aesthetics. The headliner plays a crucial role in:
- Improving Interior Appearance: It provides a smooth, finished look to your car’s cabin, hiding the structural roof frame.
- Noise Reduction: The layers of material in a headliner help to absorb road noise and vibrations, making for a quieter and more comfortable ride.
- Temperature Insulation: Acting as a thermal barrier, the headliner helps to insulate your car’s interior, keeping it cooler in the summer and warmer in the winter. This insulation is often achieved with a foam backing, typically made of polyurethane, which is attached to a rigid headliner board.
Without a functional headliner, your car’s interior can become significantly hotter in sunny conditions, and you might experience increased wind noise, especially at higher speeds. Furthermore, the headliner contributes to the overall acoustics within your car, impacting the sound quality of your car audio system.
Car headliner is a fabric that is secured to the roof framing, providing insulation and a finished look to your car’s interior.
Common Causes of Sagging Headliners
Over time, and especially with exposure to extreme temperatures and humidity, the adhesive holding the headliner fabric to its backing board can degrade. This leads to the dreaded “sagging headliner.” Several factors contribute to this common automotive issue:
- Heat and Sunlight: Intense heat, particularly from direct sunlight beating down on your car roof, is a primary culprit. The heat weakens and eventually melts the adhesive, causing the fabric to detach and sag.
- Moisture and Humidity: High humidity levels and water leaks can seep into the headliner material. The foam backing is particularly susceptible to absorbing moisture, which can cause it to lose its rigidity and shape, leading to warping and sagging.
- Poor Initial Installation: If the headliner wasn’t properly installed at the factory or during a previous replacement, with insufficient adhesive or incorrect techniques, it’s more likely to sag prematurely. Inadequate waterproofing in some vehicles can also allow moisture to penetrate, accelerating adhesive failure.
- Physical Damage: While less common, physical stress can contribute to sagging. For example, children or pets playing in the car might pull or scratch at the headliner fabric, weakening the adhesive and hastening the sagging process.
DIY Methods: How to Fix Sagging Headliner Without Removing It
Replacing the entire headliner can be a significant expense, especially for older vehicles. Fortunately, there are several effective and budget-friendly methods to repair a sagging headliner without complete removal. These techniques focus on re-securing the existing fabric to the backing board.
Sagging headliner is often a result of heat and moisture exposure degrading the adhesive over time, but DIY repairs can restore its appearance.
1. Re-gluing with Headliner Adhesive
For minor sagging, especially around edges or corners, re-gluing can be a simple and effective solution. However, ordinary glue won’t suffice. You need a specialized headliner adhesive spray. This type of adhesive is designed to withstand temperature fluctuations within a car interior and provide a strong, flexible bond.
Steps:
- Preparation: Gently peel back the sagging fabric to access the backing board. Clean both the fabric and the board to remove any loose debris or old adhesive residue. A soft brush or vacuum cleaner can be helpful.
- Apply Adhesive: Spray an even coat of headliner adhesive to both the back of the fabric and the exposed backing board. Follow the adhesive manufacturer’s instructions regarding drying time and application distance.
- Reattach Fabric: Carefully align the fabric and press it firmly against the backing board. Work in sections, smoothing out any wrinkles or air bubbles as you go. You can use a clean cloth or a small roller to apply even pressure.
- Drying Time: Allow the adhesive to dry completely according to the product instructions before driving the car.
2. Using Sequin or Twist Pins
For a quick and inexpensive fix, especially for more significant sagging areas, pins can be a practical solution. Sequin pins or twist pins (also known as upholstery twist pins or saggy stoppers) are commonly used for this purpose. Twist pins are particularly effective as they have a corkscrew design that helps them grip the headliner fabric and backing board securely.
Steps:
- Gather Pins: Purchase sequin pins or clear-headed twist pins designed for upholstery or headliner repair.
- Push and Twist (for twist pins): Gently push the pin through the sagging fabric and into the foam backing board. For twist pins, twist the head of the pin to secure it firmly.
- Patterned Placement: Arrange the pins in a visually appealing pattern to distribute the fabric evenly and create a more finished look. Spacing will depend on the severity of the sag, but start with a few pins and add more as needed.
This method is straightforward and requires minimal tools or skills. Twist pins are less likely to damage the headliner than tacks or staples and are easily removable if needed.
3. Steam Cleaner and Paint Roller Technique
For more extensive sagging or wrinkles, a combination of a steam cleaner and a paint roller can be surprisingly effective. The steam helps to reactivate the old adhesive, while the roller helps to re-adhere the fabric smoothly.
Steps:
- Steam Application: Using a car steam cleaner (or a garment steamer on a low setting), gently apply steam to the sagging areas of the headliner. Work in small sections and avoid oversaturating the fabric. The steam will help to soften the old adhesive.
- Rolling: Immediately after steaming an area, use a clean paint roller to firmly roll the fabric back into place against the backing board. Apply even pressure and work from the center outwards to smooth out wrinkles and ensure good adhesion.
- Repeat and Dry: Repeat the steaming and rolling process section by section until the entire sagging area is addressed. Allow the headliner to dry completely and the adhesive to re-set. Ensure good ventilation while drying.
This method works best when the original adhesive is still somewhat pliable. Be cautious not to use excessive steam or pressure, which could damage the headliner fabric or backing board.
Preventing Headliner Sagging in the Future
While repairs are possible, preventing headliner sagging in the first place is ideal. Here are some preventative measures you can take:
- Park in the Shade: Whenever possible, park your car in shaded areas or garages to minimize exposure to direct sunlight and extreme heat.
- Use Sunshades: Utilize windshield sunshades and window shades, especially during hot and sunny days, to reduce heat buildup inside the car.
- Regularly Check for Leaks: Inspect your car’s weather seals around windows and sunroofs regularly to ensure they are in good condition and prevent water leaks that can damage the headliner.
- Gentle Cleaning: When cleaning your car’s interior, be gentle around the headliner. Avoid harsh chemicals or abrasive cleaners. For light cleaning, a soft brush or vacuum with an upholstery attachment is usually sufficient. If using a steam cleaner for general interior cleaning, be mindful of the headliner and avoid excessive steam or direct application.
- Protect from Physical Stress: Encourage children and pets to avoid touching or pulling on the headliner fabric.
Headliner Replacement Costs: When DIY Isn’t Enough
While DIY methods can effectively address many sagging headliner issues, there are situations where replacement might be necessary. If the headliner fabric is severely damaged, torn, stained, or the backing board is warped or broken, replacement is likely the best option.
The cost of headliner replacement varies depending on your car’s make and model, the type of headliner material, and whether you choose a DIY kit or professional installation.
Here’s a general cost summary:
- Simple Cars (Sedans/Hatchbacks/Coupes): For basic models like an Accord or Corolla with no sunroof or complex ceiling features, expect to pay approximately $300 – $750 for professional replacement. DIY kits for these vehicles can range from $70 – $150.
- SUVs/Crossovers with Sunroofs/Moonroofs: Vehicles like RAV4 or X-Trail with sunroofs or moonroofs will typically cost more due to the added complexity. Expect to pay $500 – $900 professionally.
- Luxury Vehicles: For luxury cars like BMW or Mercedes-Benz with premium materials and complex ceiling designs, replacement costs can be significantly higher, ranging from $1,000 to $6,000 or more.
Keep in mind that these are average estimates. Always get quotes from local auto upholstery shops for accurate pricing specific to your vehicle.
Conclusion
A sagging headliner doesn’t have to be a permanent problem. By understanding the causes and utilizing these DIY repair methods, you can often restore your car’s interior without the expense of a full replacement. Whether you choose re-gluing, pins, or the steam cleaner technique, taking action promptly can prevent further damage and maintain the value and comfort of your vehicle. If you’re unsure about tackling the repair yourself, don’t hesitate to consult with a professional auto upholstery shop for expert assistance.
FAQs About Sagging Car Headliners
How do you know if your ceiling is sagging?
Signs of a sagging car headliner include:
- A cracking or popping sound from the ceiling area, especially when the car moves or doors are closed.
- Visible drooping of the fabric, particularly around the edges, corners, or center of the headliner.
- The fabric may feel loose or detached when touched.
- In severe cases, the headliner may hang down significantly, obstructing your view or even touching your head.
Is it OK to fix the headliner sagging myself?
Yes, for many common sagging headliner issues, DIY repair is absolutely feasible and a cost-effective solution. The methods outlined in this guide are designed for car owners to perform themselves with basic tools and readily available materials. DIY kits are also available to simplify the process.
Can I paint a headliner?
While technically possible, painting a headliner is generally not recommended. Achieving a smooth, even finish without painting surrounding trim and glass is difficult and time-consuming. Paint can also stiffen the fabric and may not adhere well to the headliner material long-term due to temperature fluctuations. Investing in repair or replacement is usually a better approach.
Does car insurance cover the cost of car headliner replacement?
Typically, standard car insurance policies do not cover headliner replacement due to wear and tear or age-related sagging. Most extended warranties and insurance policies exclude interior upholstery, trim, and headliner damage unless it’s directly caused by a covered event like an accident or vandalism. It’s always best to review your specific insurance policy for details on coverage.


