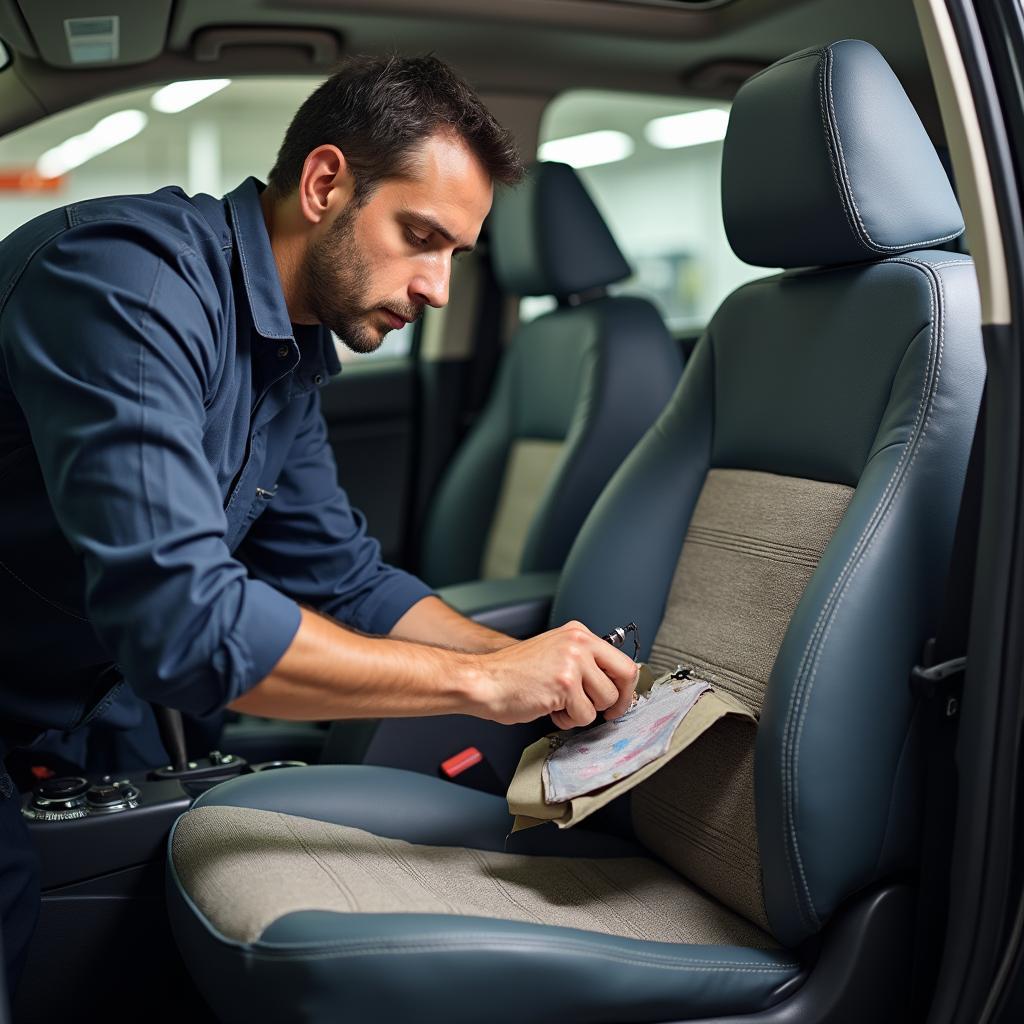
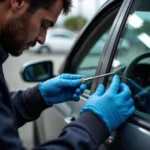
Restoring that luxurious feel of your leather car seats doesn’t always require a trip to the auto upholstery shop. Learning how to repair ripped leather car seats can not only save you money but also give you a sense of accomplishment. Whether it’s a minor scratch, a small tear, or a more significant rip, this guide will take you through the steps to bring your leather car seats back to life.
Assessing the Damage: What Kind of Repair Do You Need?
Before diving into the repair process, it’s crucial to assess the severity of the damage. This will determine the best approach and the materials you’ll need.
- Surface Scratches: These are minor abrasions that haven’t penetrated the leather’s top layer. A leather repair kit or even a homemade solution can address these effectively.
- Small Tears and Cuts: These require a bit more attention. A leather filler may be necessary to bridge the gap before applying a color-matching compound and sealant.
- Large Rips and Holes: For extensive damage, a complete replacement of the affected panel might be the most viable option. However, if you’re set on repairing it yourself, you’ll need a strong backing patch, leather filler, and advanced color-matching techniques.
Essential Tools and Materials for Leather Car Seat Repair
Having the right tools and materials can make the difference between a seamless repair and a noticeable fix. Here’s a basic list to get you started:
- Leather Repair Kit: These kits are readily available online or at auto parts stores and typically include everything you need for minor to moderate repairs: cleaner, filler, adhesive, color-matching compounds, applicators, and a grain paper to mimic the leather’s texture.
- Leather Cleaner and Conditioner: A good quality cleaner removes dirt and grime before the repair, while a conditioner keeps the leather supple and prevents future cracks.
- Scissors and Utility Knife: These will help you trim loose threads and prepare the damaged area for repair.
- Masking Tape: Protecting the surrounding areas from unwanted color bleeding is essential.
- Rubbing Alcohol: This cleans the area to be repaired, ensuring proper adhesion of the repair materials.
Step-by-Step Guide to Repairing Ripped Leather Car Seats
Let’s walk through a general repair process. Remember to always refer to the specific instructions provided with your chosen repair kit.
- Clean the Area: Thoroughly clean the damaged area and its surroundings with leather cleaner, ensuring no dirt or debris interferes with the repair.
- Trim Loose Threads: Using sharp scissors, carefully trim any loose threads or frayed edges around the rip.
- Apply Leather Filler (If Needed): For tears and cuts, use a leather filler to bridge the gap. Apply it in thin layers, allowing each layer to dry completely before applying the next.
- Sand and Smooth: Once the filler is dry, gently sand the area with fine-grit sandpaper to create a smooth, even surface.
- Apply Colorant: Carefully apply the color-matching compound, starting from the center of the repair and feathering outwards. Use a sponge or applicator provided in your kit for best results.
- Apply Grain Paper (If Needed): For a more realistic leather look, heat the grain paper with a hairdryer and press it onto the repaired area while the colorant is still wet.
- Seal the Repair: Once the colorant is dry, apply a leather sealant to protect the repair and restore the leather’s natural sheen.
Prolonging the Life of Your Leather Car Seats
Preventing future damage is just as important as repairing existing rips. Here are some tips:
- Regular Cleaning and Conditioning: Clean your seats with a leather cleaner at least monthly and condition them every three months.
- Avoid Direct Sunlight: Prolonged exposure to sunlight can dry and crack leather. Use a sunshade or park in the shade whenever possible.
- Be Mindful of Sharp Objects: Keep sharp objects like pens, keys, and tools away from your seats to prevent accidental punctures.
Seeking Professional Help: When DIY Isn’t Enough
While minor repairs can often be tackled at home, some situations call for a professional touch.
- Extensive Damage: Large rips or tears that affect the seat’s structural integrity require specialized skills and tools best handled by professionals.
- Airbag Concerns: If the rip is near a side airbag, it’s best to leave the repair to certified technicians to avoid interfering with the airbag’s deployment.
- Valuable Leather: For classic cars or vehicles with high-end leather, entrusting the repair to a professional auto upholsterer ensures the best possible outcome.
 Professional Leather Repair
Conclusion
Repairing ripped leather car seats can be a rewarding DIY project, saving you money and restoring your car’s interior. By following these guidelines and investing in a good quality leather repair kit, you can address most minor to moderate damage. However, remember that professional help is always recommended for extensive damage or when dealing with airbag-related concerns. By taking care of your leather seats and addressing rips promptly, you can keep your car’s interior looking its best for years to come.
If you’re interested in learning more about car seat repair and maintenance, check out our other helpful guides:
- How to Repair Broken Car Seat Springs
- How to Repair a Car Seat Cushion
- How to Repair Ripped Vinyl Car Seats
Don’t hesitate to contact our team for expert advice and assistance with your car repair needs. You can reach us through WhatsApp: +1(641)206-8880, or Email: [email protected]. Our dedicated customer support team is available 24/7 to address your queries and concerns.


