Fixing those pesky car paint scratches yourself can be a tempting way to save money and keep your car looking its best. However, before you grab the sandpaper and spray paint, there are some crucial things to consider. This guide will equip you with the knowledge and steps to successfully tackle those car paint scratches like a pro.
Understanding the Enemy: Types of Car Paint Scratches
Knowing what you’re dealing with is the first step to a flawless repair. Car paint scratches vary in severity, and each requires a different approach.
- Clearcoat Scratches: The most common and easiest to fix, these superficial scratches only affect the clear coat, the top layer protecting your car’s paint.
- Paint Scratches: Deeper than clearcoat scratches, these expose the base coat and require more attention.
- Primer Scratches: Reaching the primer means you’re dealing with a serious scratch that exposes the metal underneath, increasing the risk of rust.
- Deep Scratches: These penetrate all paint layers, exposing bare metal. They often require professional intervention.
DIY Car Paint Scratch Repair: Essential Tools and Materials
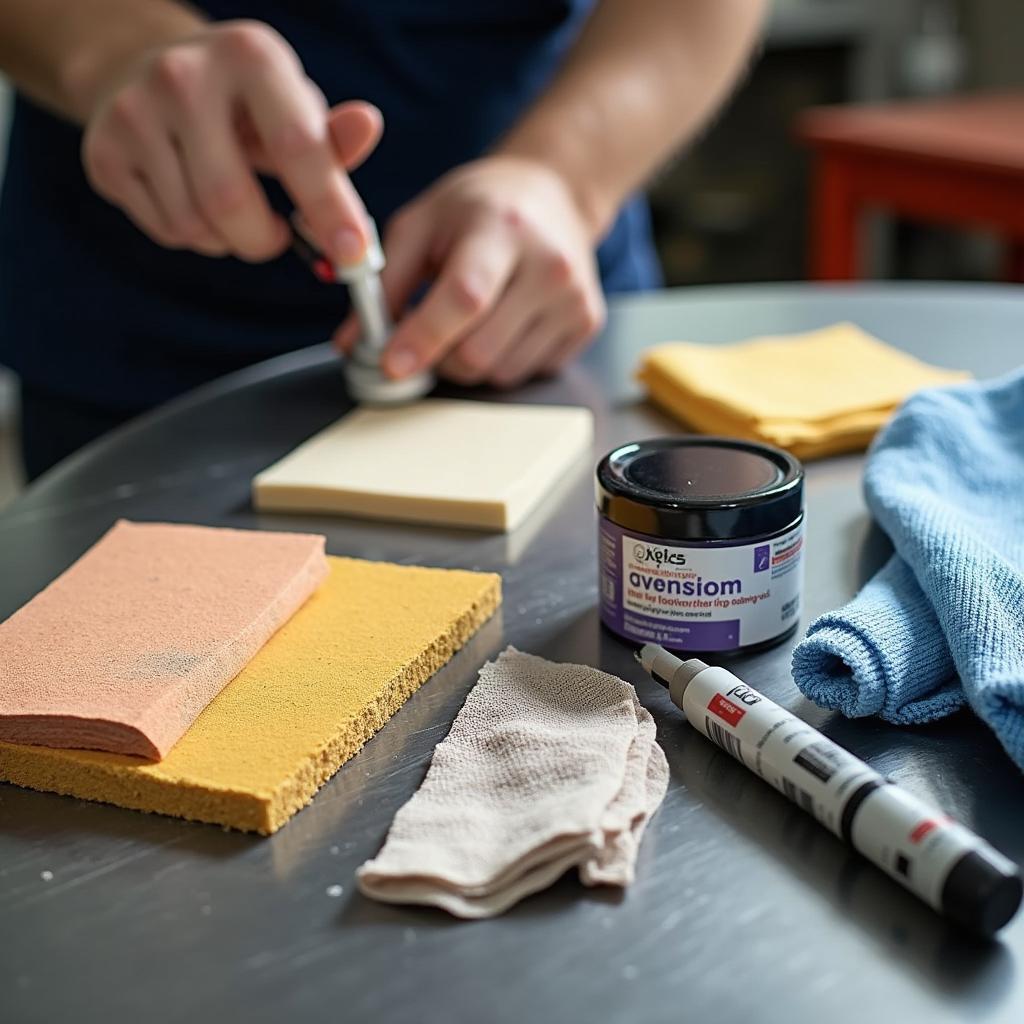
Having the right tools will make the difference between a botched job and a professional-looking finish. Here’s what you need:
- Cleaning Supplies: Car wash soap, microfiber cloths, wax and grease remover
- Sandpaper: Assorted grits (2000, 3000, 5000) for different stages of sanding
- Masking Tape & Paper: Protect surrounding areas from accidental sanding or overspray
- Rubbing Compound & Polishing Compound: Remove scratches and restore shine
- Touch-up Paint: Match your car’s paint code for seamless repair
- Clear Coat: Seal and protect the repair (if necessary)
- Applicators: Foam applicators or microfiber cloths for even product application
How to Repair Car Paint Scratches: A Step-by-Step Guide
1. Assess the Damage: Determine the type and depth of the scratch.
2. Clean the Area: Thoroughly wash and dry the scratched area to remove dirt and debris.
3. Sanding (If Necessary):
- For deeper scratches, start with 2000-grit sandpaper, using gentle, back and forth motions.
- Gradually increase the grit (3000, then 5000) to smooth out the scratches.
- Keep the sandpaper wet and avoid excessive sanding.
4. Clean Again: Remove sanding residue with a microfiber cloth.
5. Apply Touch-up Paint (If Necessary): - Use a fine-tipped brush or a paint pen to carefully fill in the scratch.
- Apply thin coats, allowing each coat to dry completely before applying the next.
6. Apply Clear Coat (If Necessary): - If you’ve used touch-up paint or the scratch is deep, apply a thin layer of clear coat.
- Allow it to dry completely.
7. Rubbing Compound: - Apply a small amount of rubbing compound to a clean applicator pad.
- Work it into the repaired area using circular motions.
- Gradually reduce pressure as the compound begins to disappear.
8. Polishing Compound: - Apply polishing compound using the same method as the rubbing compound.
- This step restores shine and blends the repair with the surrounding paint.
9. Final Inspection: Check for imperfections and repeat any necessary steps.
Words from the Expert
“Many car owners underestimate the importance of proper sanding technique,” says Mike Carter, a seasoned auto body specialist with over 20 years of experience. “Using the correct grit and sanding in a linear motion, following the direction of the scratch, can make or break your DIY repair.”
DIY Car Paint Scratch Repair: When to Call a Professional
While DIY repairs can be effective for minor scratches, there are instances where professional help is crucial.
- Deep Scratches: Scratches exposing bare metal require expert attention to prevent rust.
- Extensive Damage: Large areas of damage are best left to the professionals.
- Cracked Paint: Cracks in the paint indicate deeper issues that need professional assessment.
Conclusion
Repairing car paint scratches yourself can be a rewarding experience, saving you money and maintaining your car’s appearance. By following this guide and using the right techniques, you can achieve impressive results. Remember, patience and attention to detail are key to a successful DIY car paint scratch repair.
FAQ
1. Can I use nail polish to fix a car paint scratch?
While tempting, nail polish isn’t formulated for automotive paint and can cause further damage in the long run.
2. How long does touch-up paint take to dry?
Drying time varies depending on the type of paint and environmental factors, but it’s best to allow at least 24 hours for complete drying.
3. Can I wash my car after a DIY scratch repair?
Wait at least 72 hours after the repair before washing your car to allow the paint to cure properly.
4. How can I prevent future car paint scratches?
Regular waxing, parking in shaded areas, and avoiding close contact with other vehicles can help protect your car’s paint.
5. What if my car has a matte finish?
Matte finishes require specialized products and techniques. It’s best to consult a professional for repairs.
Need Help With Your Car Repair?
CarRepairOnline is your trusted source for all things car repair. For expert advice or assistance, contact our team via WhatsApp: +1(641)206-8880, or Email: [email protected]. We’re available 24/7 to help you get back on the road with confidence!


