A malfunctioning car window heater can be a real pain, especially during colder months. Whether you’re dealing with stubborn frost, annoying fog, or a completely busted defroster grid, a car window heater repair kit might be the solution you need. This guide will walk you through everything you need to know about car window heater repair kits, from how they work to choosing the right one for your needs.
Understanding the Problem: Why Car Window Heaters Fail
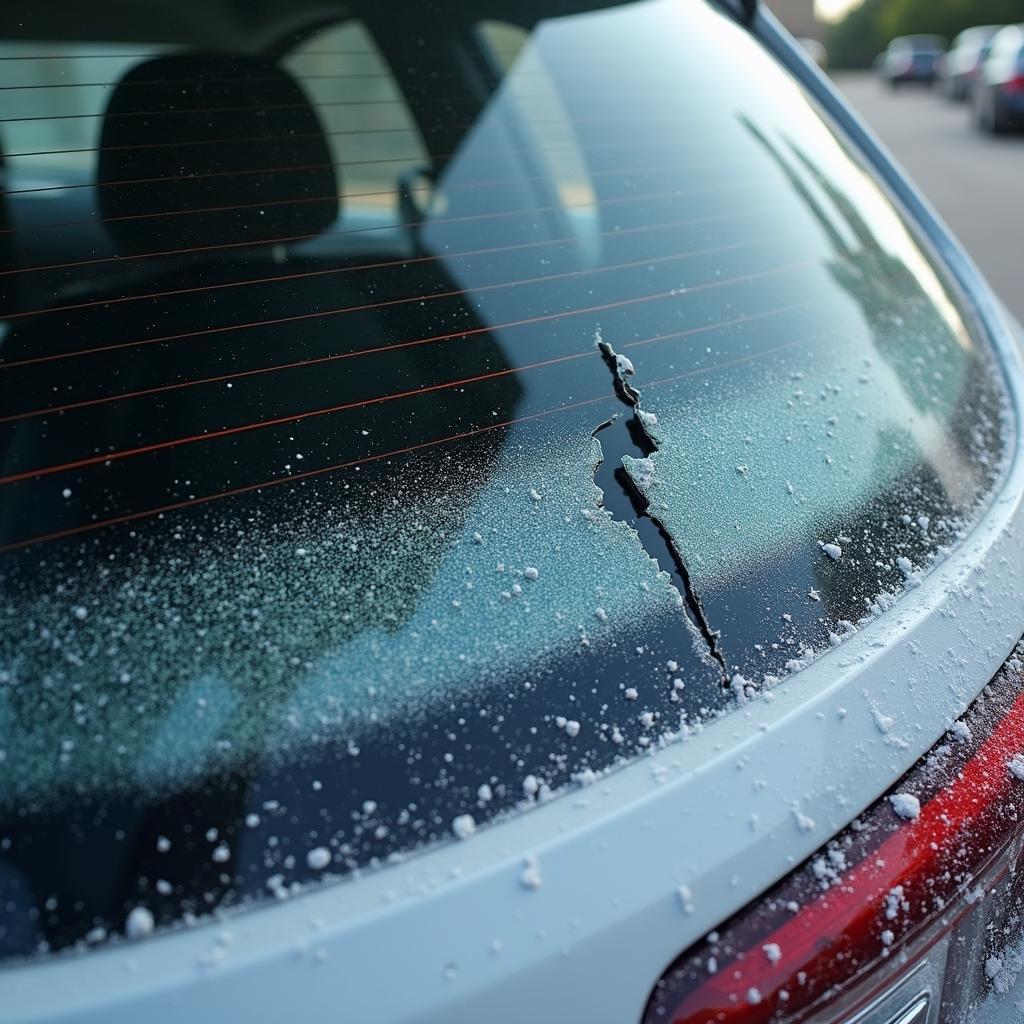
Before we dive into repair kits, let’s first understand why car window heaters fail in the first place. The most common culprit is a break in the delicate grid lines that run across your rear window (and sometimes side mirrors). These lines carry electrical current to generate heat, so a break disrupts the flow, leaving you with a cold, foggy section.
Other reasons for heater malfunction include:
- Wiring issues: Frayed or damaged wires can interrupt the electrical circuit.
- Faulty fuse: A blown fuse in your car’s electrical system will cut off power to the heater.
- Damaged relay: The relay, responsible for switching the heater on and off, can fail over time.
Car Window Heater Repair Kit: Your DIY Solution
A car window heater repair kit offers a cost-effective and convenient way to tackle those pesky grid line breaks yourself. These kits typically include:
- Conductive adhesive: This special adhesive contains metallic particles that conduct electricity, bridging the gap in broken grid lines.
- Application brush or pen: For precise application of the conductive adhesive.
- Cleaning solution: To prepare the window surface for optimal adhesion.
- Masking tape: Helps you achieve clean, straight lines when applying the adhesive.
Choosing the Right Kit: What to Consider
Not all car window heater repair kits are created equal. Here’s what to keep in mind when making your selection:
- Type of adhesive: Look for kits with silver-based conductive adhesives, as they offer better conductivity and longevity.
- Application method: Some kits come with brushes, while others use pen-style applicators for greater precision.
- Kit contents: Ensure the kit includes everything you need (adhesive, applicator, cleaning solution, masking tape).
- Reviews and ratings: Check online reviews to gauge the effectiveness and ease of use of different kits.
How to Use a Car Window Heater Repair Kit
Using a car window heater repair kit is easier than you might think. Just follow these steps:
- Clean the window: Thoroughly clean the area around the break with the provided cleaning solution and a lint-free cloth.
- Mask off the area: Use masking tape to isolate the broken grid line, ensuring a clean repair.
- Apply the adhesive: Carefully apply the conductive adhesive to the break, bridging the gap completely.
- Let it dry: Allow the adhesive to dry completely according to the manufacturer’s instructions.
- Remove the tape: Carefully peel off the masking tape to reveal your newly repaired grid line.
Beyond Repair Kits: When to Seek Professional Help
While car window heater repair kits can effectively fix minor grid line breaks, some situations warrant professional intervention. If you encounter any of the following, consult a qualified auto electrician:
- Extensive grid damage: Multiple or large breaks in the grid lines.
- Wiring problems: If you suspect damage to the heater’s wiring.
- Unidentified issues: When you’re unsure about the cause of the heater malfunction.
Car Window Heater Repair Kit: A Clear Choice for Clear Views
A car window heater repair kit can be your ticket to a clear view and a safer driving experience, especially during challenging weather. By understanding how these kits work, choosing the right one, and following the application instructions, you can often tackle those annoying grid line breaks yourself. Remember, a little DIY can go a long way in keeping your car windows clear and your vision unobstructed.


