Car repair filler for plastic bumpers is essential for restoring your vehicle’s appearance and structural integrity after damage. Whether it’s a minor scratch, a dent, or a more significant crack, understanding the process of using plastic bumper filler can save you time and money. This guide provides a comprehensive overview of everything you need to know about car repair filler for plastic bumpers, from choosing the right product to achieving a professional-looking finish. We’ll explore the intricacies of this repair process and empower you to tackle those bumper blemishes with confidence.
Choosing the right car repair filler is the first step in a successful bumper repair. Look for a two-part epoxy filler specifically designed for plastic. This type of filler offers superior adhesion and durability compared to standard body fillers. Ensure the filler is compatible with your bumper’s plastic type. Some fillers are formulated for flexible plastics like polypropylene (PP) and thermoplastic olefin (TPO), while others are better suited for rigid plastics. Consider the extent of the damage. For minor imperfections, a lightweight filler might suffice, while deeper damage requires a more robust, reinforced filler. Choosing a quality product from the start sets the foundation for a lasting repair. For smaller repairs, you may even find success using a car plastic bumper repair body filler with hardener & applicator.
Preparing the Damaged Area
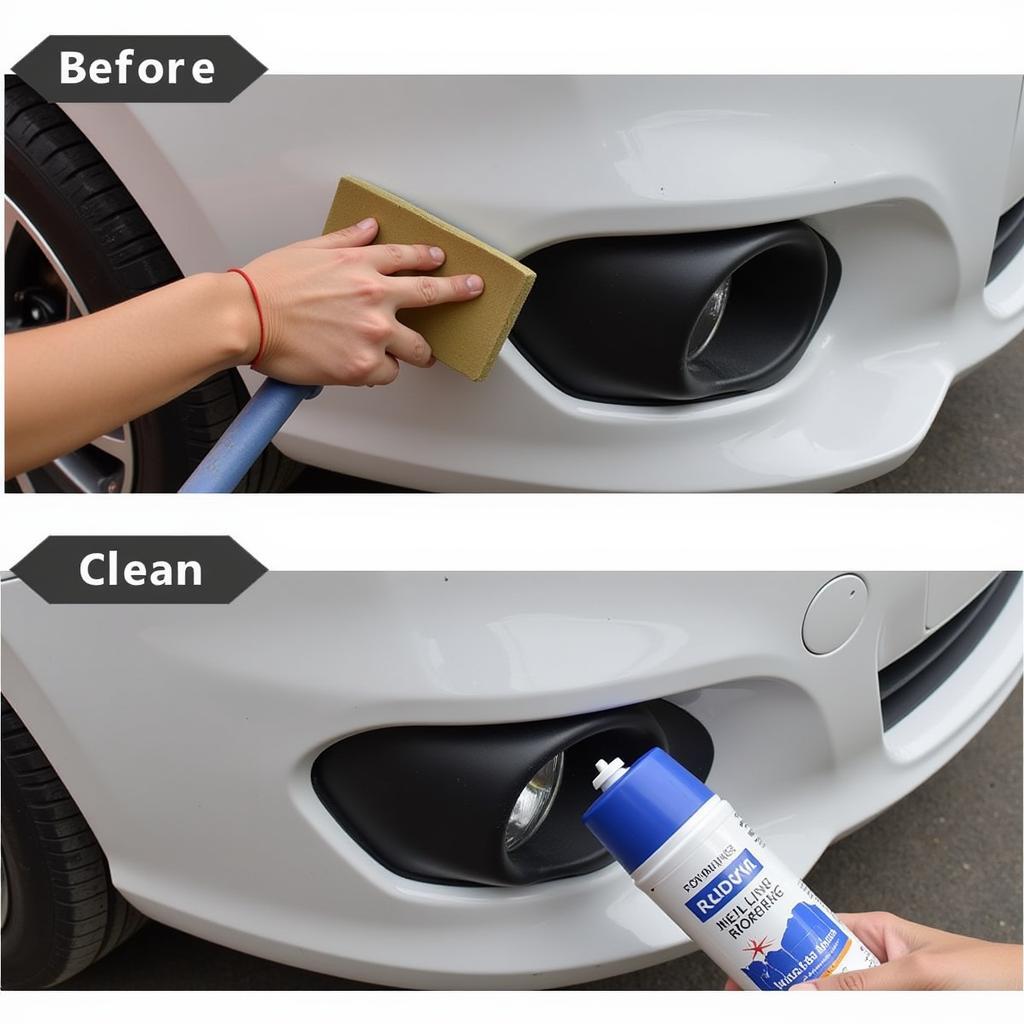
Proper surface preparation is crucial for optimal adhesion of the car repair filler plastic bumper. Clean the damaged area thoroughly with soap and water, removing any dirt, grease, or wax. Next, sand the damaged area with coarse sandpaper (around 80 grit) to create a rough surface for the filler to grip. If the damage involves a crack, slightly widen it with a Dremel tool to ensure the filler penetrates deeply and creates a stronger bond. Finally, clean the sanded area with a wax and grease remover to ensure a pristine surface for filler application.
Applying the Car Repair Filler
Once the bumper is prepped, mix the two-part car repair filler according to the manufacturer’s instructions. Apply the filler evenly to the damaged area, pressing it firmly into any cracks or dents. Overfill slightly to allow for sanding. Allow the filler to cure completely according to the manufacturer’s recommendations. This usually takes between 20 to 30 minutes. Avoid applying the filler in direct sunlight or extreme temperatures, as this can affect the curing process. For common bumper repairs, you might even consider car bumper repair in monmouth county.
Sanding and Finishing
After the filler has cured, sand the area smooth using progressively finer grits of sandpaper, starting with 80 grit and working your way up to 220 grit. Feather the edges of the repaired area to blend seamlessly with the surrounding bumper. Prime the repaired area with a plastic primer to promote adhesion of the paint. Once the primer is dry, apply several thin coats of paint that match your bumper’s color, allowing each coat to dry completely before applying the next. Finally, apply a clear coat to protect the paint and give it a glossy finish.
Why is choosing the right filler important?
Choosing the right filler ensures proper adhesion, durability, and compatibility with your bumper’s plastic type.
How long does the filler take to cure?
Typically, car repair filler takes between 20 to 30 minutes to cure.
Can I apply the filler in direct sunlight?
No, direct sunlight and extreme temperatures can affect the curing process and compromise the repair.
If you’re seeking local solutions, consider searching for a car bumper crack repair near me. Or, if you’re feeling confident, learn how to repair car bumper at home.
Conclusion
Repairing a plastic bumper with car repair filler is a cost-effective way to restore your vehicle’s appearance. By following these steps and choosing the right products, you can achieve a professional-looking repair that will last for years to come. Remember, preparation is key, and patience throughout the process will yield the best results. For more extensive bumper repairs, it’s always wise to consider professional help when learning about how to repair car bumpers.
FAQ
- What type of filler should I use for a plastic bumper?
- How do I prepare the damaged area before applying filler?
- How long should I wait for the filler to dry?
- What grit sandpaper should I use for sanding?
- Do I need to prime the repaired area before painting?
- Can I repair a cracked bumper with filler?
- How do I match the paint color to my bumper?
For further assistance, please contact us via WhatsApp: +1(641)206-8880, or Email: [email protected]. Our customer service team is available 24/7.


