Car paint yourself over scratch repair can seem daunting, but with the right knowledge and tools, it’s achievable. This guide will walk you through the process, from assessing the damage to achieving a professional-looking finish. We’ll cover everything you need to know for a successful DIY car scratch repair. Check out our guide on home car paint repair for additional tips and tricks.
Assessing the Scratch: Knowing Your Enemy
Before you start, it’s crucial to understand the extent of the damage. Is it a light surface scratch, a deep gouge, or something in between? This will determine the necessary repair approach. A simple surface scratch might only require a good cleaning and some rubbing compound, while a deep scratch will need more attention, potentially involving primer, paint, and clear coat.
Identifying Scratch Depth: Surface vs. Deep
Run your fingernail across the scratch. If it catches, it’s likely a deep scratch requiring more than just a polish. If your fingernail glides smoothly, it’s likely a surface scratch. Knowing this difference is the first step towards a successful car paint yourself over scratch repair.
Gathering Your Arsenal: Tools and Materials
Having the right tools and materials is essential for a smooth and effective car paint yourself over scratch repair process. This includes everything from cleaning supplies to the actual paint.
Essential Supplies for Scratch Repair
- Cleaning Supplies: Car wash soap, microfiber towels, isopropyl alcohol.
- Sandpaper: Various grits (e.g., 2000, 3000 grit) for smoothing and blending.
- Primer (if necessary): Provides a base for the paint to adhere to.
- Car Paint: Touch-up paint that matches your car’s color code.
- Clear Coat: Protects the paint and adds shine.
- Rubbing Compound and Polish: For final finishing and blending.
- Applicators: Foam applicators, brushes, or touch-up pens.
The Repair Process: Step-by-Step Guide
Now that you’ve assessed the damage and gathered your supplies, it’s time to tackle the car paint yourself over scratch repair.
Step 1: Cleaning the Area
Thoroughly clean the scratched area with car wash soap and water, followed by isopropyl alcohol to remove any wax or grease. This ensures proper adhesion of the repair materials.
Step 2: Sanding (If Necessary)
For deeper scratches, carefully sand the area with fine-grit sandpaper to smooth out any rough edges and create a level surface. For advice on the best tools for minor repairs, see our article on the best car paint repair pen.
Step 3: Applying Primer (If Necessary)
If the scratch is deep enough to expose the metal or primer underneath, apply a thin coat of primer to the affected area. Allow it to dry completely before moving on to the next step.
Step 4: Applying the Touch-Up Paint
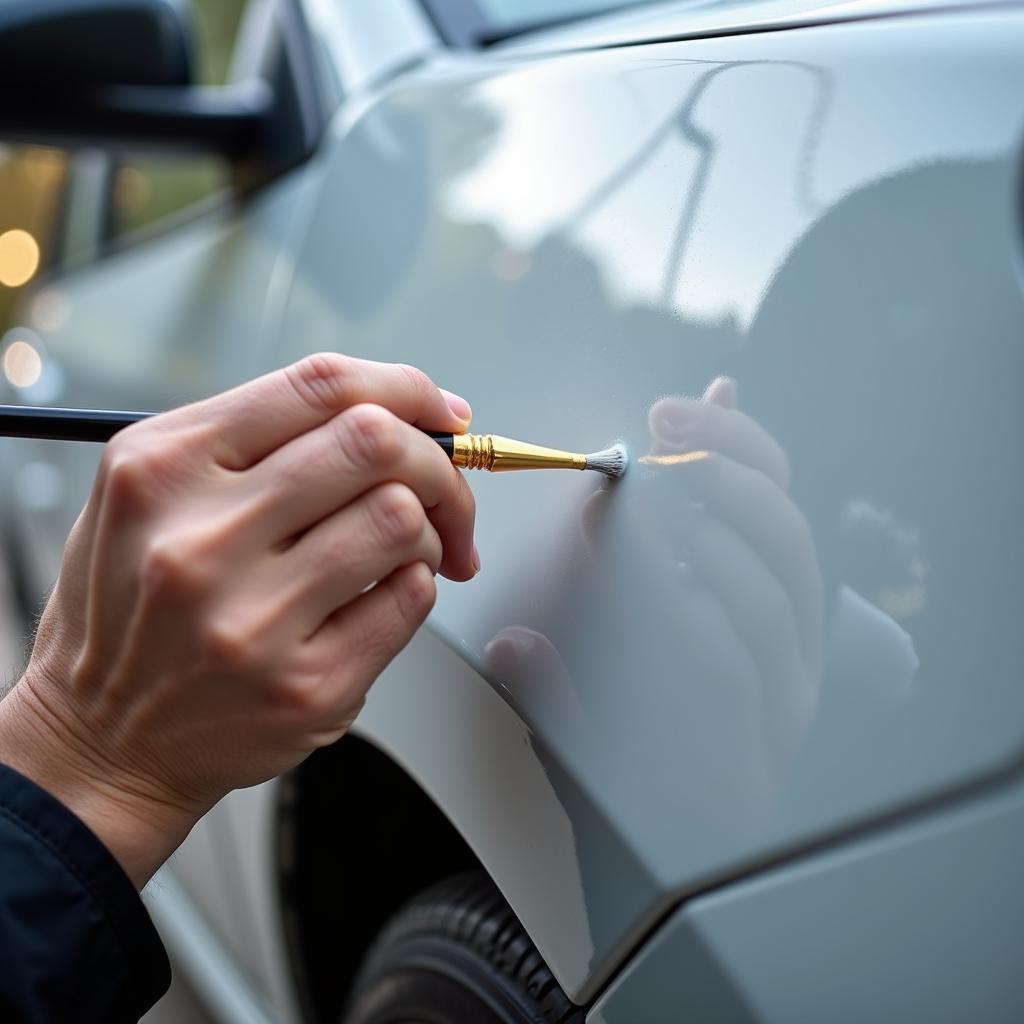
Carefully apply the touch-up paint to the scratched area, using thin coats to avoid runs or drips. Allow each coat to dry before applying the next.
Step 5: Applying Clear Coat (If Necessary)
Once the paint is dry, apply a thin coat of clear coat to protect the paint and restore the shine. Allow it to dry completely.
Step 6: Final Finishing: Rubbing Compound and Polish
After the clear coat has dried, use rubbing compound and polish to blend the repaired area seamlessly with the surrounding paint. This step is crucial for achieving a professional-looking finish. For more comprehensive repair options, consider a car paint chip repair service in Brentwood CA.
Conclusion
Car paint yourself over scratch repair can be a rewarding DIY project, saving you time and money. By following this guide and practicing patience, you can achieve impressive results. Remember to assess the damage, gather the right supplies, and follow the steps carefully. A well-executed repair can keep your car looking its best. You can also check out how to repair paint chips on a car video for more visual guidance.
FAQs
-
How do I match my car’s paint color? Your car’s color code can usually be found on a sticker inside the driver’s side doorjamb or in the owner’s manual.
-
Can I use any type of paint? No, you should always use automotive touch-up paint specifically designed for your car’s make and model.
-
How long does it take for the paint to dry? Drying times vary depending on the type of paint and environmental conditions, but generally allow at least 24 hours for complete drying.
-
What if the scratch is very deep? For very deep scratches, it’s best to consult a professional auto body repair shop.
-
How can I prevent future scratches? Regular waxing, careful parking, and avoiding abrasive car washes can help protect your car’s paint.
Need more help? You can also find helpful information on car paint repair Halifax.
Need assistance with your car repair? Contact us via WhatsApp: +1(641)206-8880, Email: [email protected]. Our customer support team is available 24/7.


