A malfunctioning car cigarette lighter can be quite frustrating, especially when you rely on it to power your devices. Before rushing to a mechanic, consider a DIY approach with a car cigarette lighter repair kit. These kits are readily available, affordable, and can save you a trip to the repair shop.
Understanding the Issue: Why is My Car Cigarette Lighter Not Working?
There are several reasons why your car cigarette lighter might not be working correctly.
- Blown Fuse: This is the most common culprit. A blown fuse interrupts the flow of electricity to the lighter.
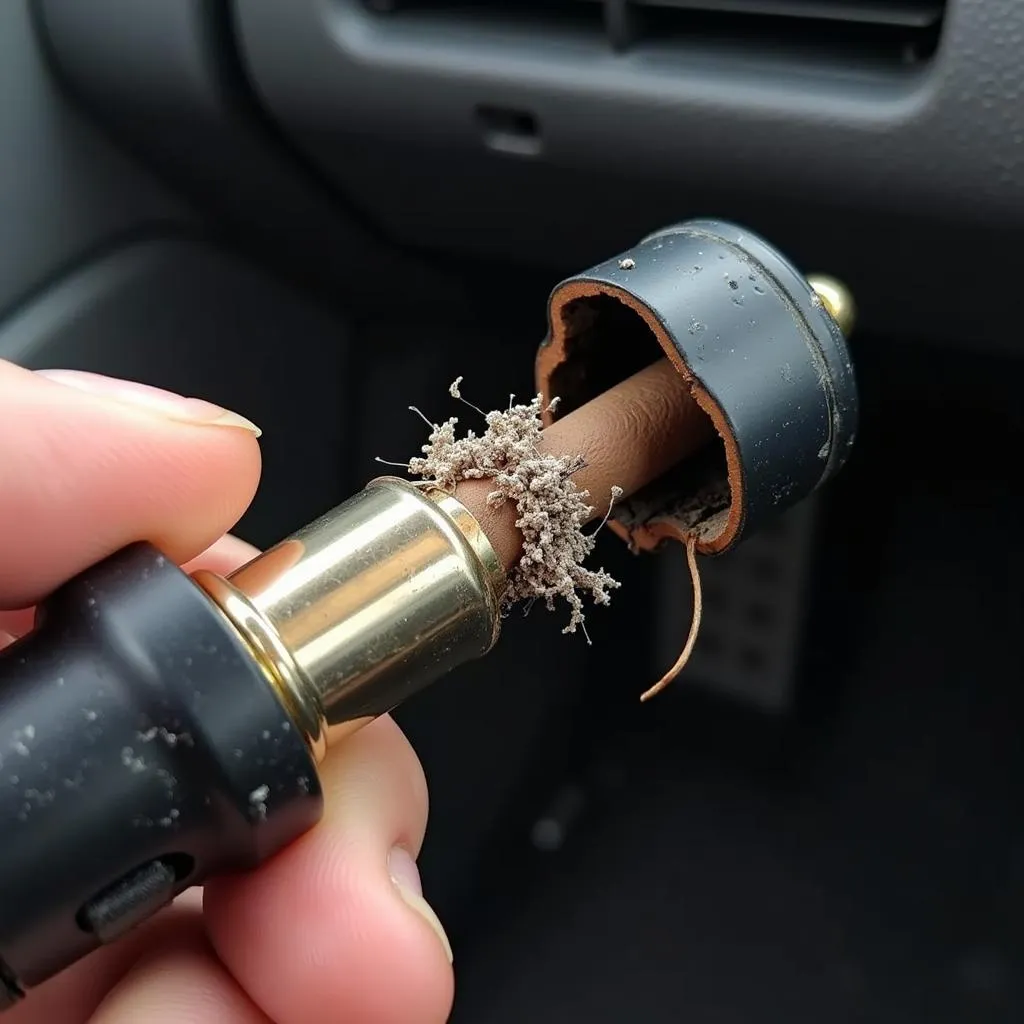
- Damaged Socket: Wear and tear, along with repeated plugging and unplugging, can damage the socket, leading to a loose connection.
- Faulty Wiring: In some cases, the wiring connecting the cigarette lighter to the car’s electrical system could be damaged or corroded.
- Malfunctioning Element: The heating element inside the lighter itself can burn out over time, especially with frequent use.
Car Cigarette Lighter Repair Kit: What’s Inside?
A typical car cigarette lighter repair kit includes the following:
- Replacement Socket: This replaces your existing socket if it’s damaged or worn out.
- Wiring Harness: This provides replacement wires and connectors to fix faulty connections.
- Fuses: The kit usually comes with a variety of fuses to replace a blown one.
- Tools: Some kits might include basic tools like wire strippers and a mini screwdriver to help with the repair.
How to Use a Car Cigarette Lighter Repair Kit: A Step-by-Step Guide
Before you begin, ensure your car’s engine is off and the negative terminal of your car battery is disconnected for safety.
- Identify the Problem: Inspect the cigarette lighter socket for visible damage or debris. Check your car’s owner’s manual to locate the fuse box and identify the correct fuse for your cigarette lighter.
- Replace the Fuse (if necessary): Using a fuse puller or pliers, carefully remove the suspected blown fuse from the fuse box. Insert a new fuse with the same amperage rating.
- Replace the Socket (if necessary): Disconnect the wiring harness from the old socket and connect it to the new socket provided in the kit. Secure the new socket in place.
- Repair Faulty Wiring (if necessary): Carefully strip the damaged wire ends and use the connectors provided in the kit to splice in new wire segments. Secure the connections with electrical tape.
When to Call a Mechanic?
While a car cigarette lighter repair kit can resolve most common issues, it’s best to call a qualified mechanic if:
- You’re uncomfortable working with electrical components in your car.
- The problem persists even after trying the solutions in the kit.
- You suspect a more complex electrical issue beyond the cigarette lighter itself.
Choosing the Right Car Cigarette Lighter Repair Kit
When choosing a repair kit, consider the following:
- Compatibility: Ensure the kit is compatible with your car’s make and model.
- Quality: Opt for a kit with durable components and good reviews.
- Tools Included: A kit that includes tools can be more convenient.
Car Cigarette Lighter Repair Kit: A Worthy Investment
A car cigarette lighter repair kit is a valuable tool for any car owner. It empowers you to address a common car problem with a simple, cost-effective DIY solution.
Remember, always prioritize safety when working with your car’s electrical system. If you are unsure about any step, don’t hesitate to consult a professional mechanic.