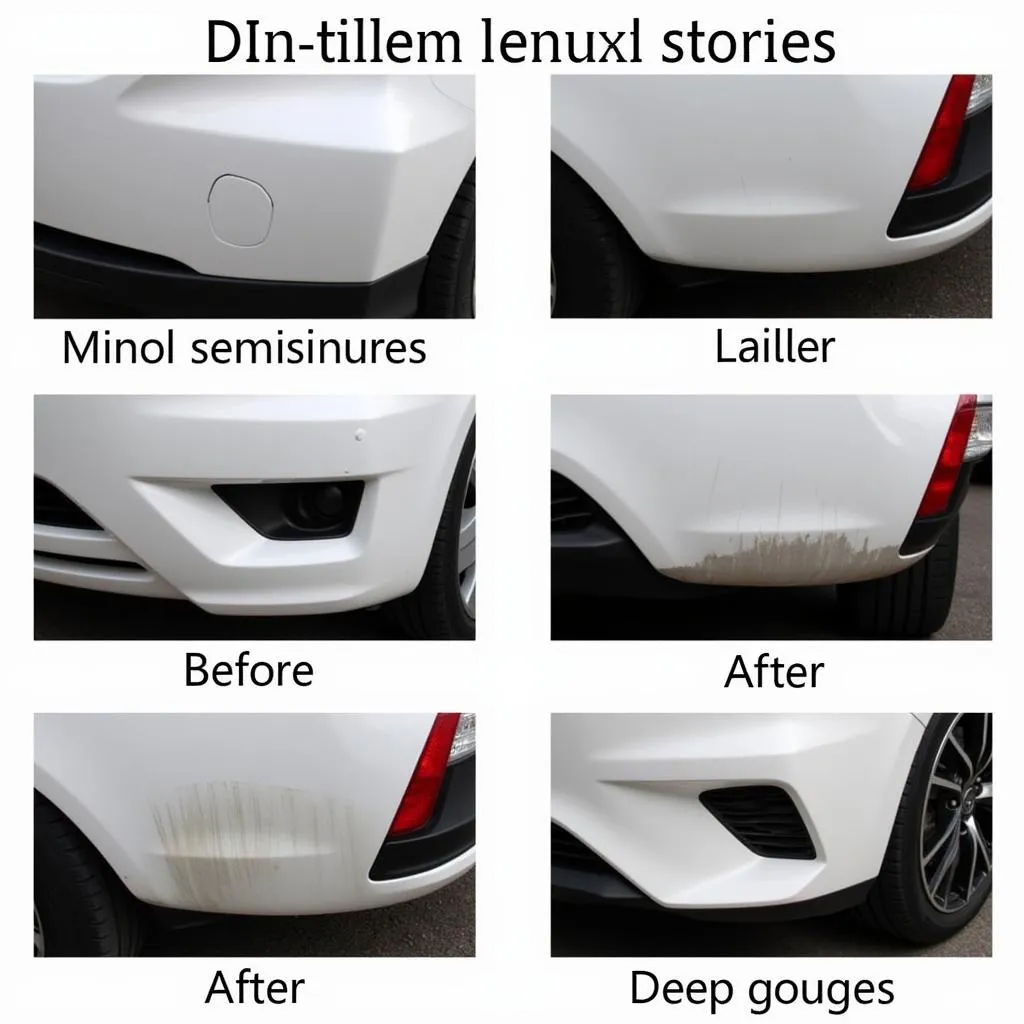
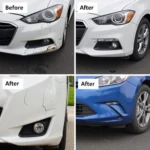
A scuffed bumper is an unfortunate reality for many car owners. Whether it’s from a minor parking mishap or a rogue shopping cart, these blemishes can detract from your car’s appearance. While professional repair is always an option, many minor car bumper scuffs can be addressed with a DIY approach. This guide will provide a step-by-step breakdown of how to repair those pesky car bumper scuffs, restoring your car’s exterior to its former glory.
Assessing the Damage: Is DIY Car Bumper Scuff Repair Right for You?
Before diving headfirst into the repair process, it’s crucial to assess the severity of the damage. DIY solutions are best suited for minor to moderate scuffs on plastic bumpers. If you’re dealing with deep gouges, cracks, or damage that extends to the metal components, seeking professional car bumper repair is recommended.
Gathering Your DIY Car Bumper Scuff Repair Arsenal
Once you’ve determined that DIY repair is a viable option, it’s time to assemble your tools and materials. Here’s a handy checklist:
- Cleaning Supplies: Car wash soap, water, microfiber cloths, masking tape, rubbing alcohol
- Sandpaper: 200-grit, 400-grit, 600-grit
- Primer: Automotive primer specifically designed for plastics (if the scuff is deep and exposes bare plastic)
- Paint: Choose automotive touch-up paint that matches your car’s color. A paint pen or a small bottle with a brush applicator both work well.
- Clear Coat: Automotive clear coat spray paint provides a protective and glossy finish.
- Polishing Compound: Helps blend the repaired area with the surrounding paint.
Car Bumper Scuff Repair: A Step-by-Step Guide
With your materials ready, let’s dive into the repair process:
- Clean the Area: Thoroughly wash the affected area with car wash soap and water to remove dirt, grime, and wax. Allow it to dry completely.
- Mask Off the Area: Use masking tape to protect the surrounding paint from being accidentally sanded or painted.
- Sanding: Begin with 200-grit sandpaper to smooth out the scuffed area. Gradually work your way up to 400-grit and then 600-grit sandpaper for a smooth finish.
- Clean Again: Use rubbing alcohol to clean the sanded area and remove any sanding dust.
- Priming (If Necessary): If you’ve sanded down to bare plastic, apply a thin coat of plastic primer. Allow it to dry completely before moving on.
- Painting: Apply thin, even coats of touch-up paint to the affected area, allowing each coat to dry before applying the next.
- Clear Coating: Once the paint is dry, apply 2-3 thin coats of clear coat, allowing sufficient drying time between each coat.
- Polishing: After the clear coat has cured (usually 24-48 hours), use a polishing compound and a soft cloth to blend the repaired area seamlessly with the surrounding paint.
Expert Insights on Car Bumper Scuff Repair
“Many car owners underestimate the effectiveness of a well-executed DIY car bumper scuff repair,” says John Smith, a seasoned automotive repair specialist with over 20 years of experience. “With the right approach and a little patience, you can achieve impressive results and save on costly professional repairs.”
When to Call in the Pros
While this guide provides a comprehensive overview of DIY [car bumper scuff repair diy](https://carrepairon.com/car bumper scuff repair diy/), there are instances where seeking professional help is the wisest course of action:
- Extensive Damage: If the damage is severe, involving deep cracks or damage to the bumper’s structural integrity, professional intervention is essential.
- Color Matching Issues: Achieving a perfect color match can be challenging, especially with metallic or pearlescent paints. Professionals have access to advanced color-matching tools.
- Lack of Confidence: If you’re not comfortable with the DIY approach, don’t hesitate to contact a reputable car repair shop.
DIY Car Bumper Scuff Repair: A Rewarding Endeavor
Successfully repairing your car bumper scuffs yourself can be a rewarding experience, saving you money and restoring your car’s appearance. By following the steps outlined in this guide, you can confidently tackle those minor blemishes and enjoy a sense of accomplishment.
FAQs
Q: Can I use regular spray paint for car bumper scuff repair?
A: No, it’s crucial to use automotive touch-up paint designed for your car’s specific make and model to ensure proper color matching and durability.
Q: How long does it take for the repair to fully cure?
A: While the initial drying time for each coat of paint and clear coat might be a few hours, it’s best to allow the repair to fully cure for at least 24-48 hours before washing or waxing your car.
Q: What if the scuff is on a textured bumper?
A: Repairing scuffs on textured bumpers can be a bit trickier. It’s often best to consult a professional for advice or consider using a textured bumper repair kit designed for your bumper type.
Need more help with your car troubles? Check out our other helpful articles:
- How to Repair Car Plastic Bumper
- Bumper Repair Smart Car 2011
- Car Bumper Repair Kilmarnock
- Car Bumper Repair Services Sydney
If you have any further questions, we’re here to help! Contact us via WhatsApp at +1(641)206-8880 or email us at [email protected]. Our team is available 24/7 to assist you.


