Car bumper repair at home can be a cost-effective solution for minor damages. This guide provides a comprehensive overview of DIY bumper repair, covering everything from assessing the damage to achieving a professional-looking finish. We’ll explore various techniques, tools, and materials, empowering you to tackle those unsightly scuffs and scratches with confidence. Learn how to restore your bumper’s appearance and save money in the process.
Assessing the Damage: Know Your Bumper
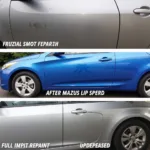
Before diving into car bumper repair at home, it’s crucial to assess the extent of the damage. Is it a minor scratch, a deep gouge, or a crack? The type and severity of the damage will dictate the appropriate repair method. For instance, a light scuff might only require a simple cleaning and buffing, while a deep crack might necessitate more advanced techniques like plastic welding. Accurately evaluating the damage is the first step towards a successful DIY repair. Check for any underlying damage, such as dents or broken clips, as these may require additional attention. Remember, a thorough assessment will save you time and effort in the long run. For those unsure about tackling the repair themselves, professional services are available. You can find more information on locating reputable repair shops in our article on where to repair car bumper.
Is it a simple scuff or a more serious crack? Determining the extent of the damage will help you choose the right approach.
Gathering Your Tools and Materials: Be Prepared
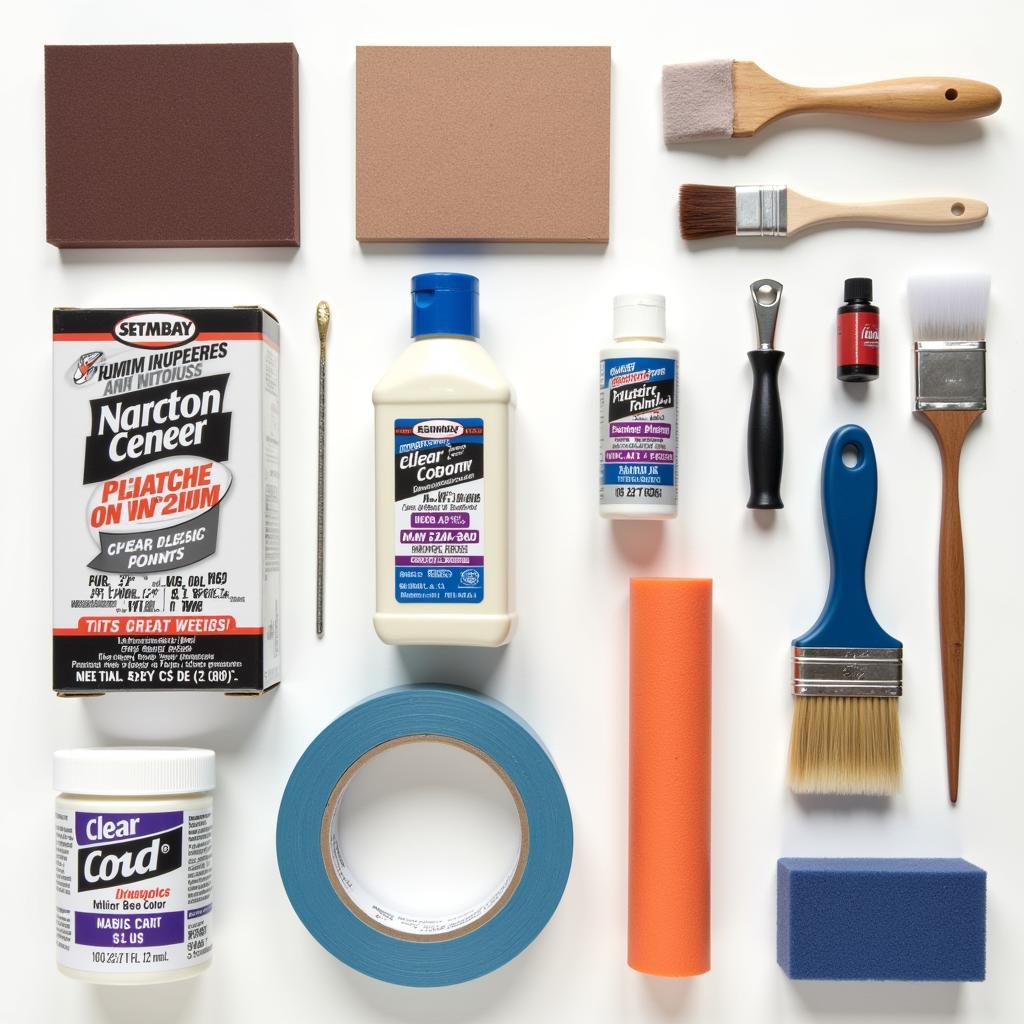
Once you’ve assessed the damage, gather the necessary tools and materials for your car bumper repair at home project. This might include sandpaper, primer, paint, clear coat, masking tape, plastic filler (for deeper scratches), and a polishing compound. Having everything at hand before you start will make the repair process smoother and more efficient. A well-organized workspace is also essential for a successful DIY repair.
What tools and materials do you need for a successful bumper repair? Having the right equipment is half the battle.
Step-by-Step Guide to Car Bumper Repair at Home
Now, let’s delve into the actual car bumper repair process. This involves cleaning the damaged area thoroughly, sanding down any rough edges, applying filler if necessary, priming, painting, and finally, applying a clear coat. Each step is crucial for achieving a professional-looking finish.
- Clean the area: Thoroughly clean the damaged area with soap and water, then degrease it with a suitable cleaning agent.
- Sand the damaged area: Use sandpaper to smooth out any rough edges and create a surface for the primer to adhere to. You can learn more about repairing scuffs in our guide on how to repair car bumper scuffs.
- Apply filler (if necessary): For deeper scratches and dents, apply plastic filler and sand it smooth once dry.
- Prime the area: Apply primer to the repaired area to create a uniform base for the paint.
- Paint the area: Apply several thin coats of paint, allowing each coat to dry before applying the next.
- Apply clear coat: Finish with a clear coat to protect the paint and give it a glossy finish.
Following these steps meticulously ensures a quality repair.
What are the steps involved in a DIY bumper repair? Follow this guide for a professional finish.
Advanced Techniques for Car Bumper Repair
For more complex repairs, such as those involving cracks or deep gouges, consider more advanced techniques like plastic welding. This method involves melting plastic filler rods to fuse the broken pieces together, providing a strong and durable repair. While this method requires specialized tools and some practice, it’s a viable option for DIY enthusiasts looking to tackle more challenging repairs. You can find resources and tutorials online to learn more about plastic welding.
“Plastic welding offers a durable solution for more complex bumper damage, allowing for a seamless repair,” says automotive expert, David Miller, ASE Certified Master Technician.
For cracked bumpers, you might want to explore options for specific lock repairs as described in our article on car bumper lock repair.
Tips for a Professional Finish
Achieving a professional-looking finish requires attention to detail and patience. Here are some expert tips for car bumper repair at home:
- Use high-quality materials.
- Apply thin coats of paint and primer.
- Allow each coat to dry completely.
- Sand between coats for a smooth finish.
- Use a polishing compound to remove any imperfections.
“Investing in quality materials and taking your time are crucial for achieving a professional-looking finish in any car bumper repair,” adds Sarah Chen, Automotive Paint Specialist.
Conclusion: Car Bumper Repair at Home Made Easy
Car bumper repair at home can be a rewarding and cost-effective way to address minor damages. By following this comprehensive guide and employing the right techniques, you can restore your bumper’s appearance and save money. Remember to assess the damage carefully, gather the necessary tools and materials, and follow the step-by-step instructions diligently. For more serious damage or if you’re unsure about any step, consider seeking professional help. Check out our article on professional car paint repairs: bumper rescue – professional car paint repairs. For newer cars, you can also check this article: can a bumper on a new car be repair. With a little patience and effort, car bumper repair at home is within reach for most car owners.
FAQ
- Can I repair a cracked bumper at home?
- What type of paint should I use for bumper repair?
- How long does it take for the paint to dry?
- What is the best way to remove scratches from a bumper?
- Do I need to use primer before painting?
- How can I match the paint color to my car?
- Can I repair a plastic bumper myself?
Need help with your car repair? Contact us via WhatsApp: +1(641)206-8880, Email: [email protected]. We have a 24/7 customer support team.


