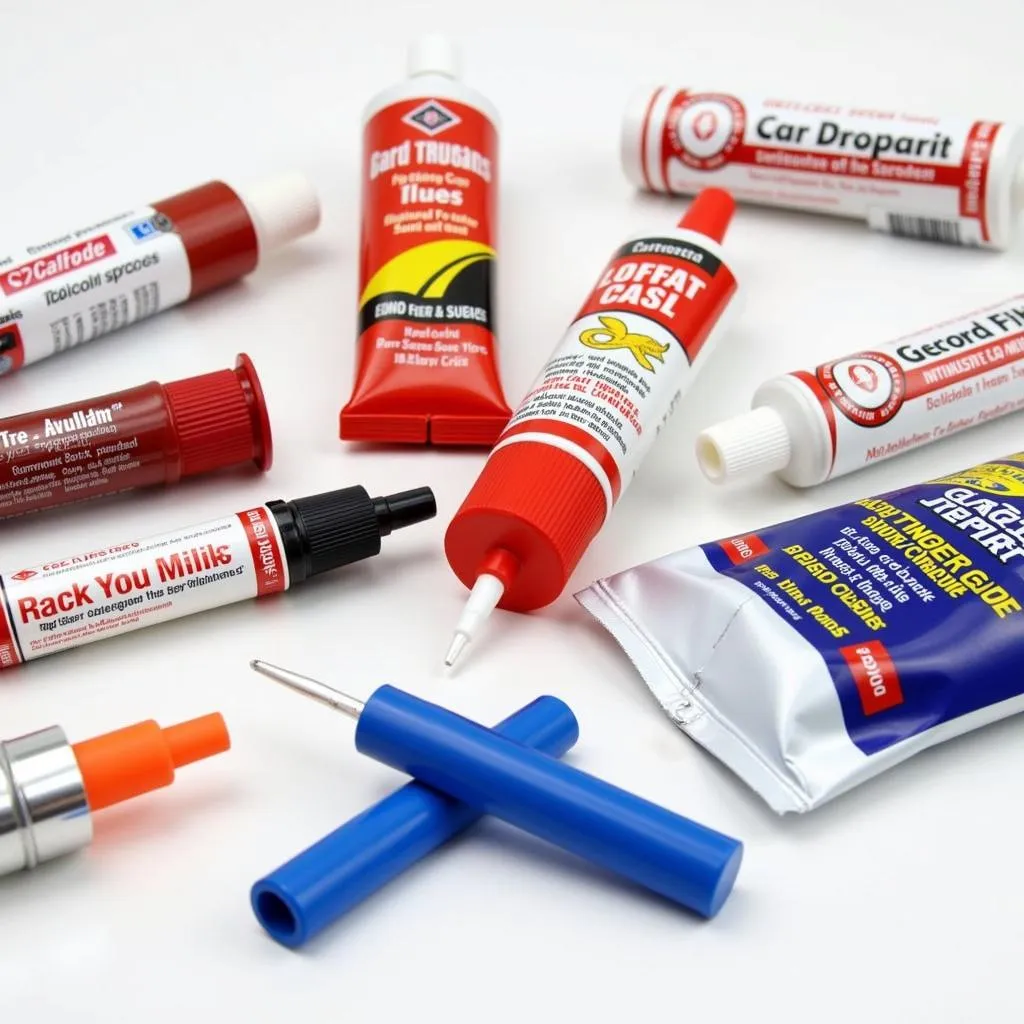
Fixing that unsightly crack in your car bumper can seem daunting. You might be picturing hefty repair shop bills and days without your car. But what if we told you there’s a simpler, more affordable solution? Car bumper crack repair glue can be an effective way to tackle minor to moderate damage yourself.
This comprehensive guide will walk you through everything you need to know about car bumper crack repair glue, from understanding the different types to achieving professional-looking results right in your garage.
Understanding Car Bumper Crack Repair Glue
Before we dive into the nitty-gritty, let’s first understand what car bumper crack repair glue is and how it works.
Car bumper crack repair glue, as the name suggests, is a type of adhesive specifically formulated to bond and seal cracks in car bumpers. It’s designed to withstand the vibrations, temperature fluctuations, and impacts that your bumper experiences on the road.
Types of Car Bumper Crack Repair Glue
You’ll typically find two main types of car bumper crack repair glue on the market:
- Epoxy-based glue: This type is known for its strong adhesion and durability. It forms a rigid bond, making it ideal for larger cracks or those subject to stress.
- Polyurethane-based glue: This type offers a more flexible bond, which is beneficial for areas prone to flexing and vibration. It’s often a good choice for smaller cracks and hairline fractures.
Choosing the right type of glue depends largely on the severity and location of the damage to your bumper.
Is Car Bumper Crack Repair Glue Right for You?
While car bumper crack repair glue can be a cost-effective DIY solution, it’s not suitable for all types of damage.
Here’s a quick rundown:
Car bumper crack repair glue IS a good option if:
- The crack is relatively small (less than 6 inches).
- The bumper is not dented or otherwise deformed.
- The crack is on a relatively flat surface of the bumper.
- You’re looking for a quick, temporary fix.
Car bumper crack repair glue IS NOT a good option if:
- The crack is large or extends to the edge of the bumper.
- The bumper is severely damaged or deformed.
- The crack is located in a high-stress area, such as near a mounting point.
- You’re looking for a permanent, invisible repair.
In cases of significant damage, it’s always best to consult a professional auto body repair shop.
Choosing the Best Glue to Repair Your Car Bumper
Selecting the right car bumper crack repair glue can mean the difference between a successful repair and a frustrating experience. Here are key factors to consider:
- Type of plastic: Car bumpers are typically made from various plastics. Ensure the glue you choose is compatible with your bumper’s plastic type.
- Crack size and location: As mentioned earlier, the size and location of the crack will influence whether an epoxy-based or polyurethane-based glue is more appropriate.
- Drying time: Consider how long the glue takes to dry and cure. Some glues offer faster drying times, which can be beneficial if you need to use your car soon after the repair.
- Color matching: Some glues are available in different colors to match your bumper.
Don’t hesitate to visit your local auto parts store and ask for recommendations based on your specific needs. You can also check online reviews and comparisons of different car bumper crack repair glues.
best glue to repair car bumper
How to Repair a Car Bumper Crack with Glue: A Step-by-Step Guide
Now that you’re equipped with the essential knowledge, let’s move on to the practical part – repairing the crack in your car bumper.
What you’ll need:
- Car bumper crack repair glue
- Cleaning solvent (isopropyl alcohol works well)
- Sandpaper (120-grit and 220-grit)
- Masking tape
- Gloves
- Clean cloth
Step 1: Prepare the Surface
- Wash the damaged area thoroughly with soap and water. Rinse and dry completely.
- Use the cleaning solvent and a clean cloth to remove dirt, grease, and wax from the cracked area. This ensures proper adhesion of the glue.
Step 2: Mask Off the Area
- Apply masking tape around the crack, leaving a small margin around the damaged area. This prevents the glue from getting on the surrounding paint.
Step 3: Sand the Surface
- Lightly sand the cracked area with 120-grit sandpaper. This roughens the surface, improving the glue’s bonding strength.
- Once sanded, wipe away any sanding dust with a clean cloth.
Step 4: Apply the Glue
- Following the manufacturer’s instructions, apply the car bumper crack repair glue to the crack.
- Press the edges of the crack together firmly.
- If necessary, use clamps to hold the edges in place while the glue dries.
Step 5: Let the Glue Cure
- Allow the glue to dry and cure completely. The drying time varies depending on the type of glue used, so always refer to the manufacturer’s instructions.
Step 6: Sand and Finish
- Once the glue is fully cured, remove any excess glue with a razor blade.
- Use 220-grit sandpaper to smooth out any rough edges.
- For a seamless finish, you can apply a touch-up paint that matches your bumper color.
Expert Tip: Work in a well-ventilated area and wear gloves throughout the repair process. Some car bumper crack repair glues contain fumes that can be harmful if inhaled.
Tips for a Successful Repair
- Work in a warm, dry environment. Extreme temperatures or humidity can affect the curing process of the glue.
- Don’t rush the drying time. Allow the glue to cure completely as per the manufacturer’s instructions for optimal bonding and durability.
- Apply thin coats of glue. This prevents excess glue from oozing out and creating a messy finish.
- Practice patience. Car bumper crack repair requires a steady hand and attention to detail. Take your time and focus on each step for the best results.
Conclusion
Repairing a car bumper crack with glue can be a practical and cost-effective DIY solution for minor to moderate damage. By understanding the types of glue available, choosing the right product for your needs, and following the step-by-step guide, you can achieve professional-looking results without breaking the bank. Remember, while car bumper crack repair glue can be a valuable tool, it’s not suitable for all situations. Always assess the damage carefully and, when in doubt, consult a professional auto body repair shop for expert advice.
FAQs
Can I use super glue to repair a car bumper crack?
While super glue might seem like a quick fix, it’s not recommended for car bumper repairs. Super glue isn’t formulated to withstand the stresses and environmental conditions that car bumpers endure.
How long does car bumper crack repair glue last?
The longevity of the repair depends on several factors, including the type of glue used, the severity of the crack, and the environmental conditions. A properly executed repair can last for several months or even years.
Can I wash my car after repairing the bumper crack?
It’s best to wait at least 24 hours after the repair before washing your car. This allows the glue ample time to cure completely and prevents water from weakening the bond.
What if the crack reappears after the repair?
If the crack reappears, you might need to repeat the repair process. If the damage is more extensive, it’s best to consult a professional.
Can I use car bumper crack repair glue on other parts of my car?
While car bumper crack repair glue is primarily designed for bumpers, it can sometimes be used on other plastic car parts. However, it’s essential to check the glue’s compatibility with the specific type of plastic.
Need Assistance?
If you’re unsure about any aspect of repairing your car bumper or need further guidance, don’t hesitate to reach out to our expert team. We’re here to help you every step of the way. Contact us via WhatsApp at +1(641)206-8880 or email us at [email protected]. We offer 24/7 customer support.


